Build Project - SS Cherokee

mucovich

Till Valhalla!
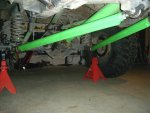
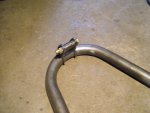
Got some stuff done recently, finished the new rear lower links - these should hold up...

DSCF3506-1.jpg

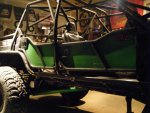
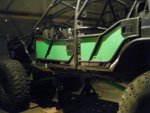
doors are fitted up again, now i just have to skin the sides - using 3/16 plate for that - should hold up...

DSCF3504-1.jpg

DSCF3503.jpg

this weekend i'm going to get started on the new seat mounts so they are tied into the cage, probably just using DOM and tabs.
 

mucovich

Till Valhalla!
I finished up the seat brackets yesterday, basically a tube subframe tied into the chassis (cage), didn't bother to take any pics though. I positioned the seats about an inch forward to where they were before and slightly lower. Next will be to start cleaning up under the hood, gunna move the air compressor in to the cab, relocate the hydro steering resevoir and pull the intake (i will be going to a cowl intake), not to mention finding a new home for the computer, fuse block and cooling overflow then start taking measurements, lots and lots of measurements. Not as rough a day as Dwayne had!
 

mucovich

Till Valhalla!
boatsides done, hard to see with the black paint though...

DSCF3510-1.jpg

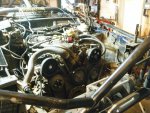
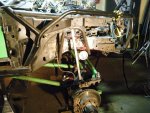
and then started tearing under to hood apart, suspension is out...

DSCF3513-1.jpg

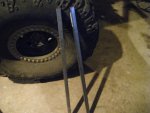
plenty of room this side for the hoop...

DSCF3514.jpg

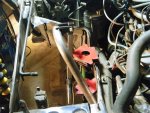
master cylinder takes up abit of room on this side though...


DSCF3515.jpg
 
Last edited:

mucovich

Till Valhalla!
next step is to start cutting the stock suspension crap out. Done all my measurements, but still on the fence whether i'm going 14's or 12's on the ORI's.
 

mucovich

Till Valhalla!
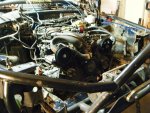
Got a little more done, stripped the front off the rig, cooling and fans gone - opens up the front alot for easy access while i build the strut mounts, also re-routed my tranny cooler lines so they won't be proximate to the mech fan anymore...

DSCF3516_zpsbb778183.jpg

DSCF3519_zpsc1935eaa.jpg

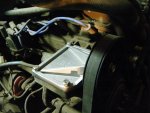
Also, removed the AC compressor as it was doing nothing. Picked up this AC delete pulley - 10 lbs saved!

DSCF3518_zpsc2e89560.jpg

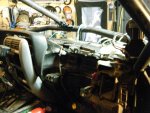
started taking the dash apart to wire up the ARB compressor, still on the fence about exactly where i'm putting it but at this time i'm thinking where the glove box used to be.

DSCF3520_zpse0c4f8b3.jpg

drilled some holes (hard to see in this pic) through the cowl in order to run the air line into the passenger compartment. I will be running the air intake into the cowl too, but on the passenger side.

DSCF3521_zps3f904597.jpg
 

mucovich

Till Valhalla!
I've also been looking at battery relocation kits on Summit Racing - the battery is going in the back, my only question is why all the battery relocation kits don't run the negative cable up to the front too? they just bolt to the chassis.
 

aweber

This thread is :rainbow:
Staff member
Club Member
I've also been looking at battery relocation kits on Summit Racing - the battery is going in the back, my only question is why all the battery relocation kits don't run the negative cable up to the front too? they just bolt to the chassis.

My ground is just bolted to the chassis in the back. No issues running the winch or anything.
 

Impact

Well-known member
As long as it's strapped down somewhere it'll ground through the frame...

Your poor rig... Should have stuck with the 35's!
 

mucovich

Till Valhalla!
Got the compressor installed and plumbed up...

DSCF3522_zps22319baa.jpg

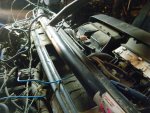
and completed the first rough cuts...

DSCF3524_zpscebbecc5.jpg

DSCF3526_zps20ce6b7a.jpg

DSCF3525_zps1039f3e9.jpg

man it's gunna suck cleaning off all that rocker guard on the frame :(
 

dwcjwerfner

Well-known member
Club Member
Hey buddy, somebody stole your fenders, ummm and the inner ones too. Heat gun or chemicals and actually I bet permatex gasket remover would take that off in no time.
 

mucovich

Till Valhalla!
did some work today, started cleaning and prepping the frame (still more to do :() and then started mocking up all the brackets...

DSCF3528_zpsc7d979a6.jpg

DSCF3530_zpsfbdc0950.jpg

got some 1" square for the mockup shocks...

DSCF3531_zps90c1d7e7.jpg

this is it mocked in place, only preliminary just to get a feel for space. This is based on 6" uptravel and 8" down, i'll play with it more tomorrow...

DSCF3532_zpsab81d8a0.jpg

DSCF3533_zpsa59de03a.jpg
 

Impact

Well-known member
Won't that square tube give you a fairly rough ride? :confused: To save weight I figure with running those two square tubes you wouldn't need a reason to run the three front control arms, right?
 
Top