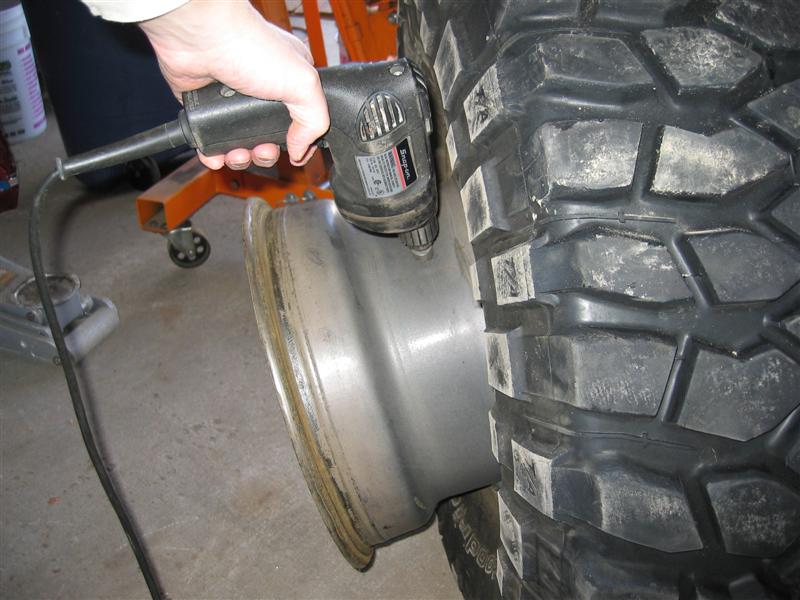
After popping my outer bead with my
Tyrepliers I put the tire up on a bucket to get it off the ground and pull the tire down. This 20L wine juice bucket just fit perfect inside my 15" rim, it kept it flat, stable, and I could easily rotate the wheel.
I cleaned the rim's bead area with a plastic wire brush on my drill, this wouldn't be required on a new rim. I drilled the hole for the inner tube valve stem and deburred the inside with a counter sink bit. Only then did I pull out the external bead using these
levers, which gave me great access to deburr the outside.
I'll give my thoughts on the instructions now, they could be better. They give a DVD video which appears to have been made by a film student. It does give you a good feel for how the process goes but it was missing some important information such as where to drill the inner tube valve stem hole, and had useless scenes showing the mechanic putting a bit in his drill and tightening the chuck

They do have simple steps and tips on the back of the packaging, but they were hard to follow with partial steps at the top and separate details at the bottom.
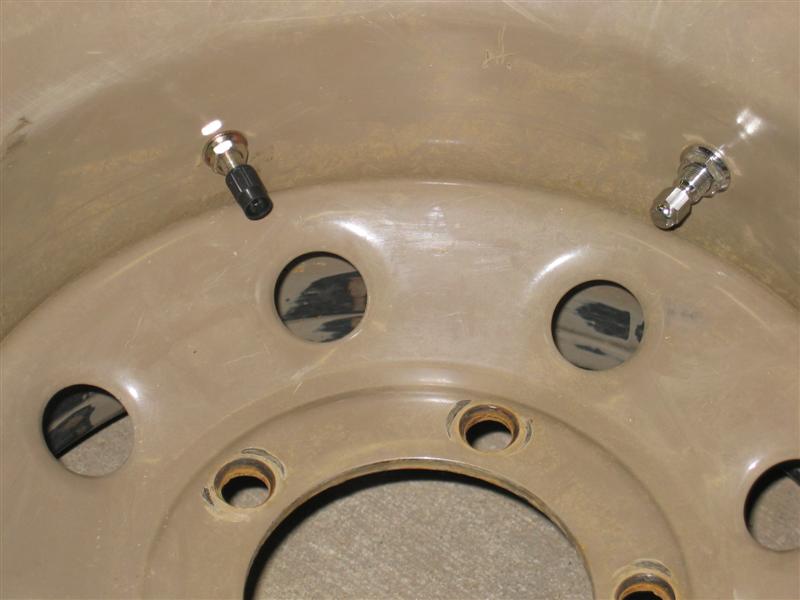
One of those important tips was to put the inner tube valve stem 6"-8" from the normal valve stem. This is supposed to make installing the tire back on easier or safer. I don't quite get it but I had no reason not to follow it.
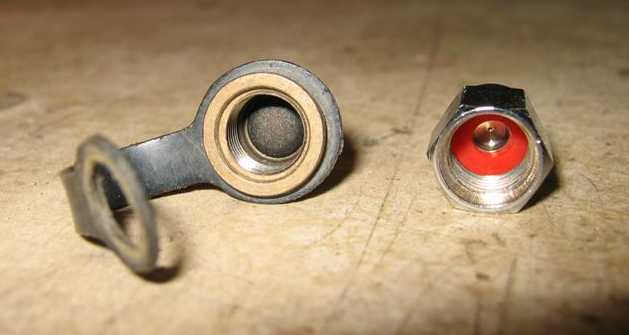
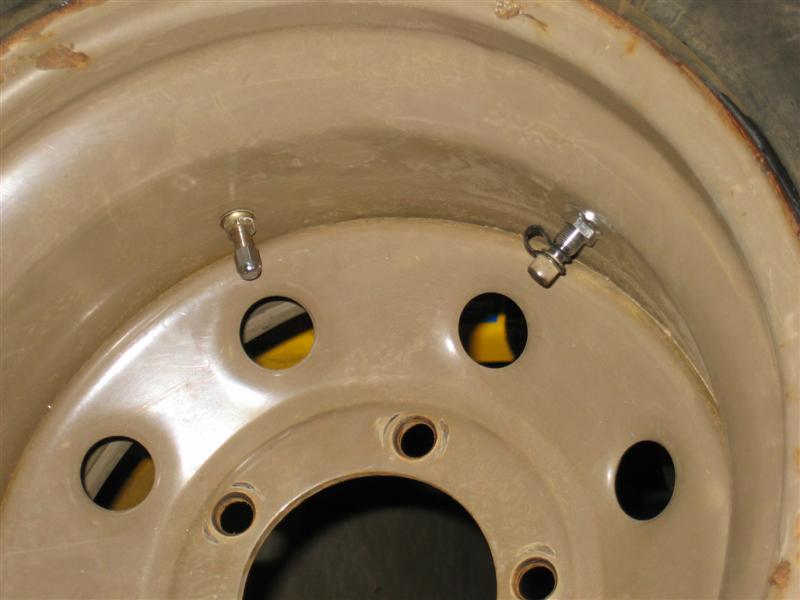
Those of you that have seen me air down know I had 2 valve stems already. The beadlock has a special flap with thick tongues to allow their special valve stem to air up and down the tire. The inner tube would press against my other valve stem rendering it useless, so I decide it would be best to get rid of it. I bent an aluminum plate to the rim's form and used RTV to stick it down. Bungee cords kept it tight overnight.
And to replace my quick air down coreless valve stem, I purchased some Staun tire deflators. It won't be as fast but it will be easier, plus it's a new offroad gadget