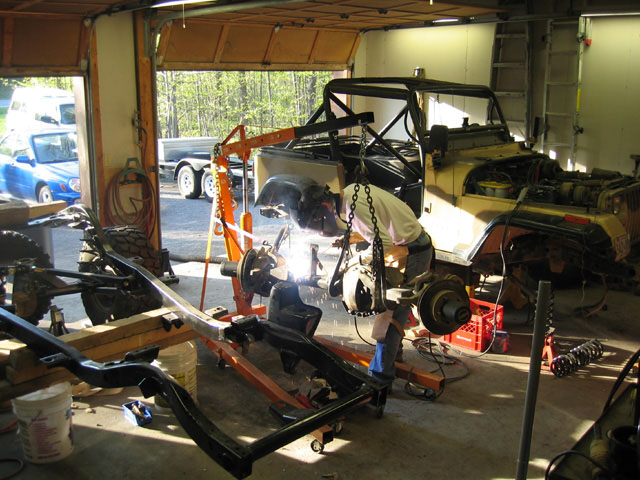
Day 11
Time for the front axle brackets. First I torched off the perches and ground down the welds and paint.
I started by figuring out where the brackets would go. I measured the distance between the knuckles and from there calculated the locations of each bracket relative to the knuckles.
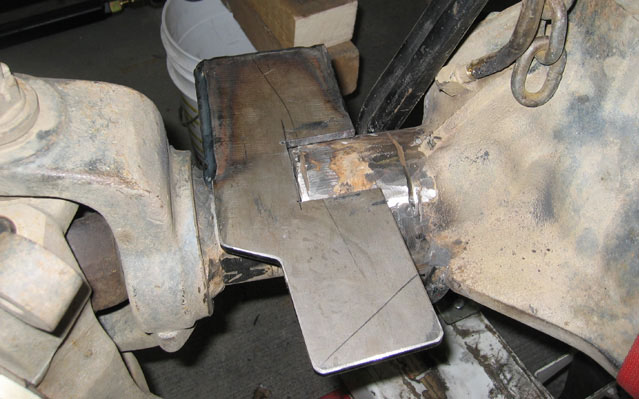
On the driver's side I have a very short axle tube, the brackets end up partly on the diff sleeve which is 1/2" radius bigger. That meant cutting a chunk off the large top bracket and off one of the plates that will hold the LCA. I highlighted red the area I cut off with a jig saw in the picture below, and further down is a picture showing why I needed those cuts.
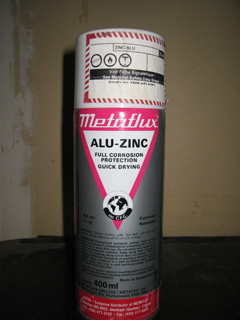
Also note the large round hole I cut. The end is boxed in and I figure water would leak through my welds. This opened up the bottom of both brackets and I put a coat of primer on the inside while I had easy access. I used a paint that contains aluminum and zinc that you can weld through, and hopefully it will survive to keep protecting the steel.
The thick diff sleeve caused another problem, there wasn't enough room anymore for the LCA so I had to grind down the sleeve. Good thing I thought about this early, it would have been real hard with brackets in the way!

Day 12
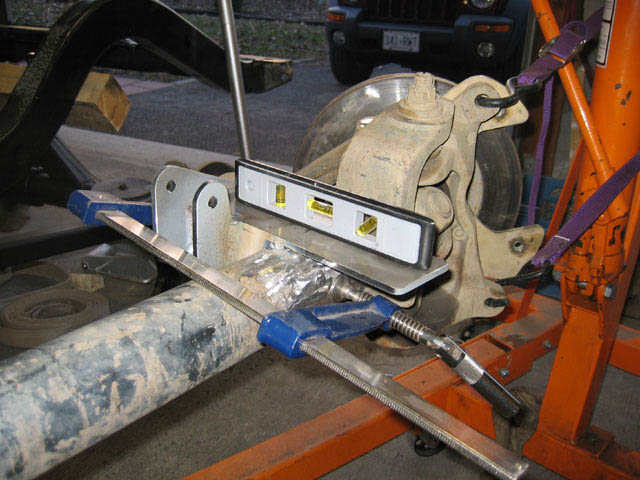
I started with the large passenger side top bracket. It's only 1/4" from the knuckle, just enough to weld. The most important angle up front is the caster, which on a short wheelbase Jeep is 6 degrees. To measure this I put my angle finder on the flat parts around the ball joints, again with the axle hanging from my engine hoist and adjusting the angle with a strap under the pinion.

I put the bracket on, leveled it, clamped it, double checked, and tack welded. Repeated on the driver's side, also checking the other angles since I hand cut the bracket.
Now I was ready for the LCA plates and ran into another problem. Clayton welded the shock mounts to the short plates instead of the long ones. This would have placed the shocks on the inside of the frame, not a good place. I was impatient so I just cut them off with a cut off wheel and I can weld them back to the proper place later. I did talk to Clayton himself about this and he did apologize and was ready to send me another set. I declined as the work was already done, but I must mention that these guys have top notch service! :)
For the LCA plates I followed the same procedure as with the rear axle, bolting them to a joint with a piece of thin sheet metal for margin for tack welding. With all this tack welded I re-measured locations and angles.
Next was the passenger side upper joint bracket. Clayton had this one all set for my 3" tube. I still needed to be carefull with the horizontal angle to the tube of 101 degrees. I used a magnet clamp to hold it level in both verticals while I tack welded, then tacked on the side bracket.
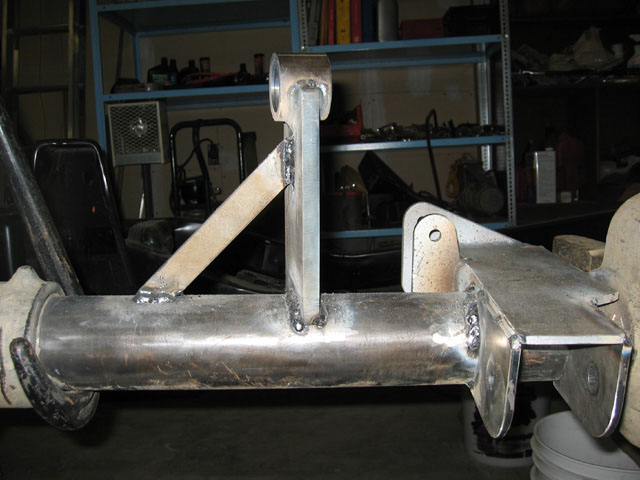
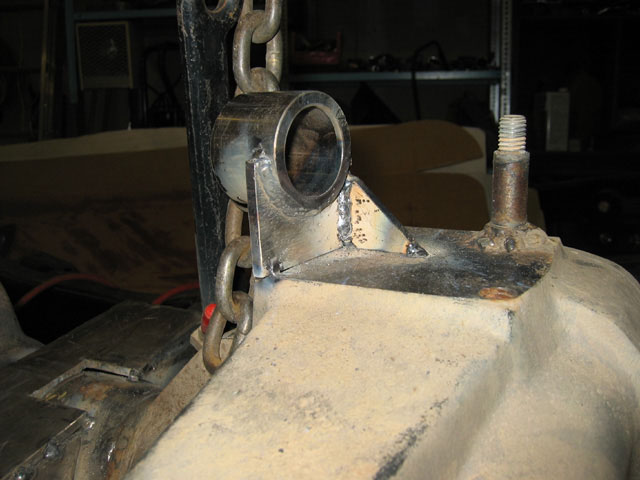
For the driver's side, there was a miss communication between myself and Clayton's. They made me a diff top plate for a Tera 60CRD, while I have the Tera 60R, so the plate didn't match my setup. Not a big deal, I needed to fabricate two vertical plates anyways, so instead I mode some to weld direct to my diff. I don't know if the welds to the cast steel will be strong enough so I can't recommend this course to anyone else, but I'll give it a try. At worst it will break off and I'll have to rely on the passenger side, which for a radius arm setup isn't bad. [This did break, check here for the fix.]
Figuring the right height of the driver's side bracket wasn't difficult, I used a straight edge to measure the distance from the diff's flat top to the axle tube and cut a bracket to the difference in lenght compared to the passenger side. I used a hole saw to get the semi circle cut around the Johnny joint tube.
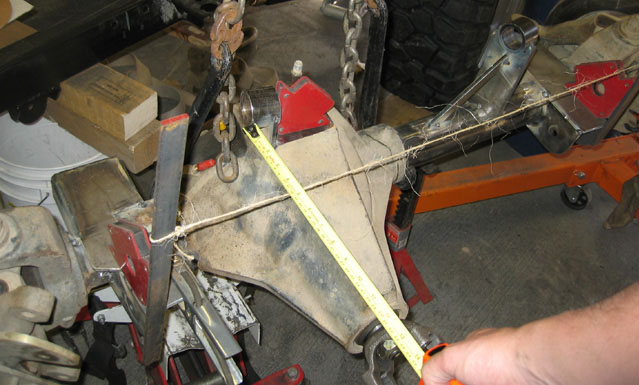
Getting it centered above the axle center line was the tough part. I used right angle magnets on both LCA bracket ends, with a piece of plate steel, and attached a straight line in between. Now I could measure the distance to both sides of the passenger side bracket, and match them on the driver's side, which also gave me the correct angle.
After a test fitting under the frame I went ahead and did the final welding.