Day 13
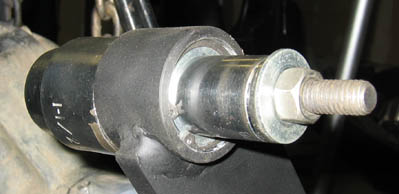
After painting the upper arm brackets on the axle, I assembled the Johnny joints. The urethane bushings in the joint are made a little bigger than the space available, which means you need to squeeze it in hard to fit the snap ring. I used a long bolt going through the joint, with a socket against the outer shell on the closed side, and a small socket just hitting the washer on the snap ring side. Then I just tightened until the snap ring would go in.

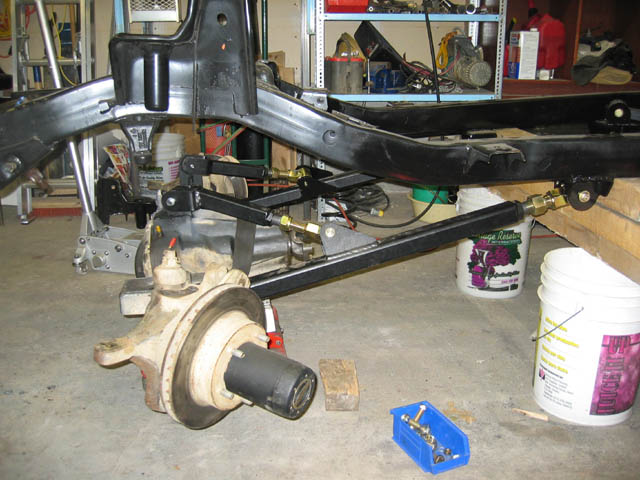
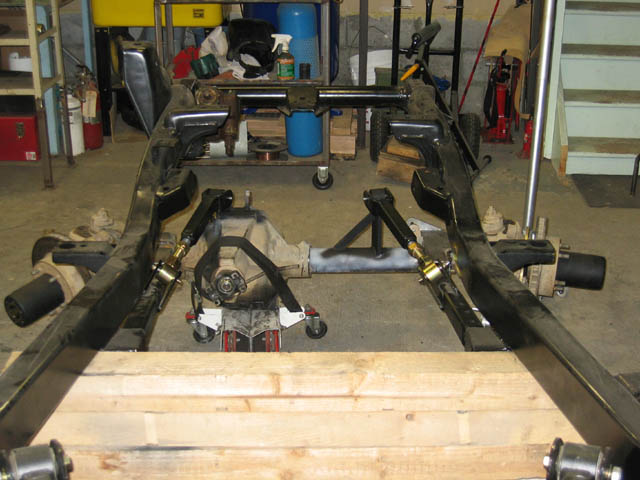
Now the axle was ready to go back under the frame with all the bolts in.
Now it was time to put the steering box in. I got a '99 Durango 4x4 box, it provides more power than the stock YJ or TJ box and is a direct bolt in for '97 to '03 TJs. Unfortunately after '03 Jeep changed steering boxes and one of the holes didn't line up on my '05 frame. I had the choice of moving either the front or bottom hole. I chose to move the front hole even though it would be more trouble with the round frame crossmember as it seemed to place the box closer to stock location. I started by grinding and bashing out the tube.
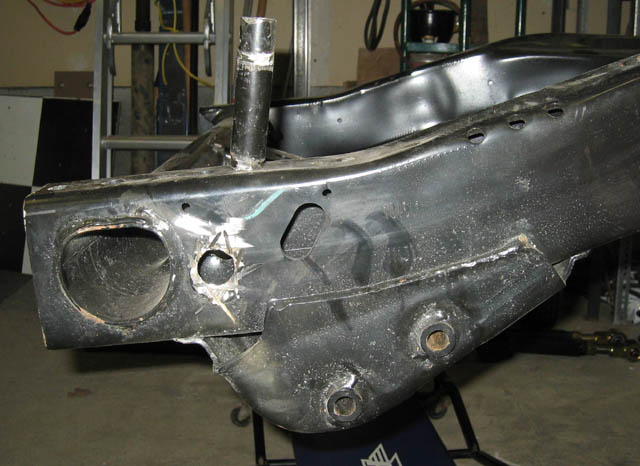
I torched the hole much bigger than needed for the new location. I made two 1/8" steel plates big enough to cover the enlarged holes, and drilled offset holes for the tube. I bolted up the steering box including the loose tube tightened in place, and tacked on the plates to the frame and tube. I took off the box to finish the welding and paint.
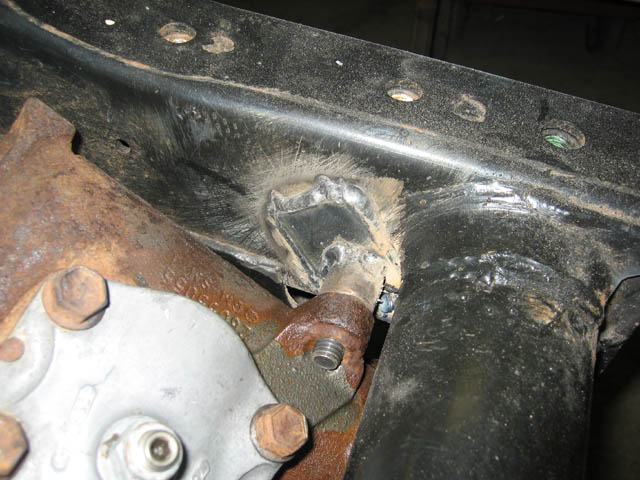
With the steering assembled, I lengthened the radius arms to move the axle forward as much as I could before the end of the pitman arm could touch the tie rod. Now I could install the lower coil buckets. If you recall from page 3, I needed to raise the coil bucket to move it over the steering C. To keep the rise to a minimum, I will cut out a section of the coil bucket to fit around the C. I started with a piece of cardboard shaped like the bucket to make a template. The buckets end up a little further back than on their drawing since I moved the axle forward about 1.5". I used a piece of 2" tubing as a height reference.
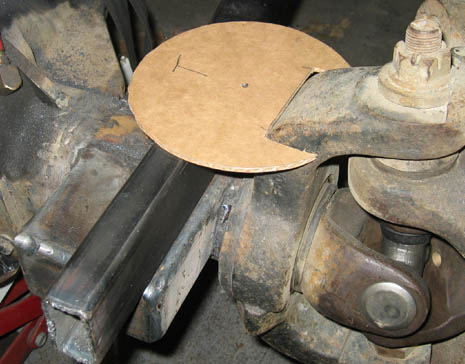
I then marcked the buckets with the template, cut them out and test fit.
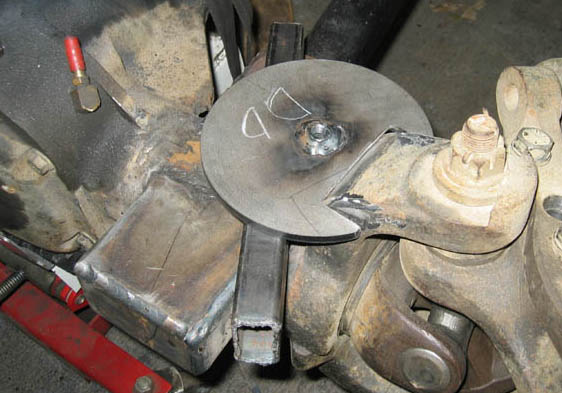
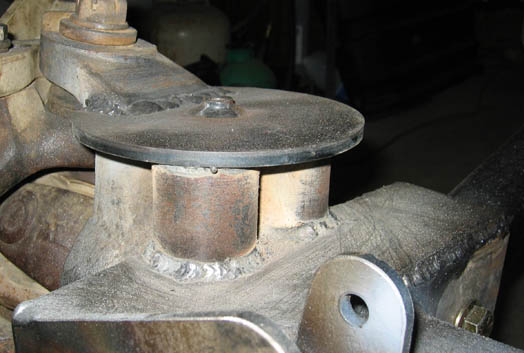
For riser brackets I cut four 2" long pieces of pipe I had. I put all the pieces in place, and tacked the pipe to the bucket only. I removed the bucket and welded the pipes on the bench. I put the assembly back on the axle and completed the welding. Here's the final product.
Day 14
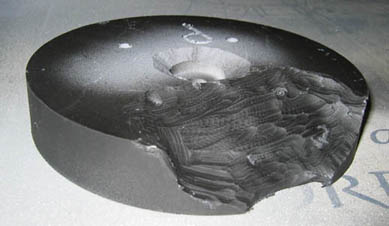
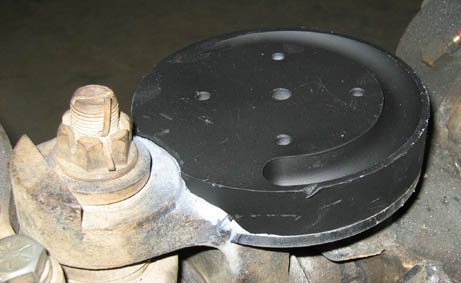
As you can see from the picture above, the steering C rises through the steel bucket plate. Because of this the plastic buckets need an indent to fit over this. I started by marking the bottom with the cardboard template cutout next to where the bottom of the coil spring end, and marking the side with the approximate height. I ground it down with a steel drum made for wood or platic. I wanted it to fit as close as possible so that pressure from the spring would not bend the plastic too much before hitting the metal C. I started conservatively and kept grinding where the plastic hit. When I couldn't see where it was touching, I put a heavy coat of primer paint on the C which would leave a mark on the plastic.
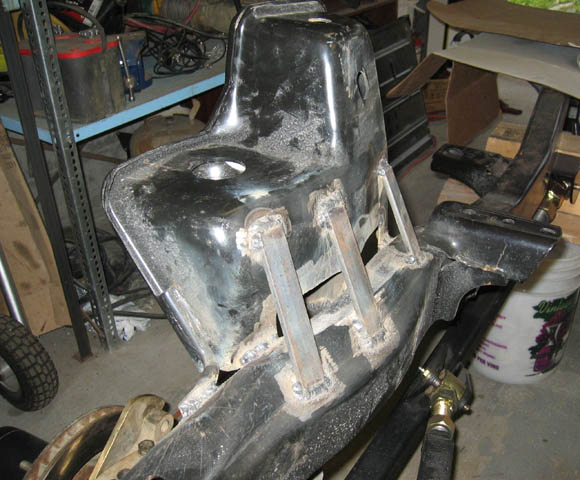
Now I got back to the upper spring mounts. I already cut one off the frame (see page 3). I ground down most of the old welds, leaving the 2 lower ones at the ends for measurement reference. I cut a 3" long piece of 1/8"x1"x2" angle to span the center rib. I used this piece with vise grip clamps to line up the bucket in the new location before tack welding. I made sure the bracket went up 2" evenly front to rear, and compare the lateral level with the still intact side.
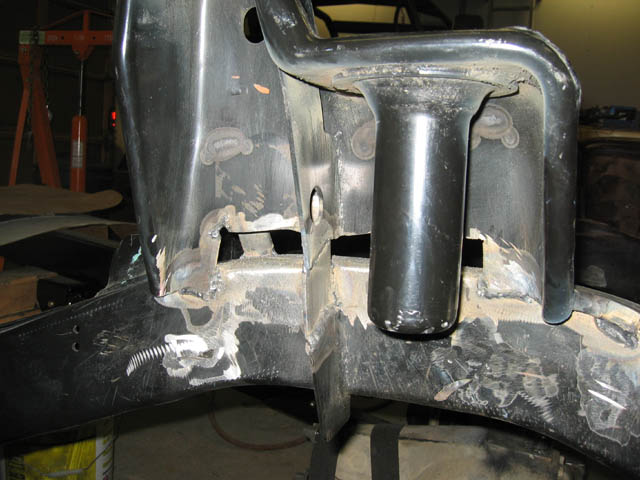
After welding it all in place, I added 3 1/4"x1" bars to the back for extra support. This is very important since a lot of the original strenght from the long middle welds, and the back support from sitting lower on the frame was lost.
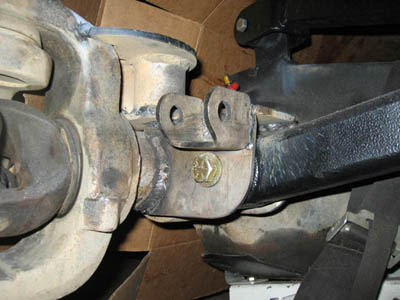
The lower shock mounts were originally around the LCA bolt. At this location the shock would have hit the lower coil bucket since it was placed further back. I moved it to above and a bit further back on the LCA bracket. While placing it, I put my thickest socket over the LCA bolt to ensure I could get to it.
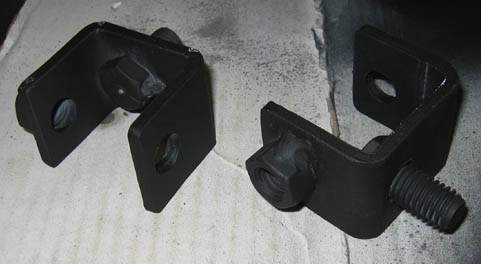
For the upper mounts, I don't have pin mount shocks so I had to make adapters. I welded the bolt and nut so I wouldn't have to hold them when tightening. The short bolt will go through the existing shock hole with a large washer on top.
