My "Big Baby" Axle Swap thread

2Greys

Insert title here
Club Member
So one of my biggest fears in general since I moved to 33's is breaking axle shafts. The LP Dana 30 hasn't been the big fear but more of the the infamous turdy-five on 33s. It's pretty much accepted that the limit for the Dana 35 is 33" tires and it is crapshoot on breakage. So I more or less decided for peace of mind I was going to do an axle swap and while at it use it as excuse to learn something and blow some dough on tools :D. Since I am not driving to work anymore breaking my jeep is...
Please login to view full content. Log in or register now.
 
Last edited:

O.D.

Well-known member
Club Member
Next week (end) is one of the best times to buy pretty much anything online stateside due to the Black Friday sales if you need anything.. Typically 10-15% off and free shipping..
 

2Greys

Insert title here
Club Member
I will be keeping an eye out but trying to not over extend myself and keep disciplined with the budget plus with the tiny garage dont know where i would put it all.
 

2Greys

Insert title here
Club Member
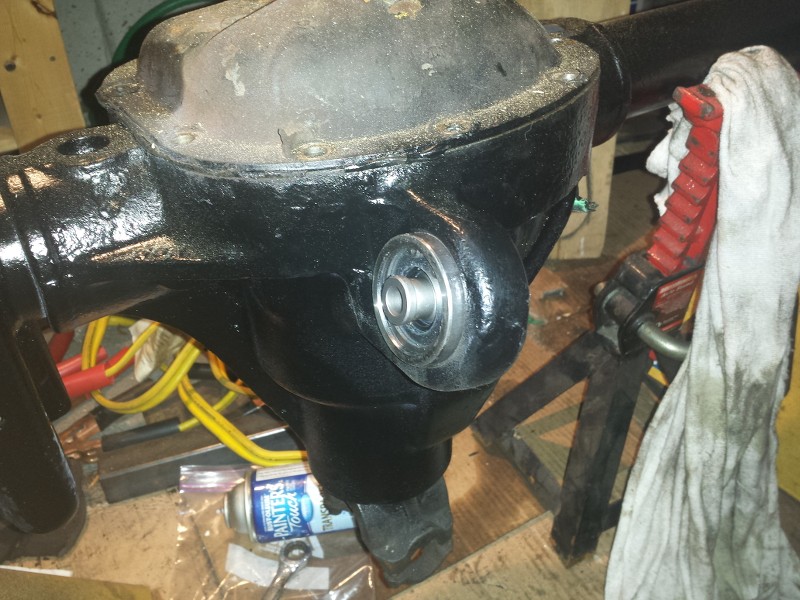
Pressed in the driver side JJ

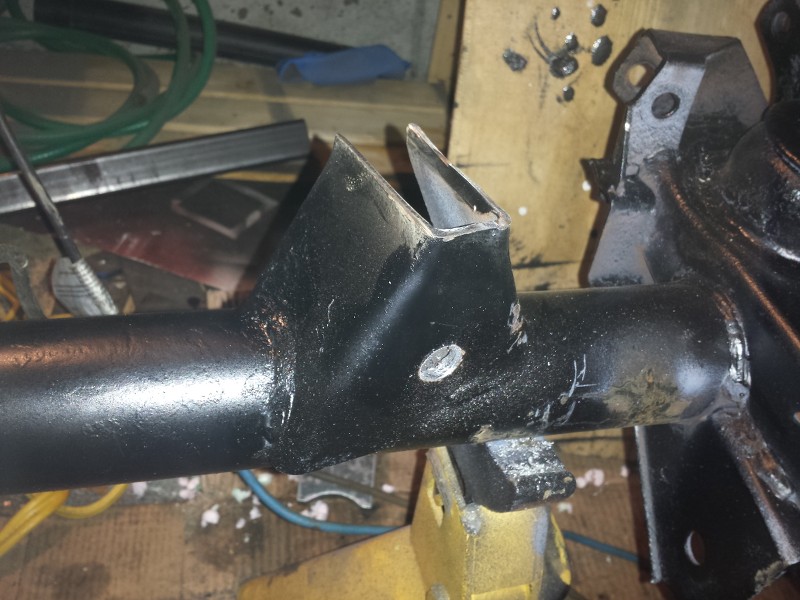
Passenger side entails cutting off the bracket 2.5" above the tube and welding in the other support. The only welding on the actual axle tube is done on the outward facing front end, benefit in this is it minimizes on potential axle tube warping. For the rear there is a small hole that can be drilled out and then welded. Might do that this weekend.
 
Last edited:

2Greys

Insert title here
Club Member
Thanks Brad!

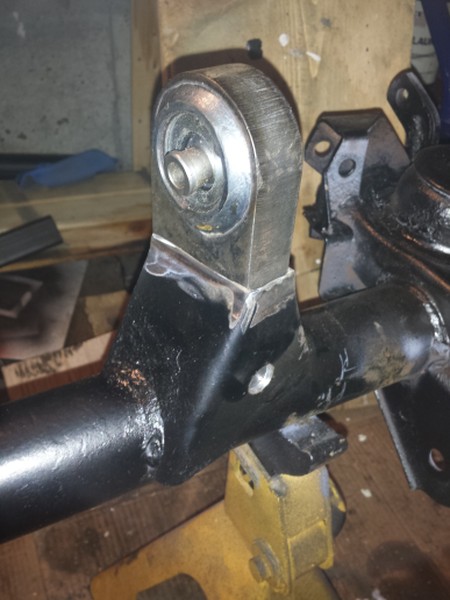
So I decided on this nice chilly day to take care of the passenger side JJ

First step was to cut off the bracket 2.5" from the tube and drill out the hole at the back


Here is it fitted in


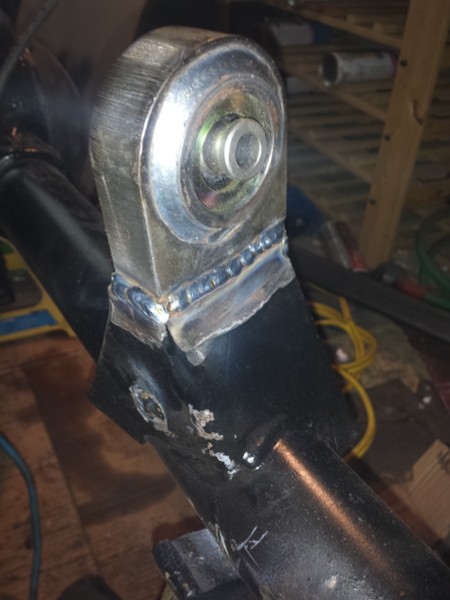
And welded in (comments on welds welcomed):

The only issue is there was a bit of a gap on the front at the tube so I filled it in a bit first.
 

2Greys

Insert title here
Club Member
Thanks all!
I do have to say the Miller's auto setting works well. When doing different gauge steel (in this case 1/8 vs 1") I have been lucky with using it then trial and error

Next up is the regearing. I should be getting the Diff Spreader and Bearing Puller and Diff cover and seals on Tuesday in Ogdensburg. I bought a small fan heater that should be able to do up to 300 sqft. It worked ok today but I am wondering if I should have got a more radiant one but not planning of dragging a propane heater into the garage since floor space is so limited. Stupid townhouses :finger:
 
Last edited:

Mlorint

Well-known member
did you pull the joint apart before welding it? A buddy of mine welded his brackets on with the joints in place and melted the bushings in the joint.
 

2Greys

Insert title here
Club Member
Uhoh. You figure they would have mentioned that in the instructions. I will have to take it apart and see.
 

Mlorint

Well-known member
heat and plastic don't mix. If you have to do any welding of brackets, take a joint apart and just use the center ball to keep everything lined up.
 

2Greys

Insert title here
Club Member
I didn't realize they had plastic on the inside. I went out and moved the joint around and it seems ok. I am picking up a set of snap ring pliers on Tuesday as well so I can pull it apart then.
 

2Greys

Insert title here
Club Member
Well raced the snow back from Ogdensburg and here is what I picked up:
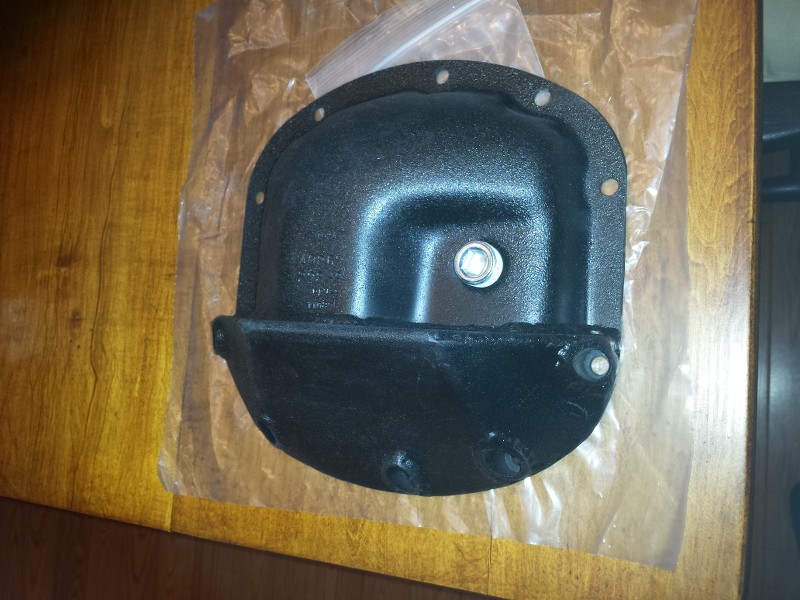
New Diff Cover (for some reason it reminds me of Popeye)


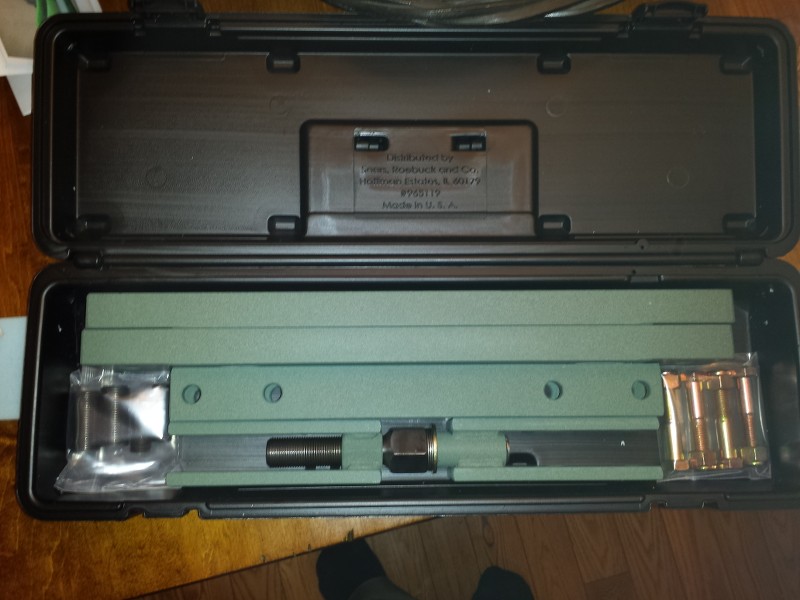
Diff Spreader


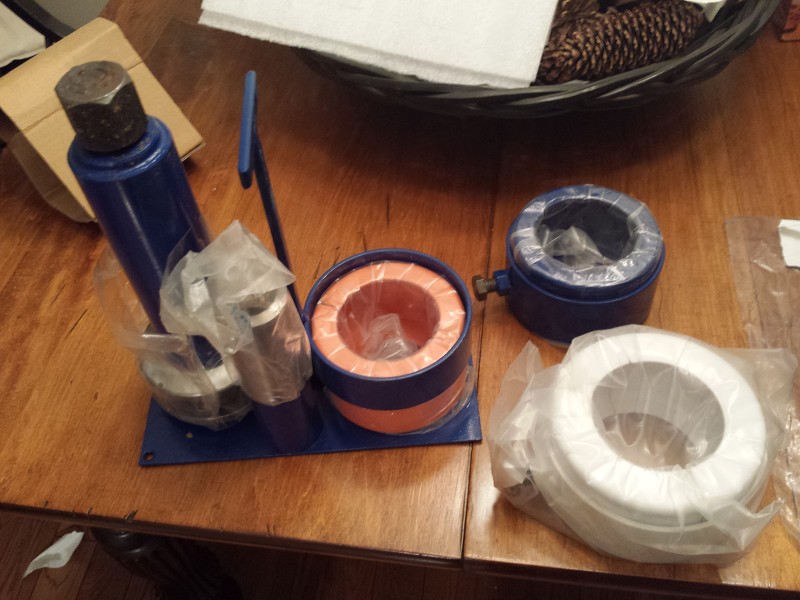
Bearing Puller (knockoff of the Yukon model) and it works. I still have the old Dana 35 carrier from the 3.07 days and was able to pull off the bearing nice and easy.


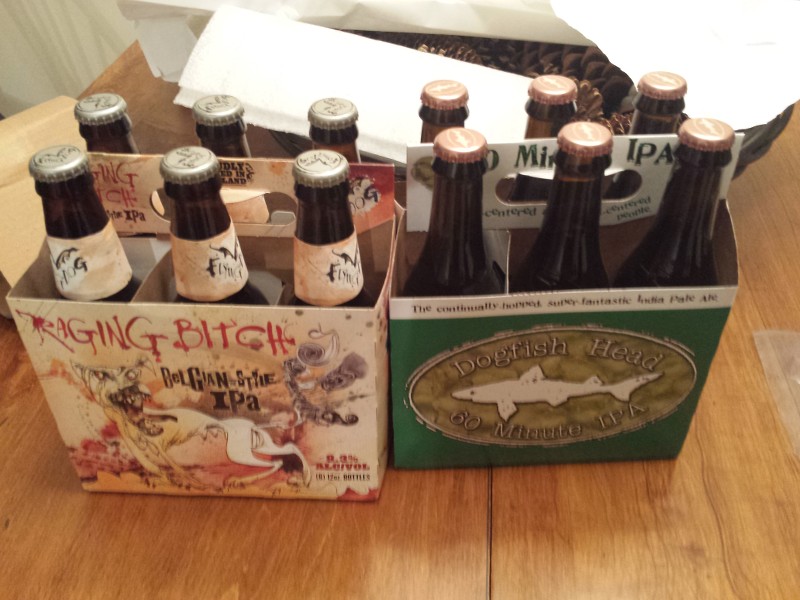
Oh and something for me:

Also picked up a cheap set of Snap Ring Pliers. UPDATE: I took apart the JJ. It's all good. Can't even tell that it was exposed to heat.
 
Last edited:

O.D.

Well-known member
Club Member
What did they soak you for the beers? I assume you only went across a few hours....
 

2Greys

Insert title here
Club Member
I was there from about 2 to 3:30. There was about 6 people in line at the UPS Store before me and that took about 45 minutes. Surpisingly he let the beer and the $50 of groceries go through. Everything else I paid tax on
 

2Greys

Insert title here
Club Member
Took out the original carrier and pinion. With the new bearing puller it took a total of 30 seconds to take off the inner pinion bearing. Slick as sh!t. The $250 for it has been sooo worth it just remembering when Mike and I regeared the old axles. If you are doing more than one axle buy one (I may rent mine out :) )
I found the only thing between the pinion and the inner bearing was the slinger which when I measured was 0.032". The old Pinion had a +2 and the new pinion had a depth of +1 which according to Bill's table means add 0.001" which brings it to 0.033". What really baffled me is there were no shims before or after the inner bearing at all just the slinger. Reading further it sounds like this sometimes happens so I guess I just need the slinger and probably 1 .001" shim.
Need to get a seal puller for the rear pinion seal but the good news is that the axle seals look to be in perfect shape. I bought a couple spares assuming I would have to replace them. Will keep them just in case.
Almost suspect they were replaced later in the vehicles life however odds are the old cherokee wasn't abused. Everything looks really good.
Plans for this weekend include:
1. Getting old pinion seal off
2. Getting inner pinion shims and outer pinion shims out and measured.
3. Figuring out what the starting point is for both with new shims and pinion.

That should be a good start. No rush since there is a foot of snow on the ground and the axle isn't going anywhere soon

Want to hear funny. My axle's original gearing? 3.55
 
Last edited:

O.D.

Well-known member
Club Member
If it was me, id change the axle seals while you have everything apart... I doubt you want to go throught all of this againif one decides to start leaking this spring.... You're in there, might as well throw in a new set... Just MHO.


Took out the original carrier and pinion. With the new bearing puller it took a total of 30 seconds to take off the inner pinion bearing. Slick as sh!t. The $250 for it has been sooo worth it just remembering when Mike and I regeared the old axles. If you are doing more than one axle buy one (I may rent mine out :) )
I found the only thing between the pinion and the inner bearing was the slinger which when I measured was 0.032". The old Pinion had a +2 and the new pinion had a depth of +1 which according to Bill's table means add 0.001" which brings it to 0.033". What really baffled me is there were no shims before or after the inner bearing at all just the slinger. Reading further it sounds like this sometimes happens so I guess I just need the slinger and probably 1 .001" shim.
Need to get a seal puller for the rear pinion seal but the good news is that the axle seals look to be in perfect shape. I bought a couple spares assuming I would have to replace them. Will keep them just in case.
Almost suspect they were replaced later in the vehicles life however odds are the old cherokee wasn't abused. Everything looks really good.
Plans for this weekend include:
1. Getting old pinion seal off
2. Getting inner pinion shims and outer pinion shims out and measured.
3. Figuring out what the starting point is for both with new shims and pinion.

That should be a good start. No rush since there is a foot of snow on the ground and the axle isn't going anywhere soon

Want to hear funny. My axle's original gearing? 3.55
 

2Greys

Insert title here
Club Member
That's why I originally bought them but I mean they look new. Still mulling it though
 
Top