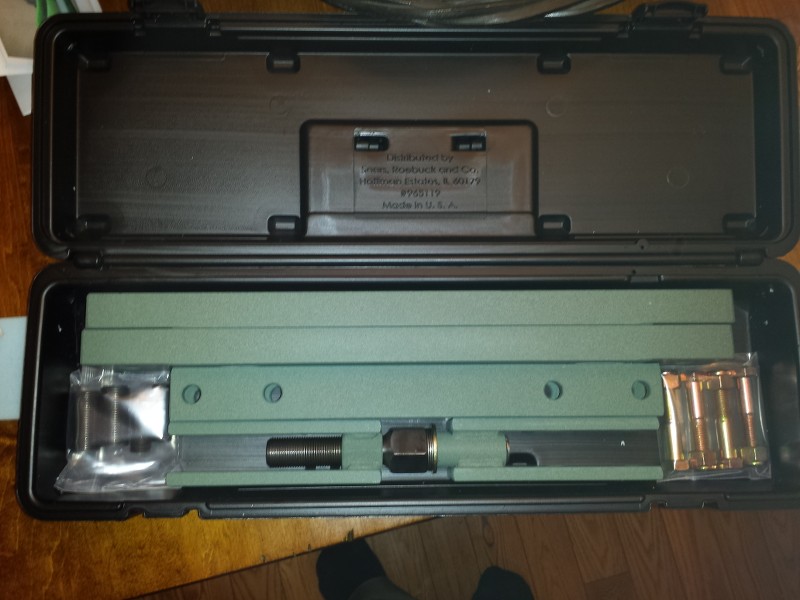
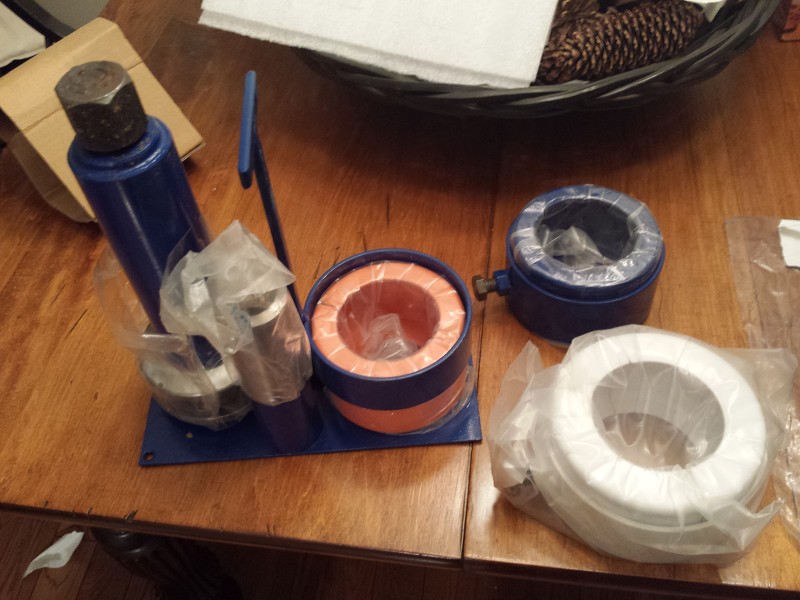
Took out the original carrier and pinion. With the new bearing puller it took a total of 30 seconds to take off the inner pinion bearing. Slick as sh!t. The $250 for it has been sooo worth it just remembering when Mike and I regeared the old axles. If you are doing more than one axle buy one (I may rent mine out
")
)
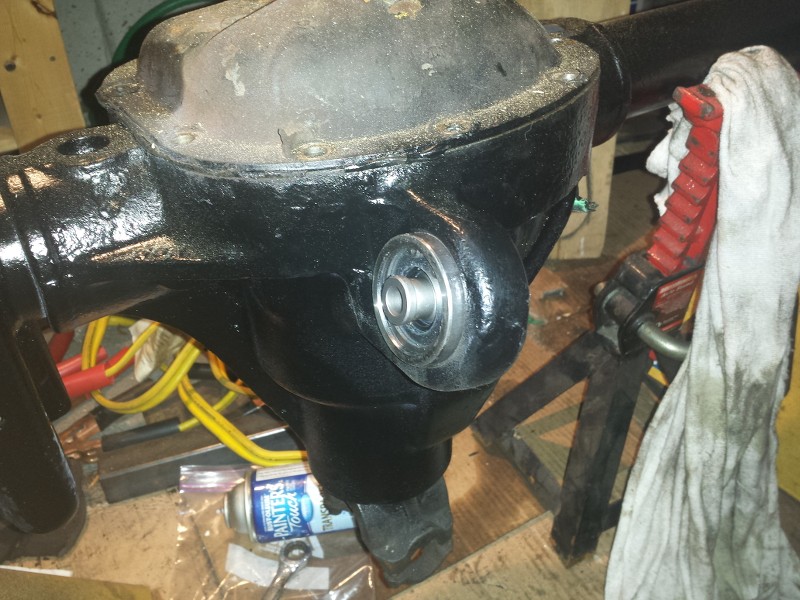
I found the only thing between the pinion and the inner bearing was the slinger which when I measured was 0.032". The old Pinion had a +2 and the new pinion had a depth of +1 which according to Bill's table means add 0.001" which brings it to 0.033". What really baffled me is there were no shims before or after the inner bearing at all just the slinger. Reading further it sounds like this sometimes happens so I guess I just need the slinger and probably 1 .001" shim.
Need to get a seal puller for the rear pinion seal but the good news is that the axle seals look to be in perfect shape. I bought a couple spares assuming I would have to replace them. Will keep them just in case.
Almost suspect they were replaced later in the vehicles life however odds are the old cherokee wasn't abused. Everything looks really good.
Plans for this weekend include:
1. Getting old pinion seal off
2. Getting inner pinion shims and outer pinion shims out and measured.
3. Figuring out what the starting point is for both with new shims and pinion.
That should be a good start. No rush since there is a foot of snow on the ground and the axle isn't going anywhere soon
Want to hear funny. My axle's original gearing? 3.55