You are using an out of date browser. It may not display this or other websites correctly.
You should upgrade or use an alternative browser.
You should upgrade or use an alternative browser.
Build Project - SS Cherokee
- Thread starter mucovich
- Start date
mucovich
Till Valhalla!
Didn't get any pics of the progress today (forgot the camera) but i tossed the rear axle back in, made sheetmetal templates for where the body was cut, cleaned up the inner rails for bracing in anticipation of the new TC crossmember and fabbed and installed a new crossmember in the rear for the upper shock mounts.
tomorrow i'll be finishing off the sheetmetal "plugs", fabbing up new braces from the frame to the rock rails and hopefully start laying out the new TC crossmember. Oh and helping Dwayne toss the front axle back in the excursion.
tomorrow i'll be finishing off the sheetmetal "plugs", fabbing up new braces from the frame to the rock rails and hopefully start laying out the new TC crossmember. Oh and helping Dwayne toss the front axle back in the excursion.
mucovich
Till Valhalla!
Thought i'd update this.
So this is the rear crossmember for the upper shock mounts melted in and painted. I used 1.75" with the cross pieces being 1.5" DOM to attach the brackets to.
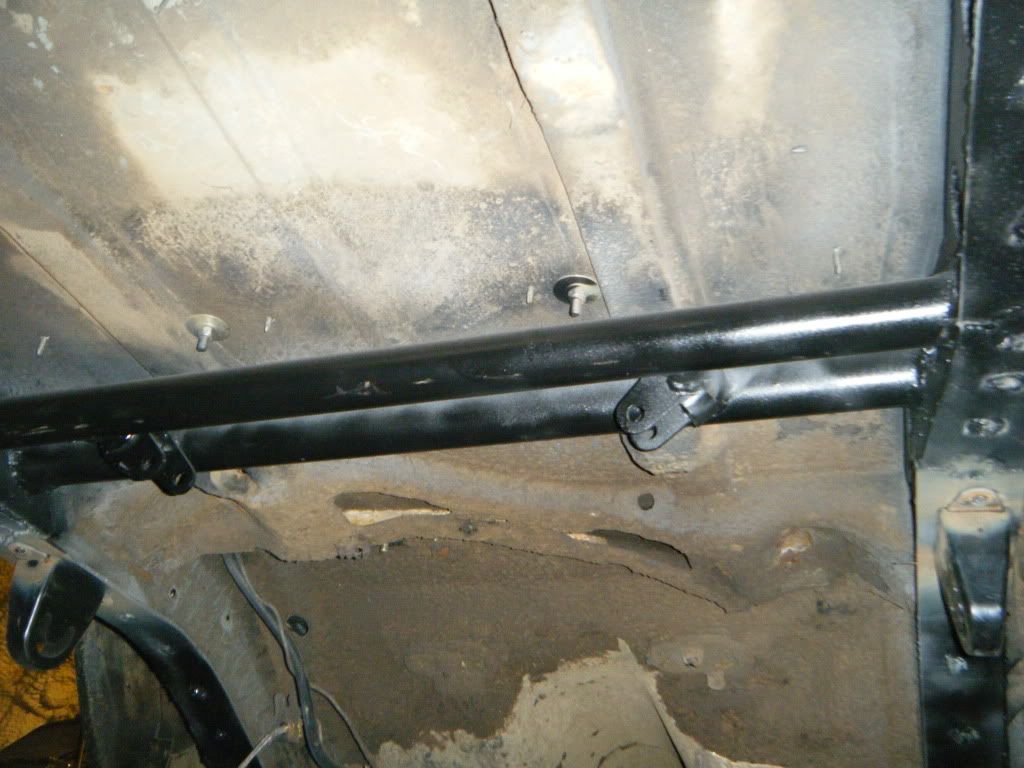
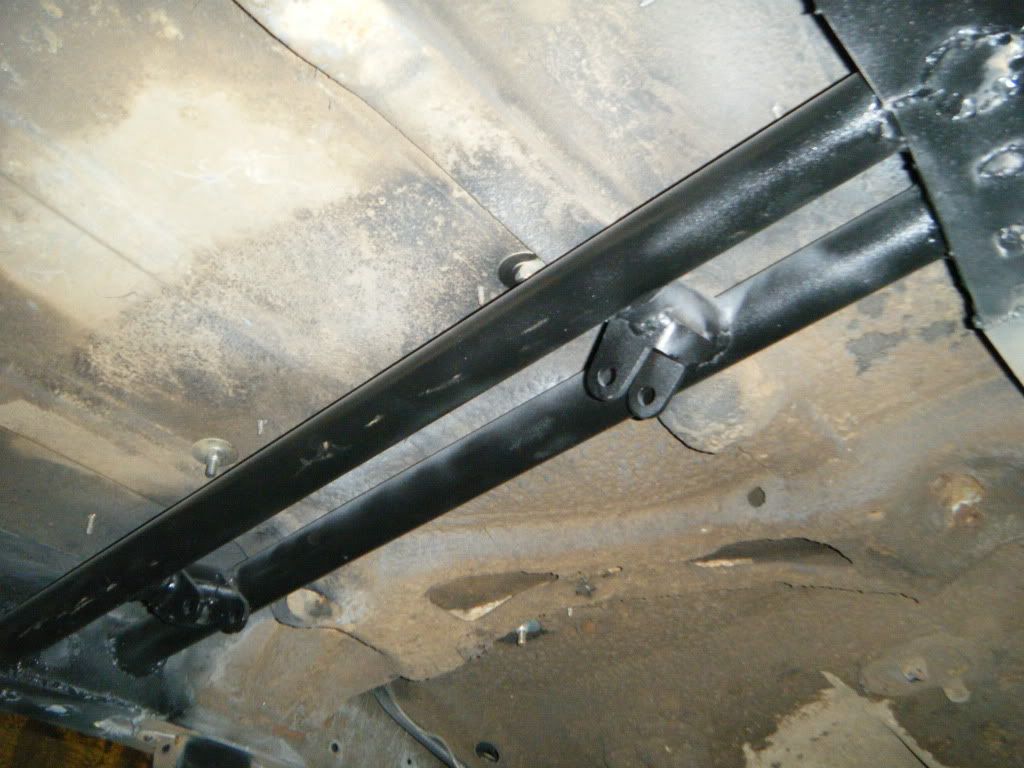
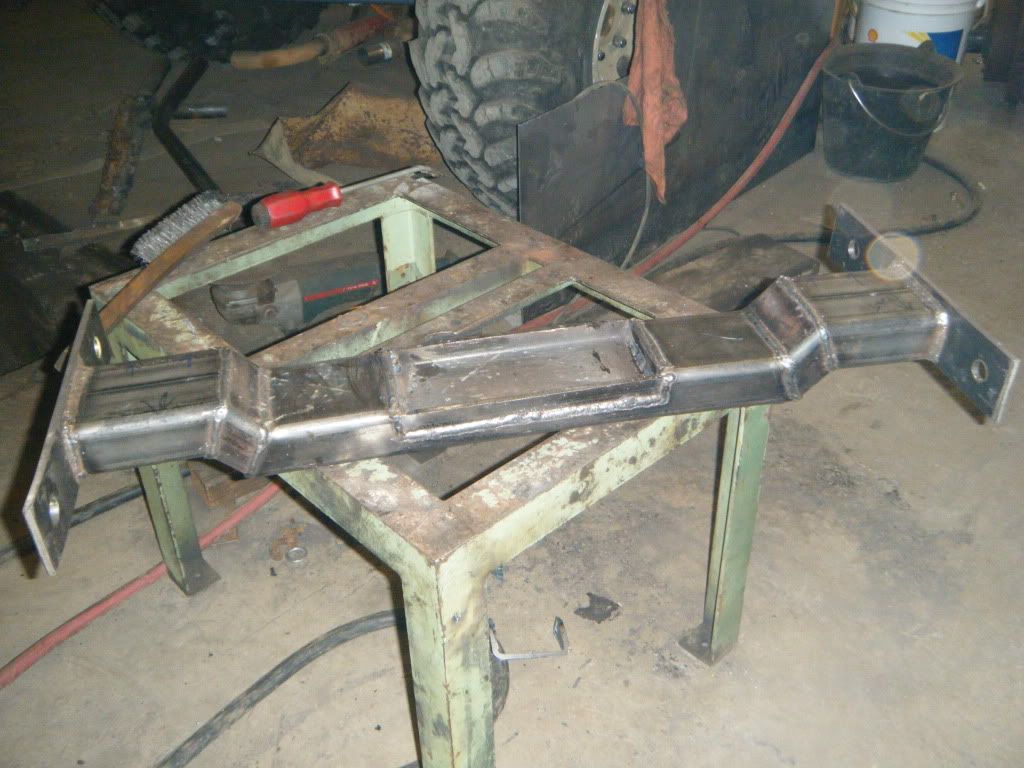
So then i started working on the TC crossmember - i spent a bit of time trying to come up with the "best" design that would be strong, do it's intended job, clear everything that needs to be cleared and be used as a platform to tie into the rear crossmember that will need to be built to support the atlas brace (and the brackets for long arms - more on that later)
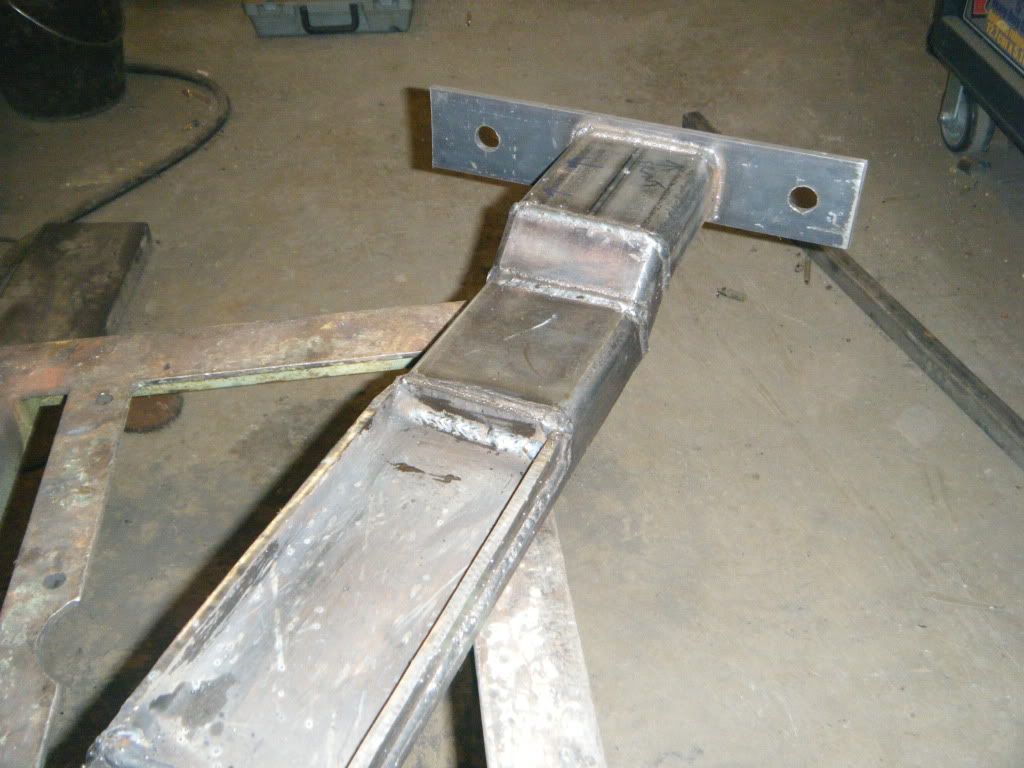
So this is the basic design, here i just have to weld on the other end...
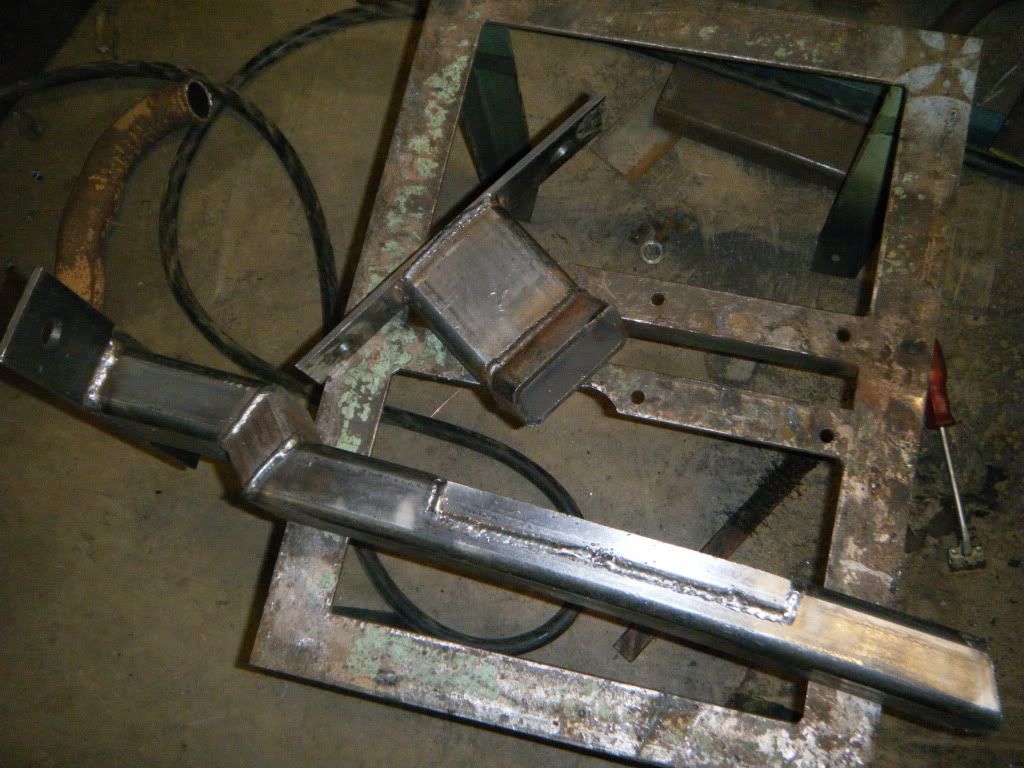
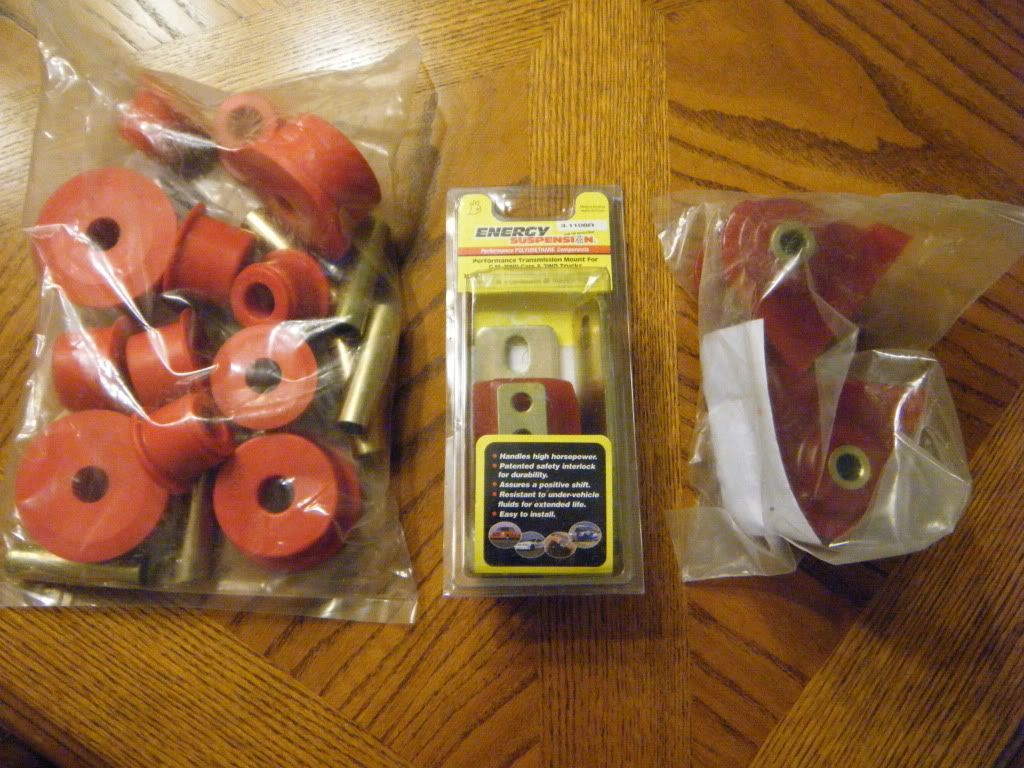
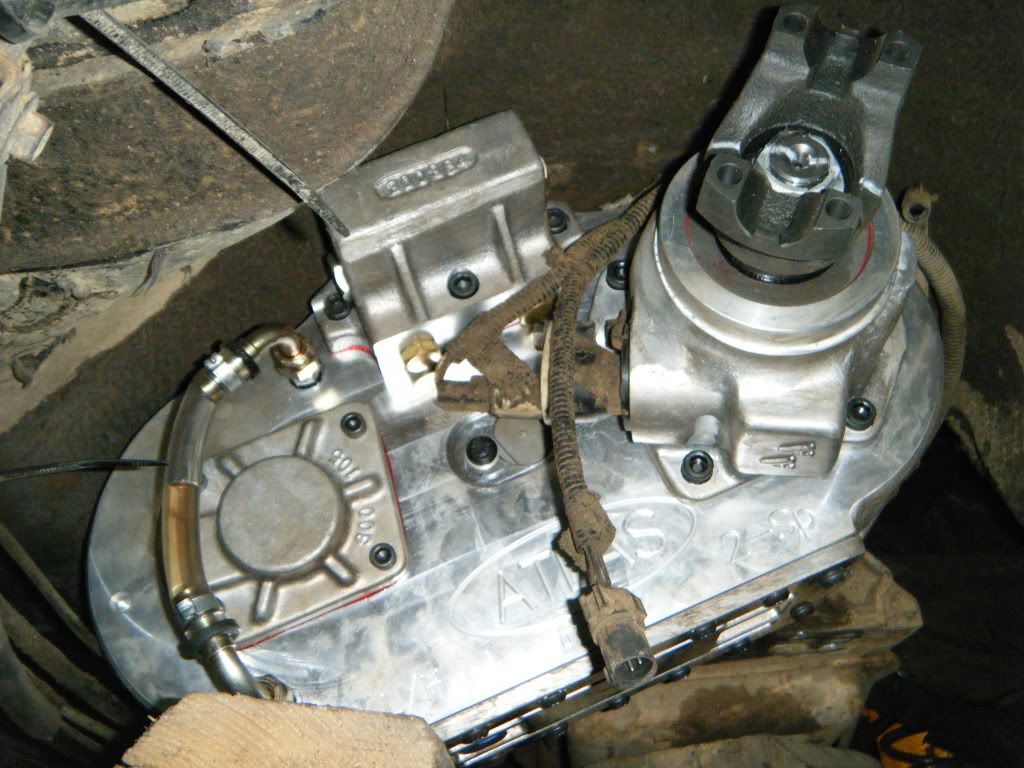
This is the piece welded together. The cradle will obviously support the poly mount and will tuck the rear of the drivetrain about 1.5 to 2 inches higher than stock. I've chosen to use a CJ V8 poly transmision mount as it is just the right size (that will be arriving in the mail later this week) and no, i have not drilled the holes for the mount yet.

So this is the rear crossmember for the upper shock mounts melted in and painted. I used 1.75" with the cross pieces being 1.5" DOM to attach the brackets to.


So then i started working on the TC crossmember - i spent a bit of time trying to come up with the "best" design that would be strong, do it's intended job, clear everything that needs to be cleared and be used as a platform to tie into the rear crossmember that will need to be built to support the atlas brace (and the brackets for long arms - more on that later)
So this is the basic design, here i just have to weld on the other end...

This is the piece welded together. The cradle will obviously support the poly mount and will tuck the rear of the drivetrain about 1.5 to 2 inches higher than stock. I've chosen to use a CJ V8 poly transmision mount as it is just the right size (that will be arriving in the mail later this week) and no, i have not drilled the holes for the mount yet.


mucovich
Till Valhalla!
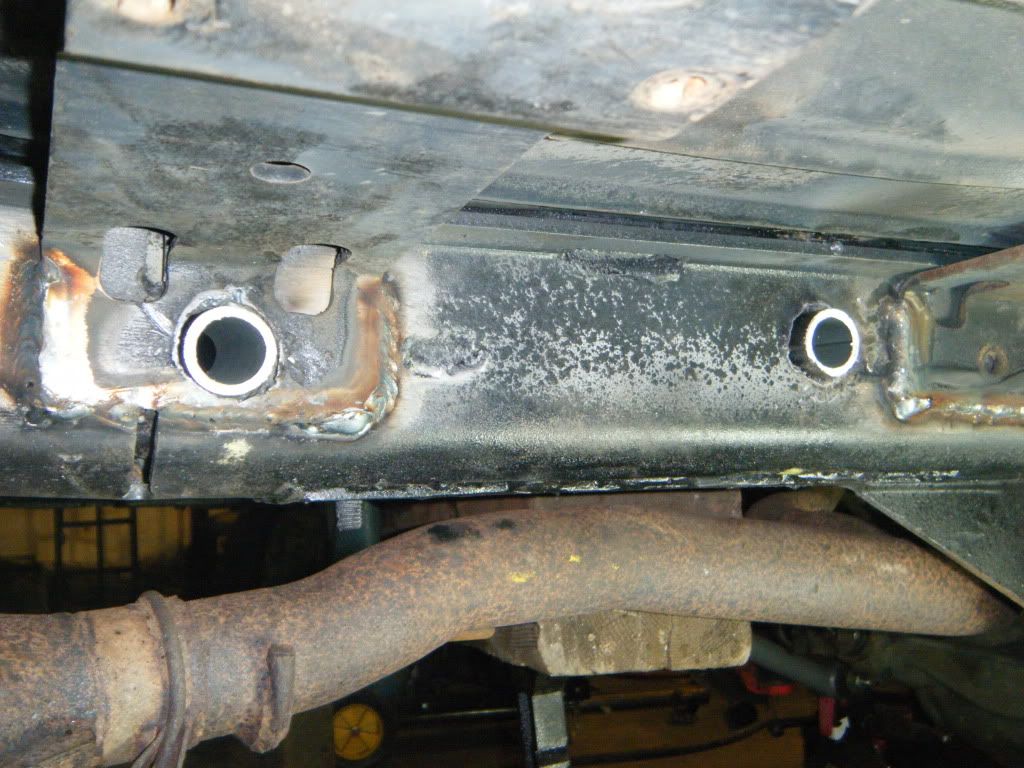
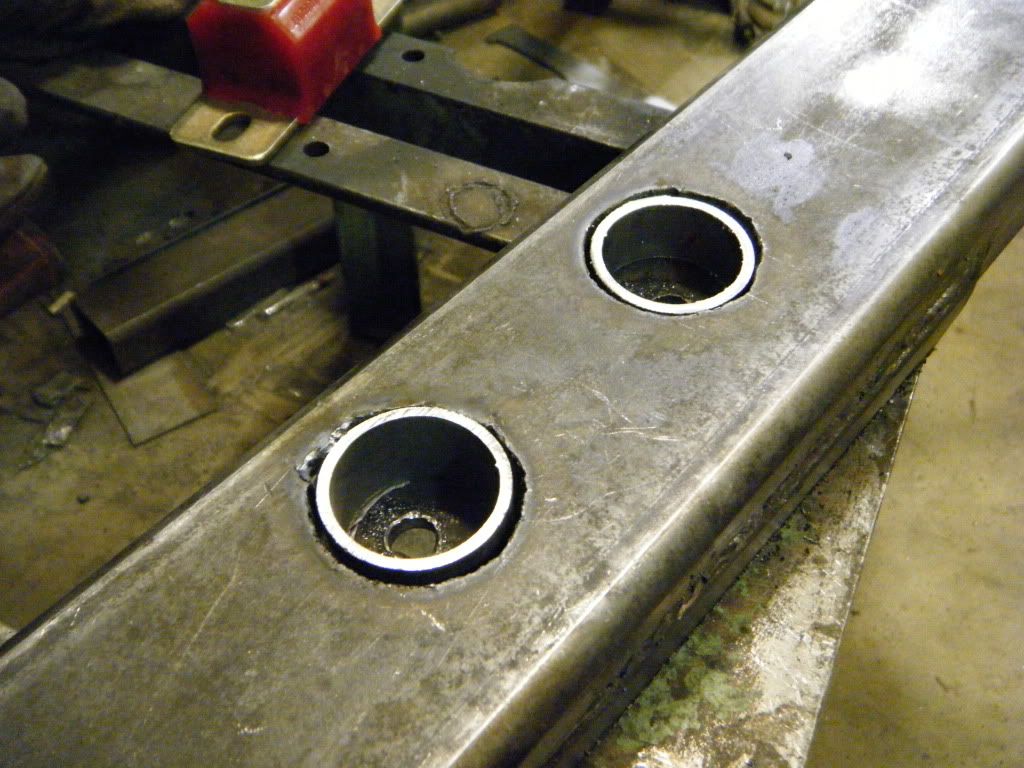
So now I have to wait to get the poly mount to continue - in the mean time i put in the bolt holes through the frame, of course i am sleeving the hole for added strength. this is a pic of the sleeves in place just before i welded them in. I haven't grinded them flush yet but i'll be doing that on tuesday.
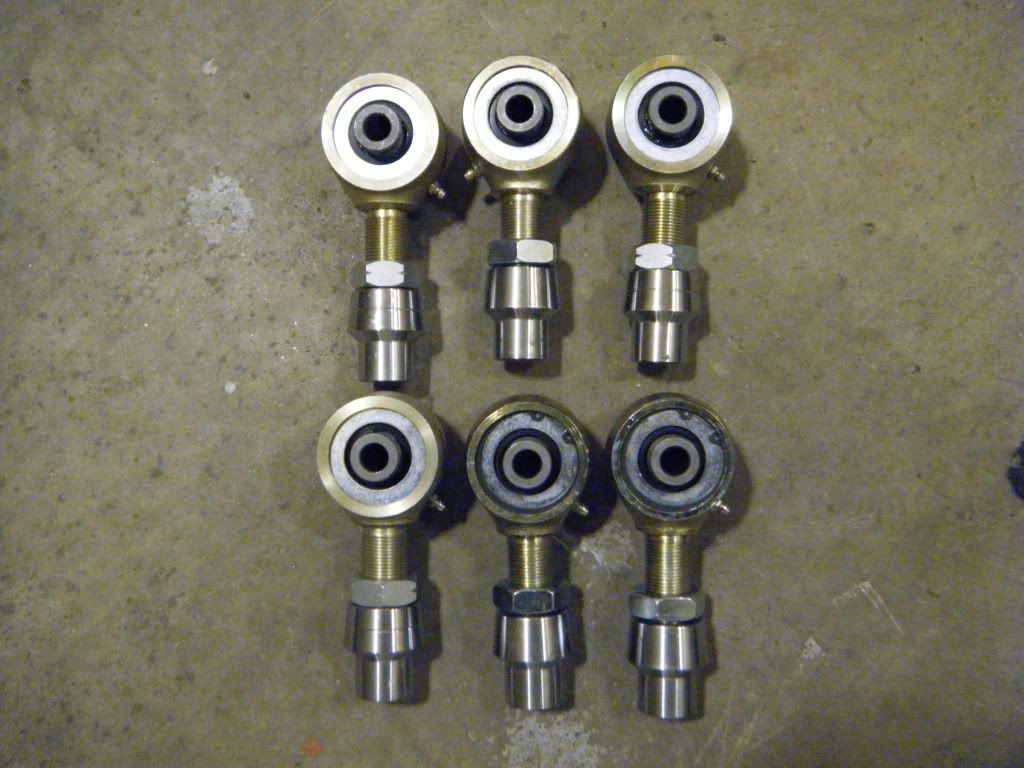
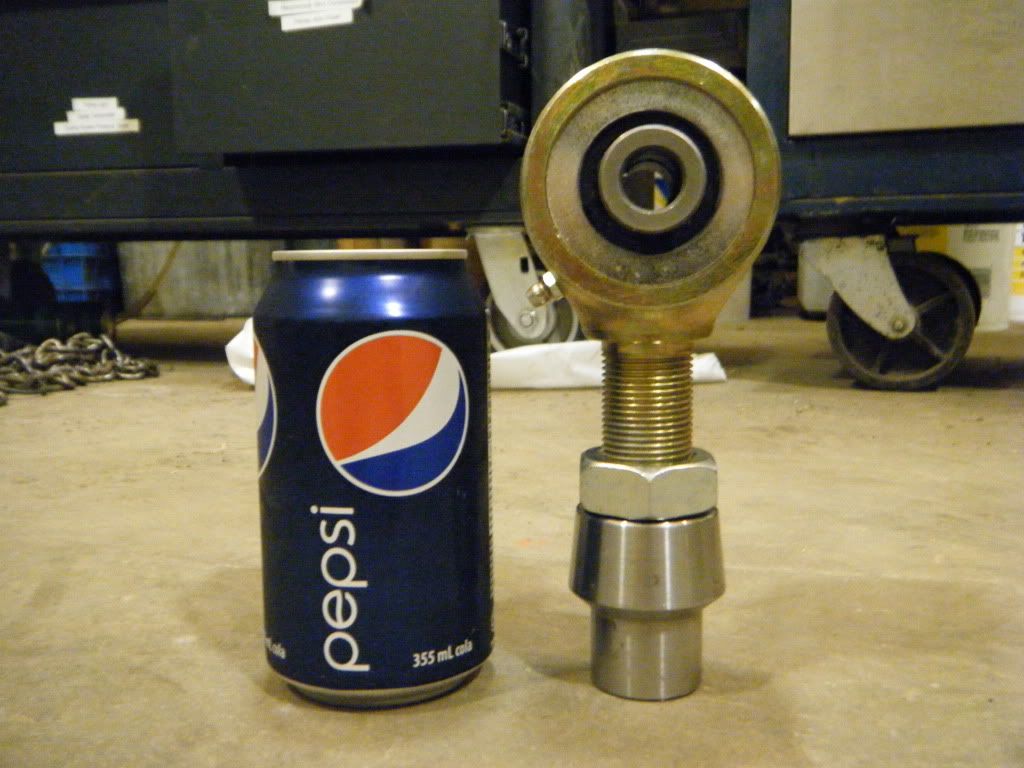
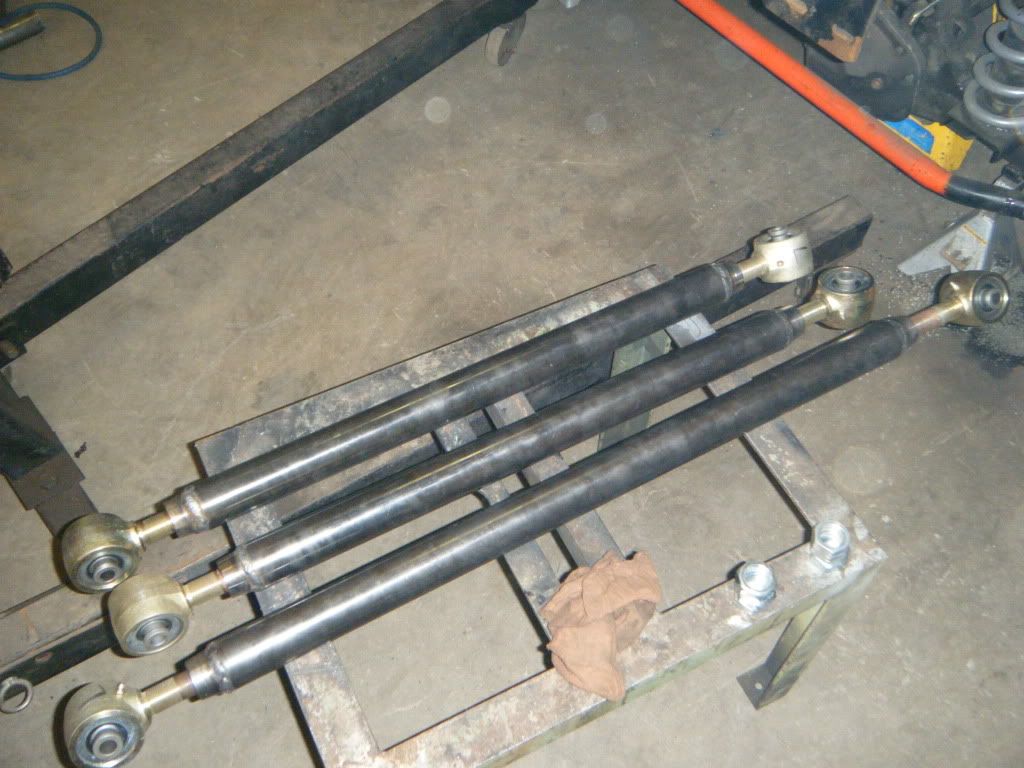
So after the weekend i had thought to myself "i'm building a new crossmember that will one day support long arms - so why don't i just do long arms now" so that's what i'll be doing, i'll be planning that out over the next couple of days.
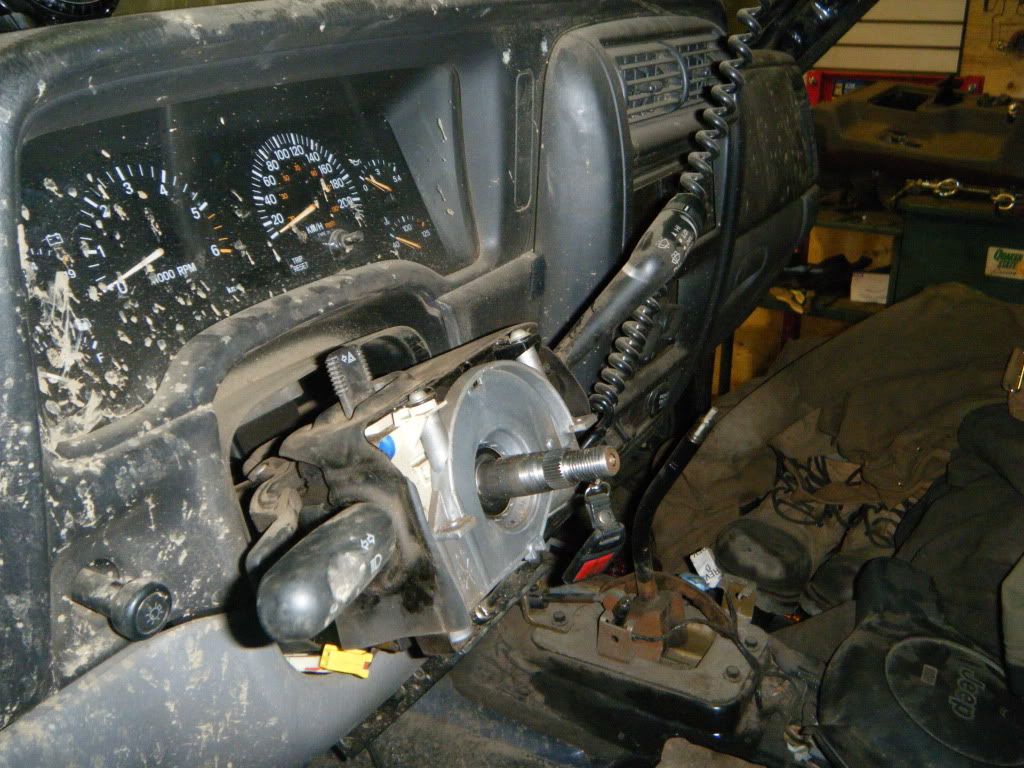
On a side note - i took out the steering wheel (and yes - the dredded airbag) to replace it with an airbagless wheel although to make it work i need to get a spacer.
Well that's all for now, more to follow.
marek

So after the weekend i had thought to myself "i'm building a new crossmember that will one day support long arms - so why don't i just do long arms now" so that's what i'll be doing, i'll be planning that out over the next couple of days.
On a side note - i took out the steering wheel (and yes - the dredded airbag) to replace it with an airbagless wheel although to make it work i need to get a spacer.

Well that's all for now, more to follow.
marek
mucovich
Till Valhalla!
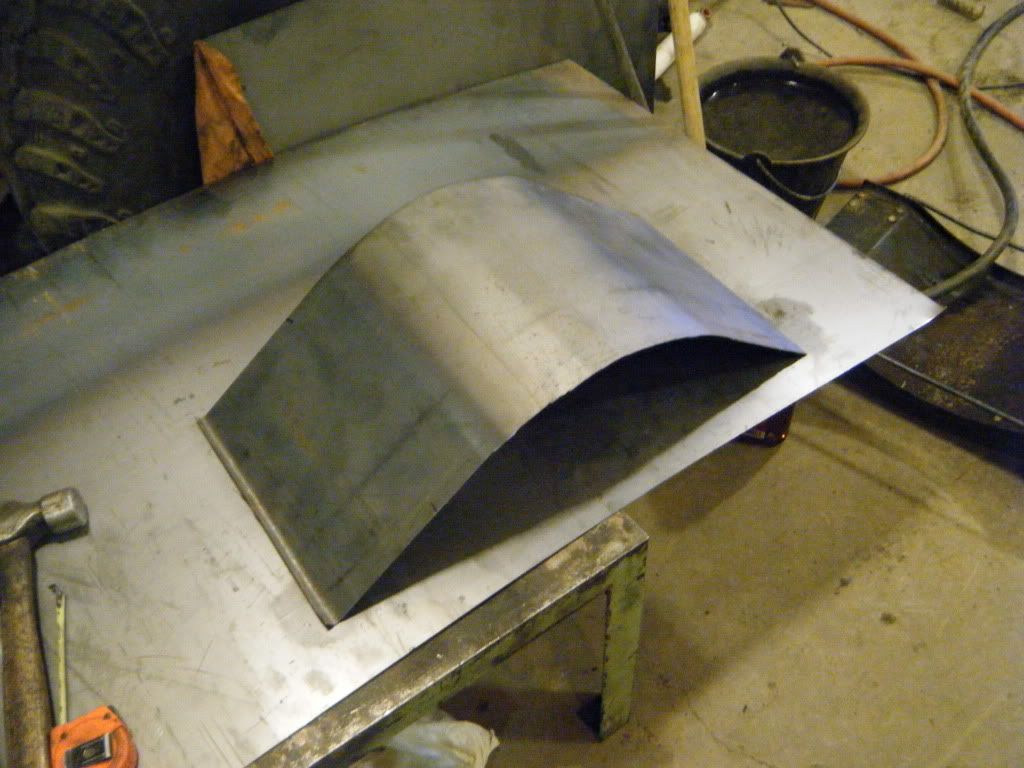
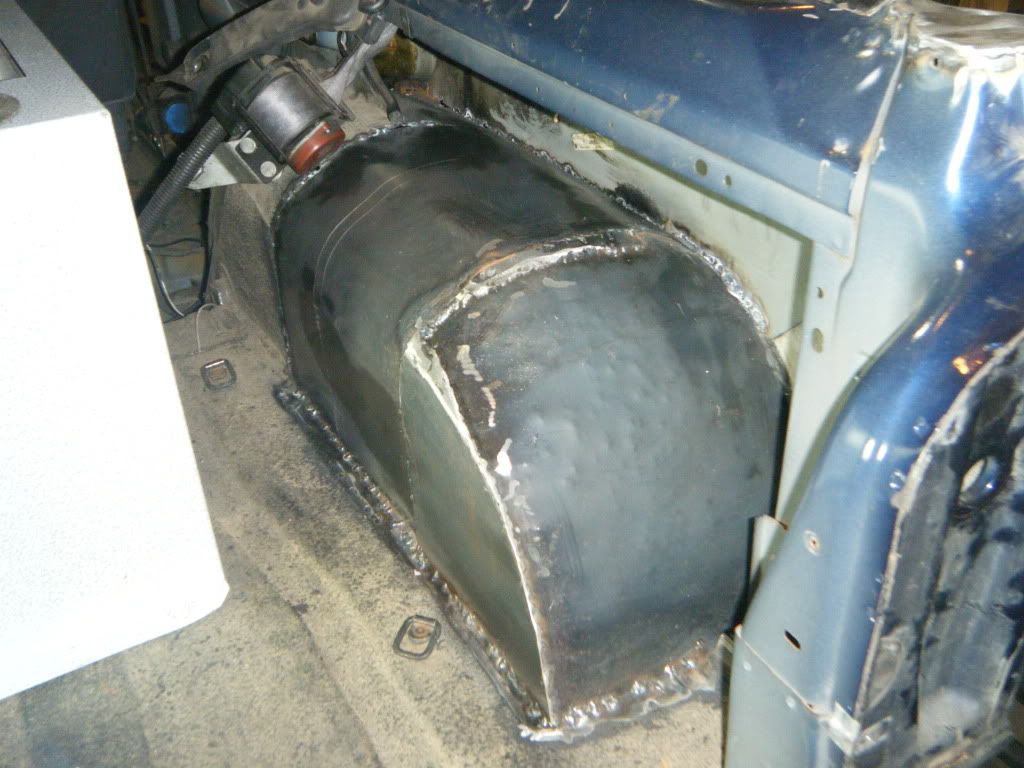
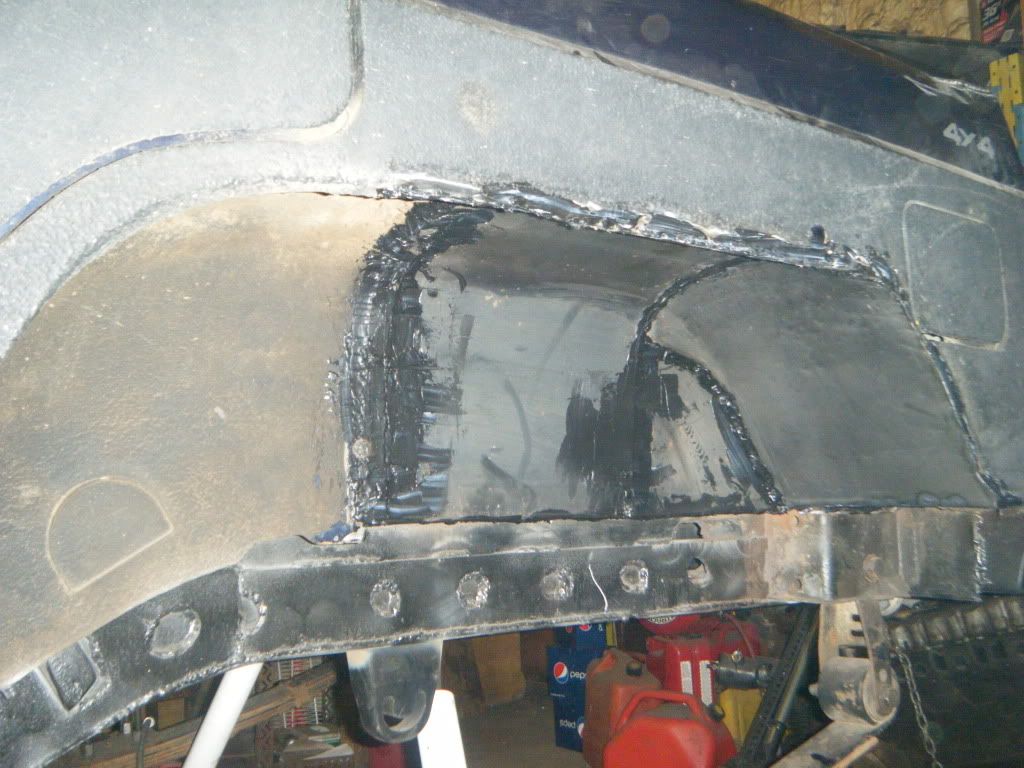
I've started the wheel wells - i've paused on the crossmember until all the poly mounts come in and the link tabs. I picked up a sheet of 16g, thick enough for wheel wells but thin enough to be easy to work. Because I left the original fronts of the wells in place i had some "compound" curves to deal with - nothing a very large ball peen and alot of pounding couldn't handle (and a thick coat of bedliner when it's done!)
started the cutting and fitting...
pieces welded in...
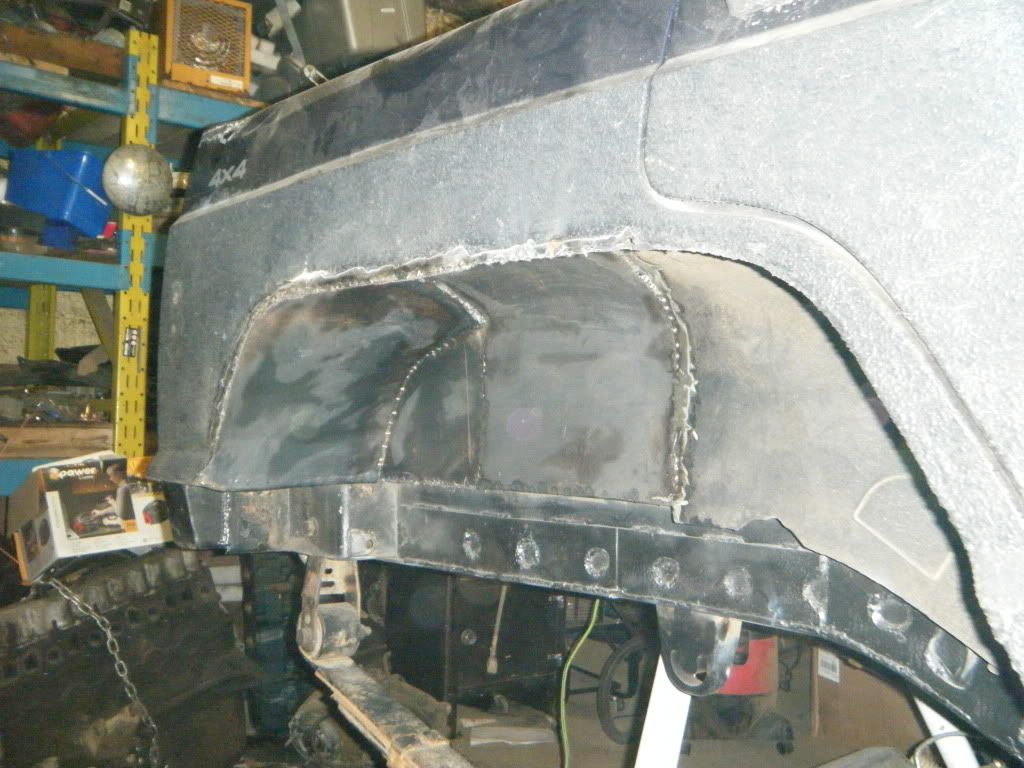
gooped seam sealer on both sides...
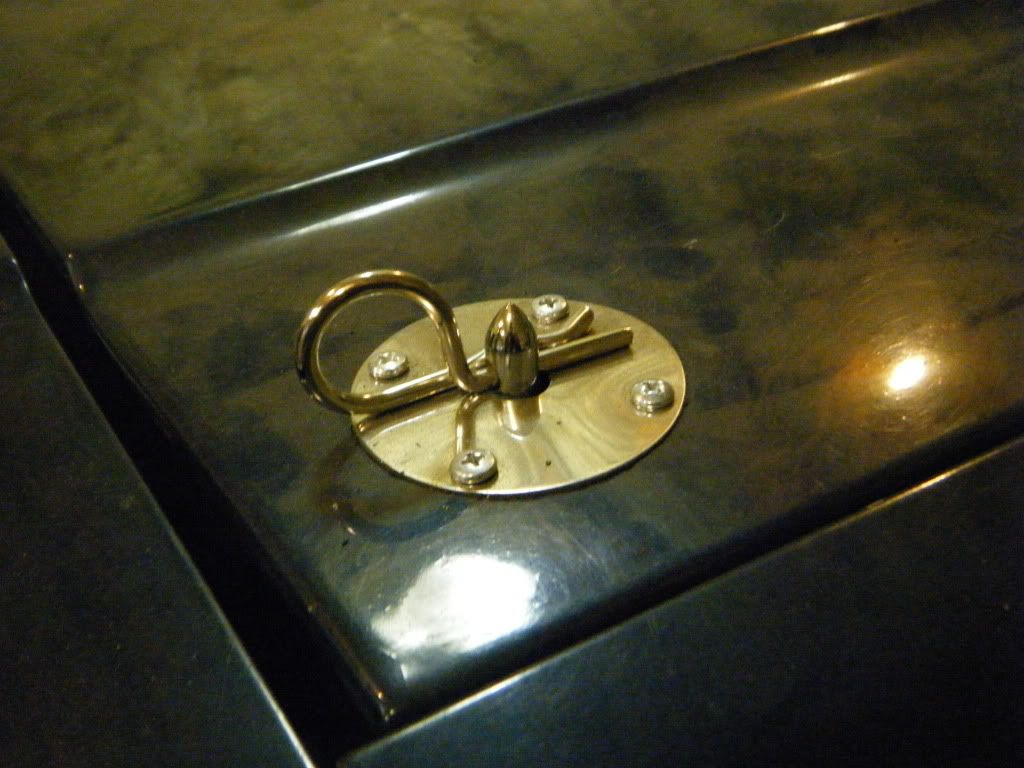
Also, i forgot to show post this last week - i figure this mod is good for about 30 - 40 more horse power...
hood pins
started the cutting and fitting...

pieces welded in...


gooped seam sealer on both sides...

Also, i forgot to show post this last week - i figure this mod is good for about 30 - 40 more horse power...
hood pins

Also, i forgot to show post this last week - i figure this mod is good for about 30 - 40 more horse power...
hood pins

Are you going to get some matching underglow to go with your hood pins? :flipoff:
What kind of seam sealer are you using?
Nice work on the inner fenders!
mucovich
Till Valhalla!
Are you going to get some matching underglow to go with your hood pins? :flipoff:
What kind of seam sealer are you using?
Nice work on the inner fenders!
hehe, first - :flipoff:
second - i got whatever brand that they sell at bensons
third - thanks! i'm lookin forward to getting back to work on the crossmember and not working with sheetmetal for awhile!-although i'll have to cut out a whole in the passanger side floor for the upper link which leads me to think that maybe i should also build a custom center console! that shouldn't be too hard though.
Marek
mucovich
Till Valhalla!
Don't forget to install the keeper cables so you don't lose the clips, they are good for 5hp on their own.
:lmao: no doubt - KOH here i come!
mucovich
Till Valhalla!
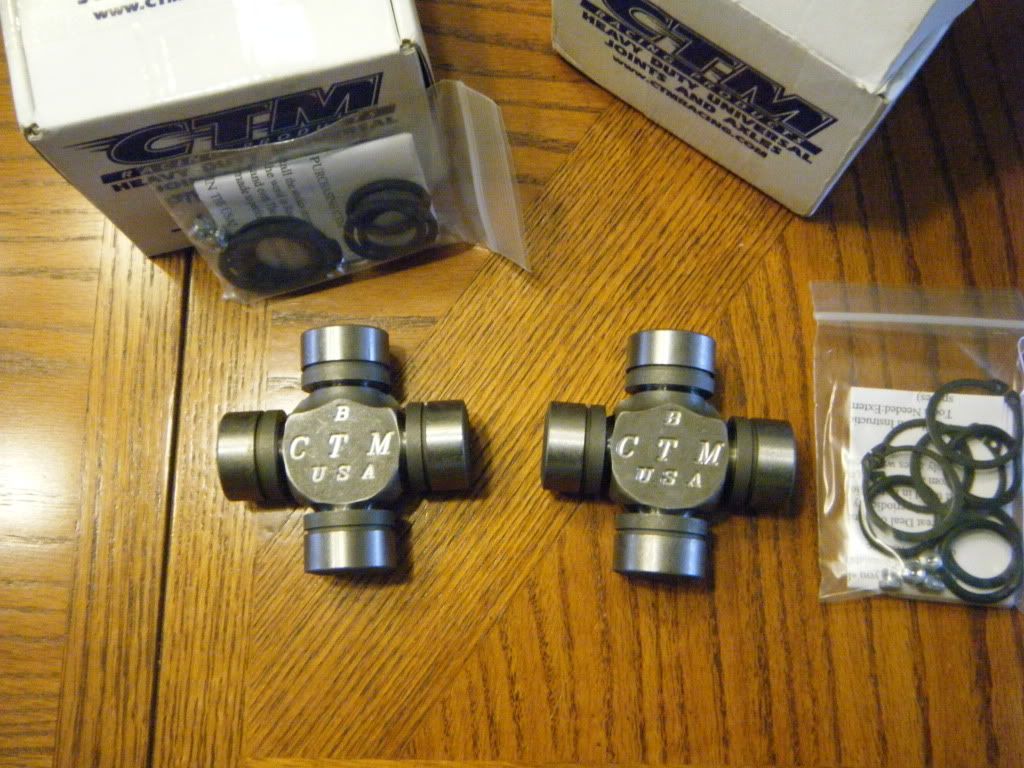
Well it doesn't look like it but i had a productive day... I was able to get the CTM's in, regreased the hub and bearings and re-torque everything to spec. I did have to change out the spindle bearings (i didn't do these when i built these last spring) they were due for it. Changing u-joints is a fairly easy procedure but i have to say that the CTM's where the easiest u-joints i've ever installed. They went in like butter! i guess that's what quality gets you!
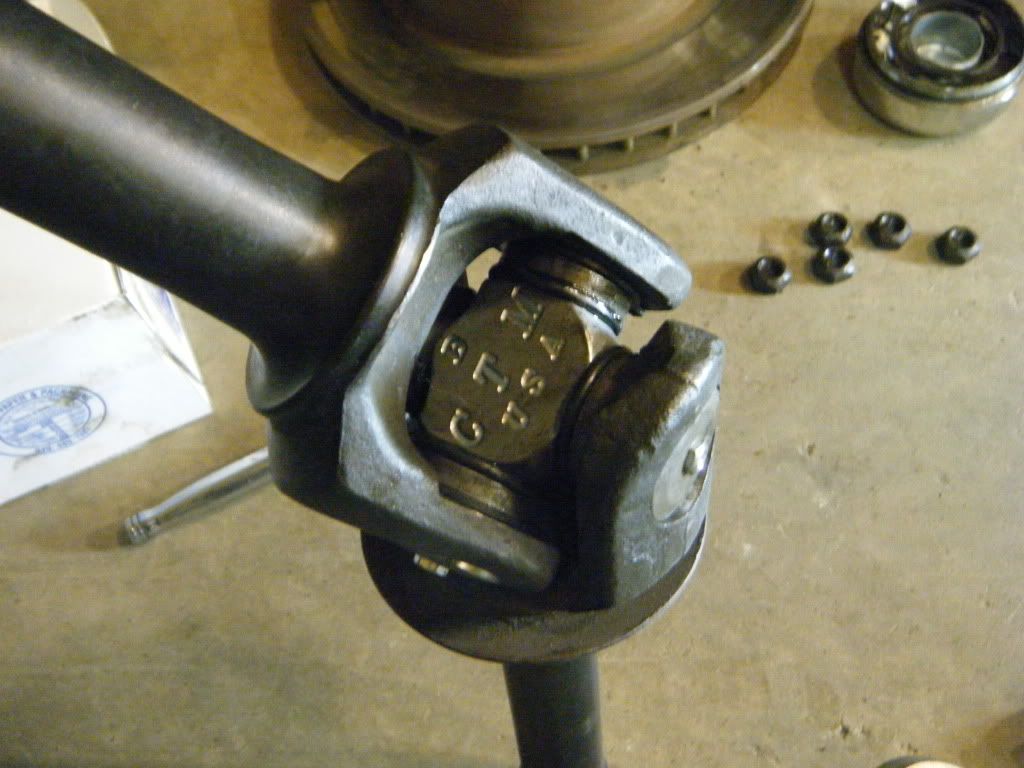
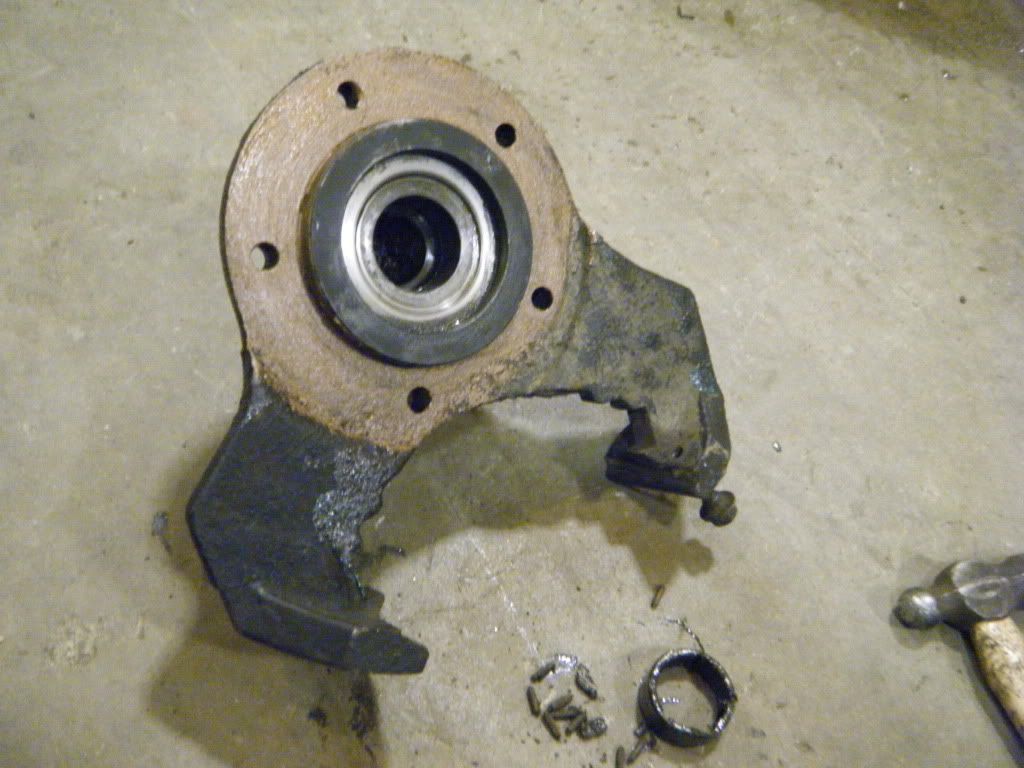
I was also able to tack the lower link brackets onto the crossmember and did a bunch of measuring...
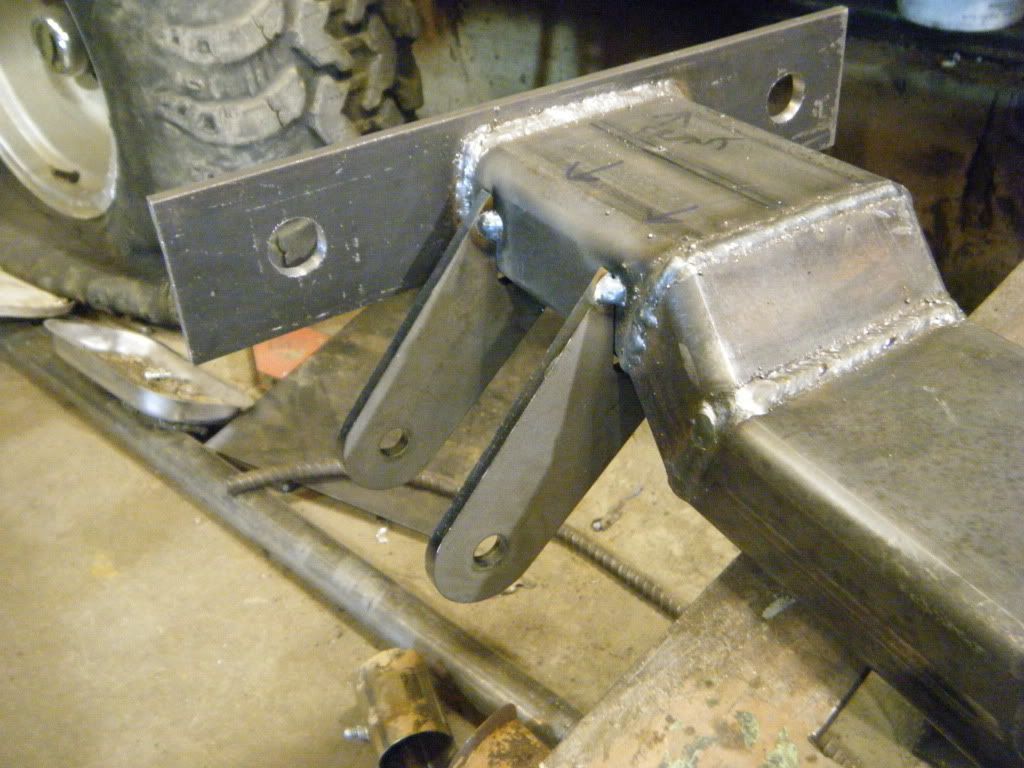


I was also able to tack the lower link brackets onto the crossmember and did a bunch of measuring...

Looking good Marek
dj
dj
mucovich
Till Valhalla!
So I worked on my crossmember abit more today - now that i have the polymount.
Drilled the mounting holes through the crossmember...
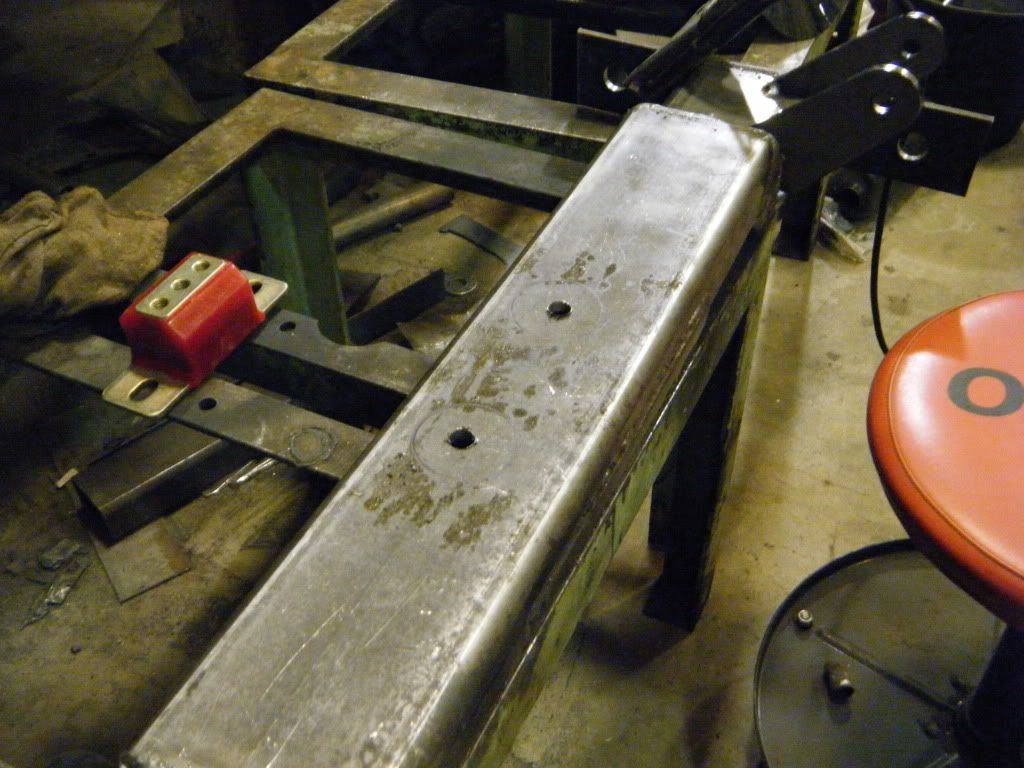
Used the plasma to enlarge the holes on the bottom so that the poly mount bolts will not stick out of the bottom...
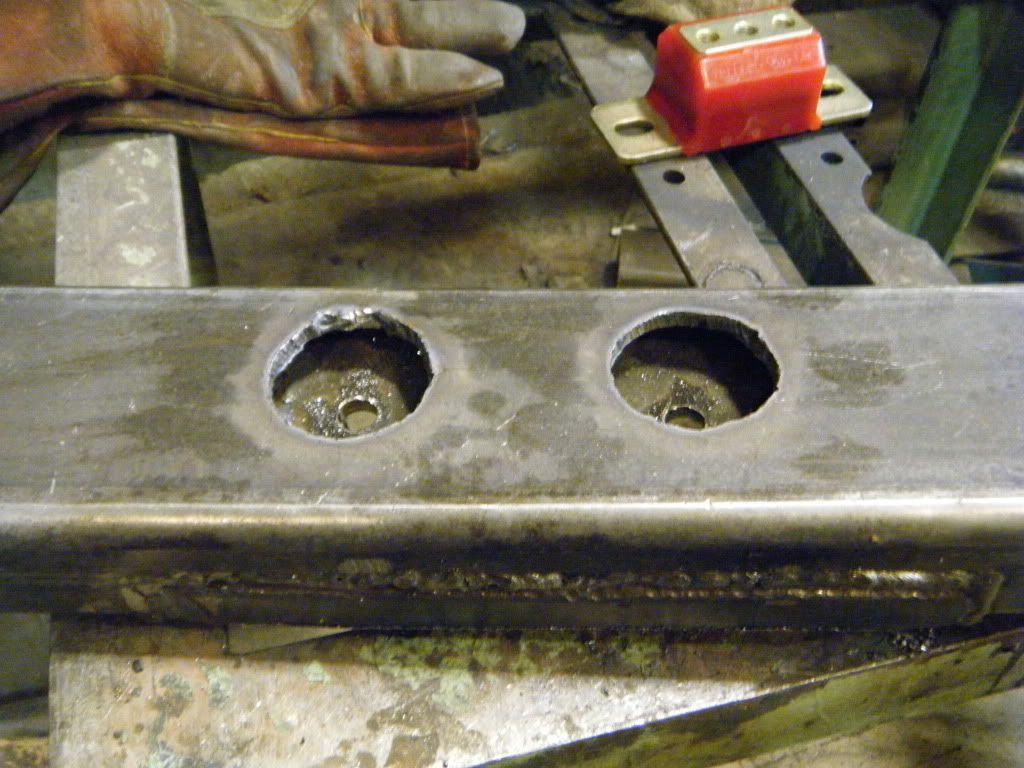
I cut 7/8's length of 1 3/4 HREW as slugs to drop in the hole to seal it up...
welded up...
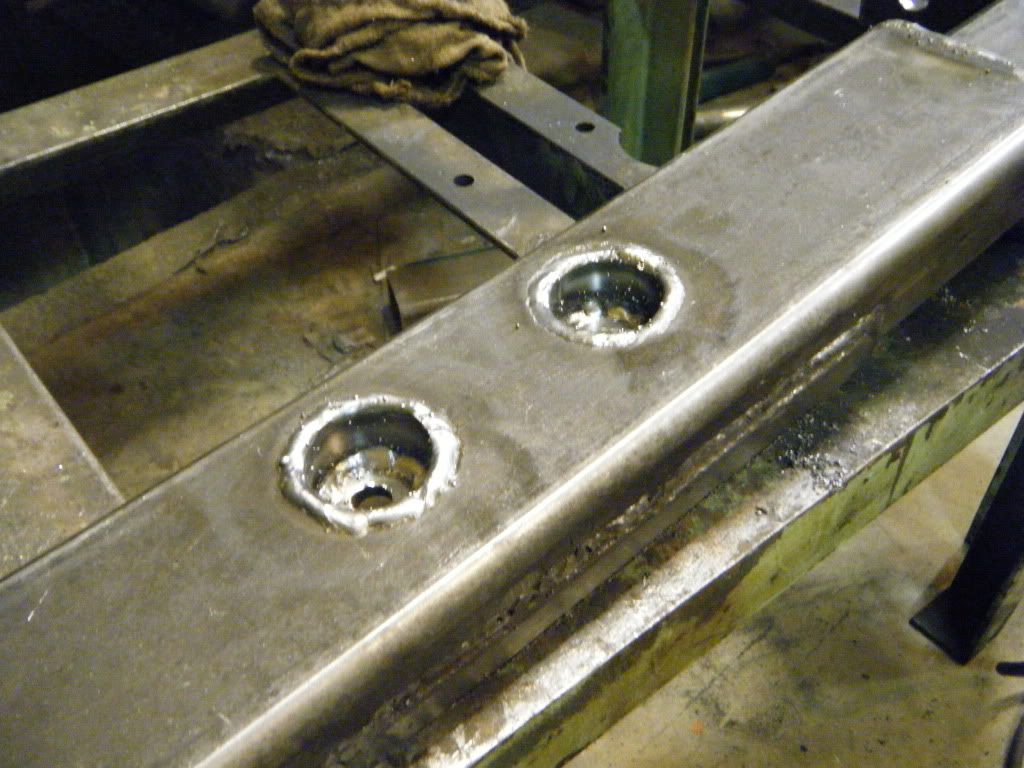
smoothed out...
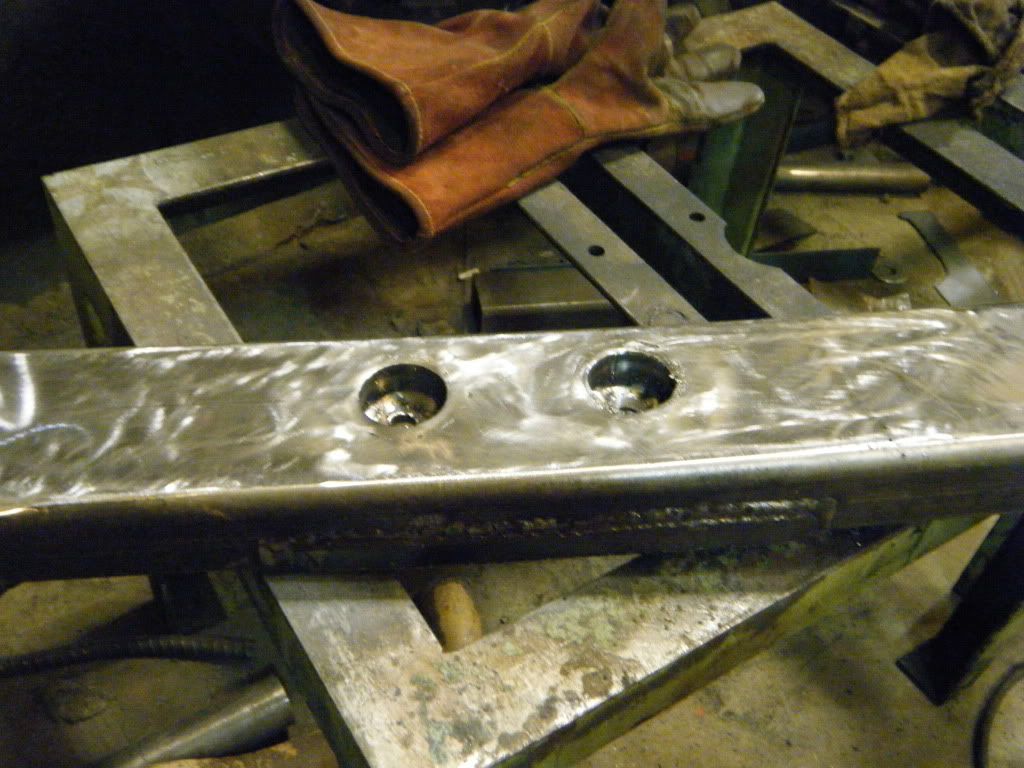
Drilled the mounting holes through the crossmember...

Used the plasma to enlarge the holes on the bottom so that the poly mount bolts will not stick out of the bottom...

I cut 7/8's length of 1 3/4 HREW as slugs to drop in the hole to seal it up...

welded up...

smoothed out...

mucovich
Till Valhalla!
I also tacked in the upper mount on the CM...
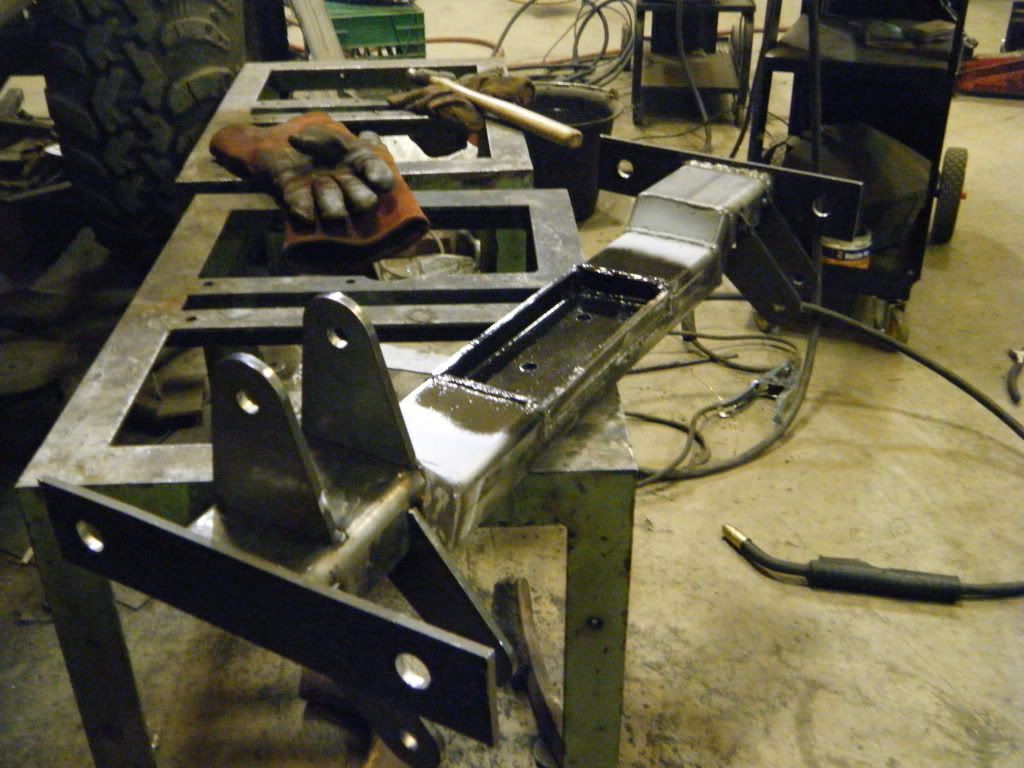
And got the stck brackets and drop brackets cut off - rough with the plasma so i will be doing some grinding and cleaning tomorrow...
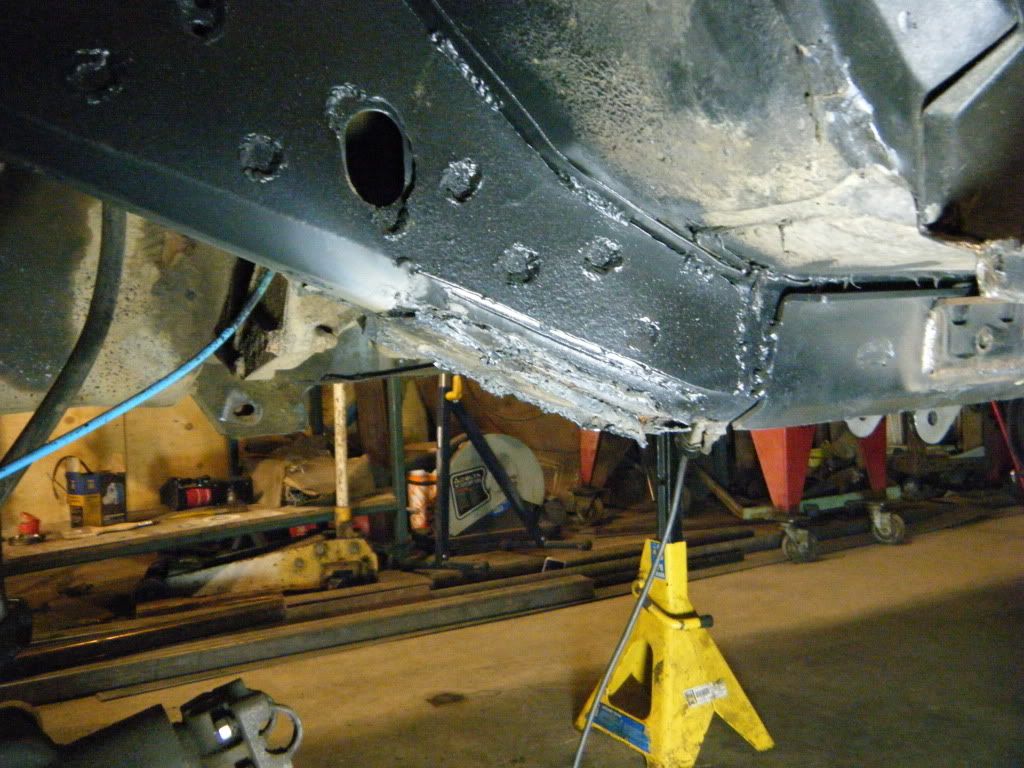
I also cut out the floor on the passanger side for the upper link - i did cut out more and will probably cut even more once i get the link made up and make sure it has enough clearance as it cycles...
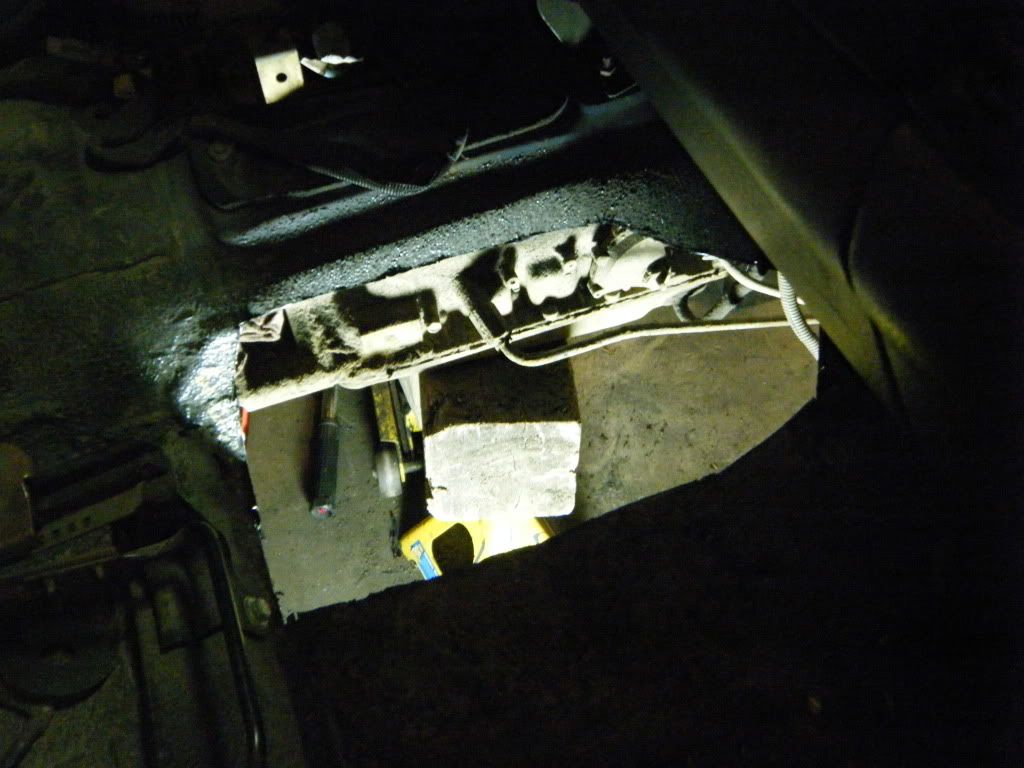
I'll just be extending the tunnel over top with 16g sheet.

And got the stck brackets and drop brackets cut off - rough with the plasma so i will be doing some grinding and cleaning tomorrow...

I also cut out the floor on the passanger side for the upper link - i did cut out more and will probably cut even more once i get the link made up and make sure it has enough clearance as it cycles...

I'll just be extending the tunnel over top with 16g sheet.
mucovich
Till Valhalla!
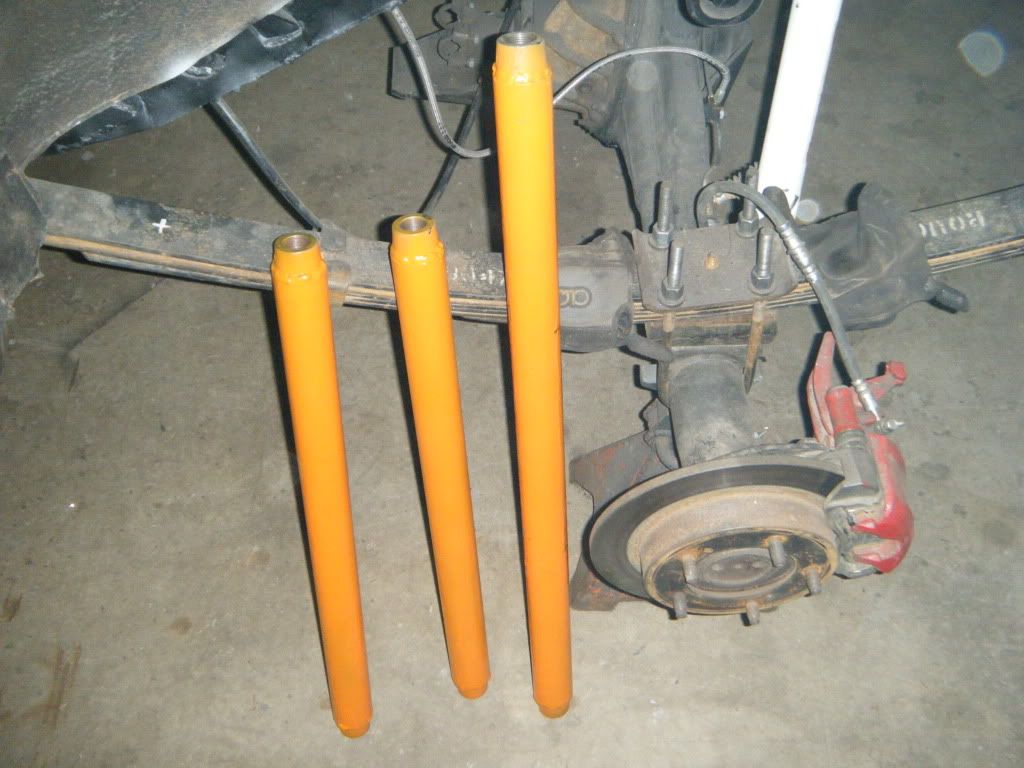
I made some headway on fitting everything up and got the axle end upper link bracket made and tacked onto the axle. I cut out more of the floor but after some thinking and measuring i've decided to cut out all of the floor above the tranny and t-case. I figured i would probably end up doing this because i was thinking about building a custom center console anyway.
