blueguy
Jackstand Racer
Back in September, while testing out my rig, I managed to break one of the TCI transmission shifter cables I rigged up to shift my STaK. Needless to say, I was not impressed.
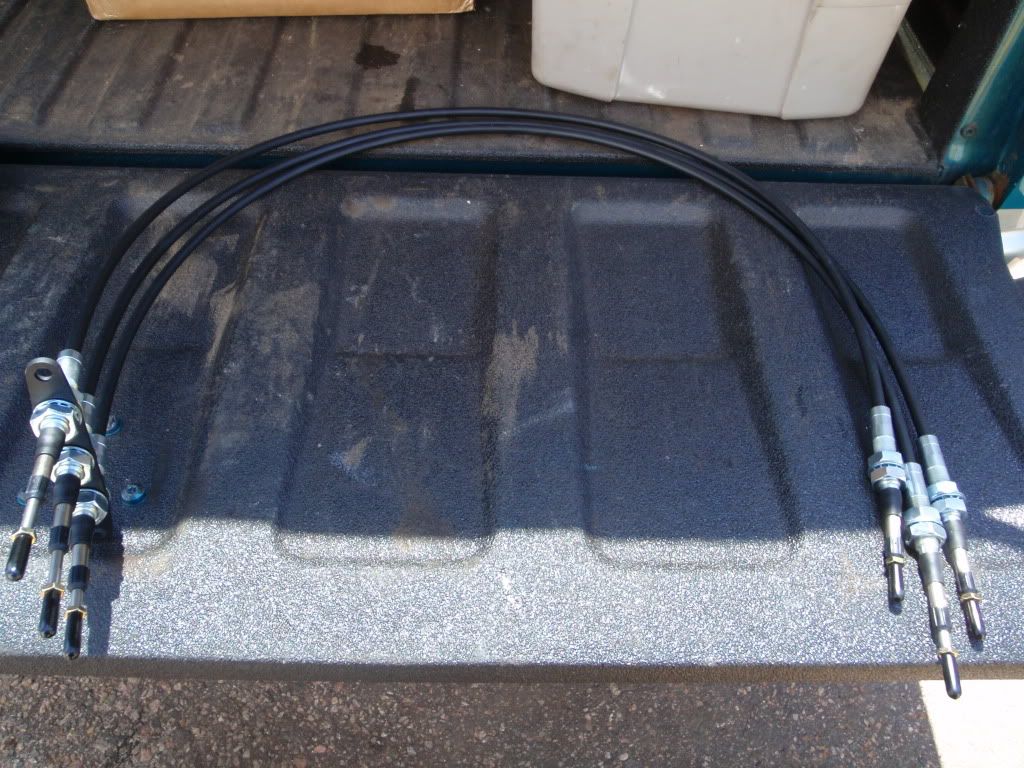
It helped me realize that perhaps a shifter cable with a #10 threaded end was not beefy enough for t-case shifting duty. So I placed a call to NorthWestFab back in March for one of their cable shifter set-ups. The kit NWF manufactures comes with 3' cables, and I needed 5' ones which cost a little extra as well as required a bit more lead time, but were no issue.
I got the kit in May shortly after arriving home. Needless to say that I was pretty impressed with the quality of the kit, as well as the beefiness of the cables I didn't actually measure the ends before installing them, but it looks like they're in the vicinity of 1/4".
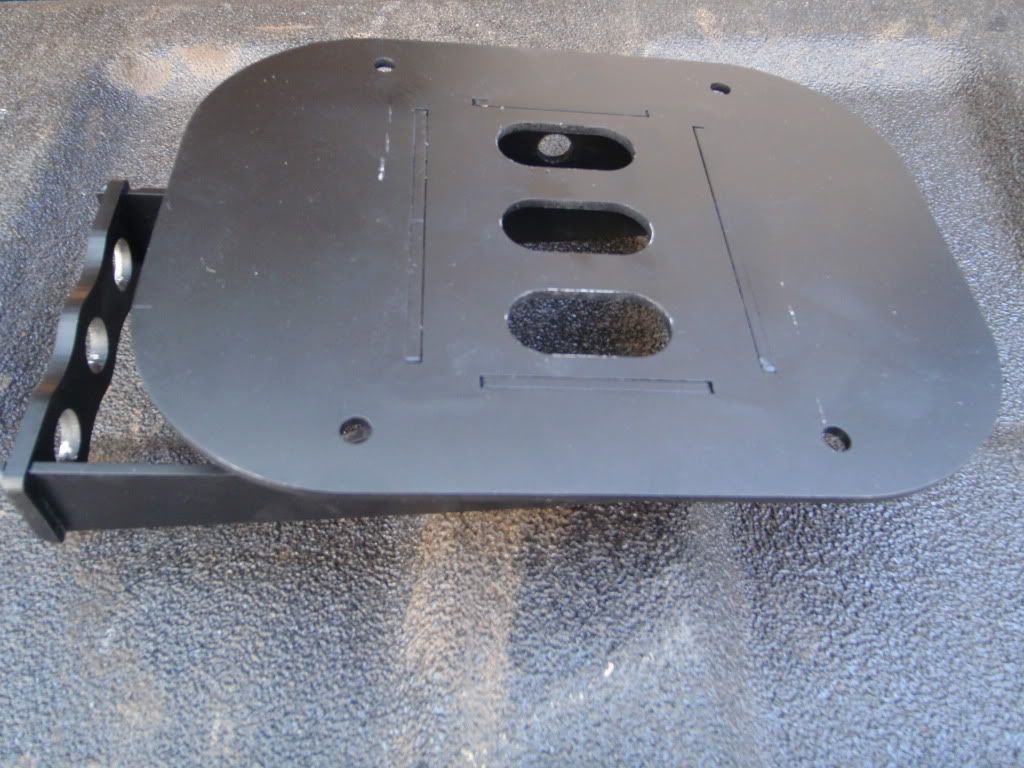
Shifters and base plate assembly:

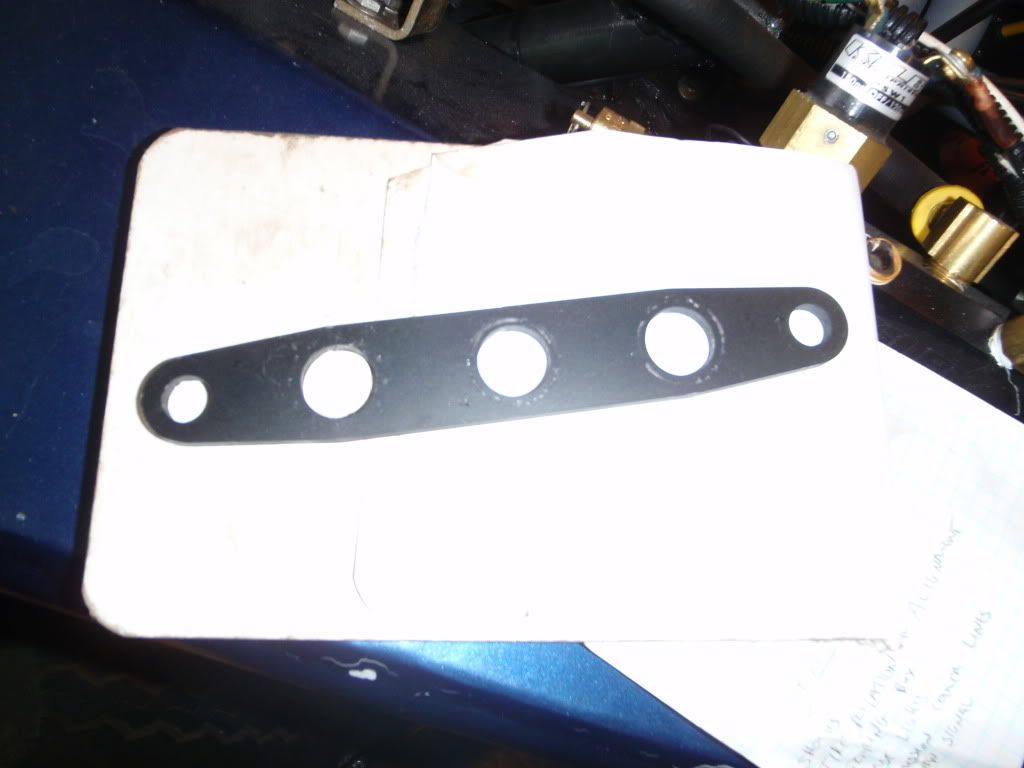
The rest of the hardware the kit comes with:
The bottom of the shifter after putting the shifters together:
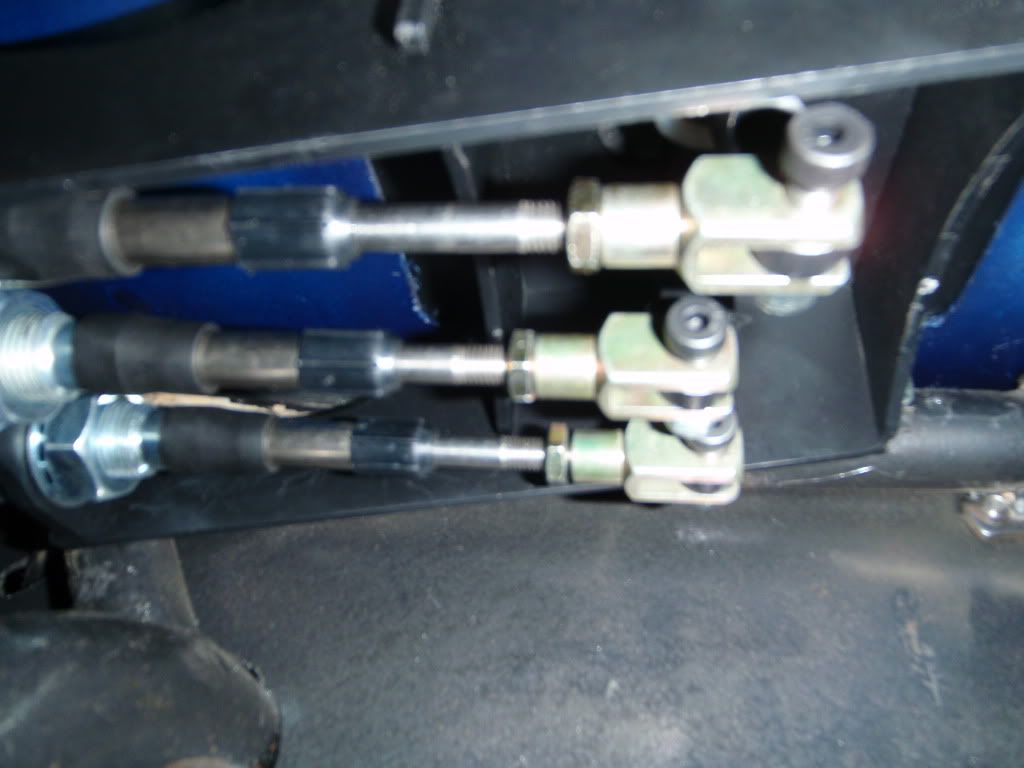
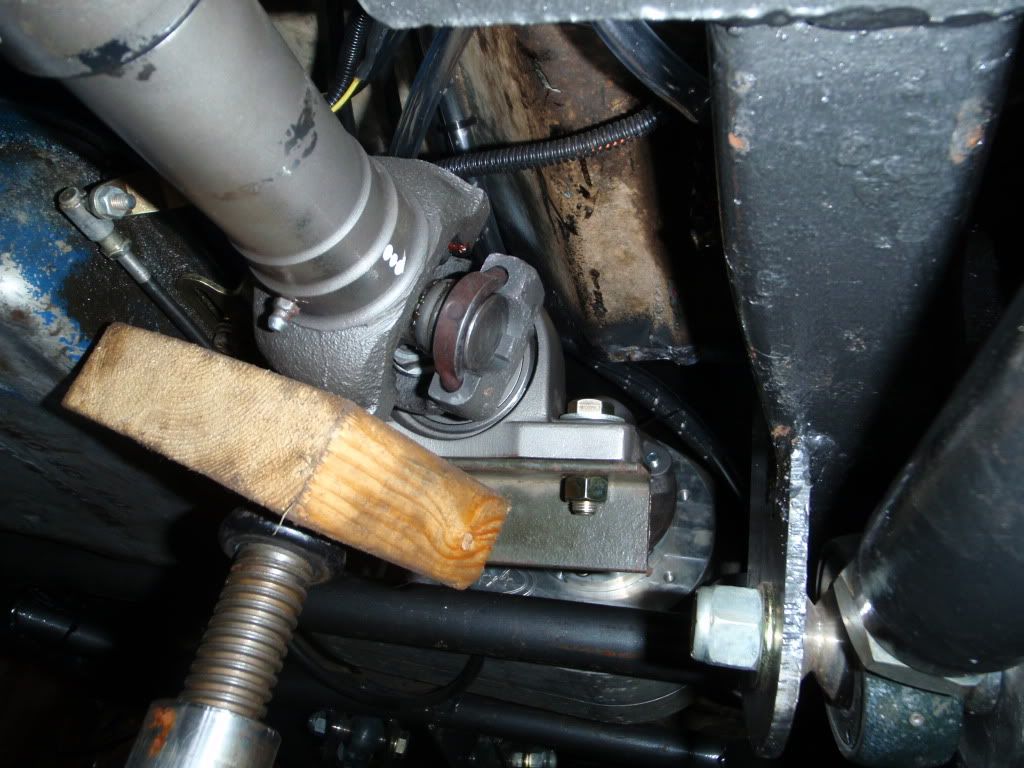
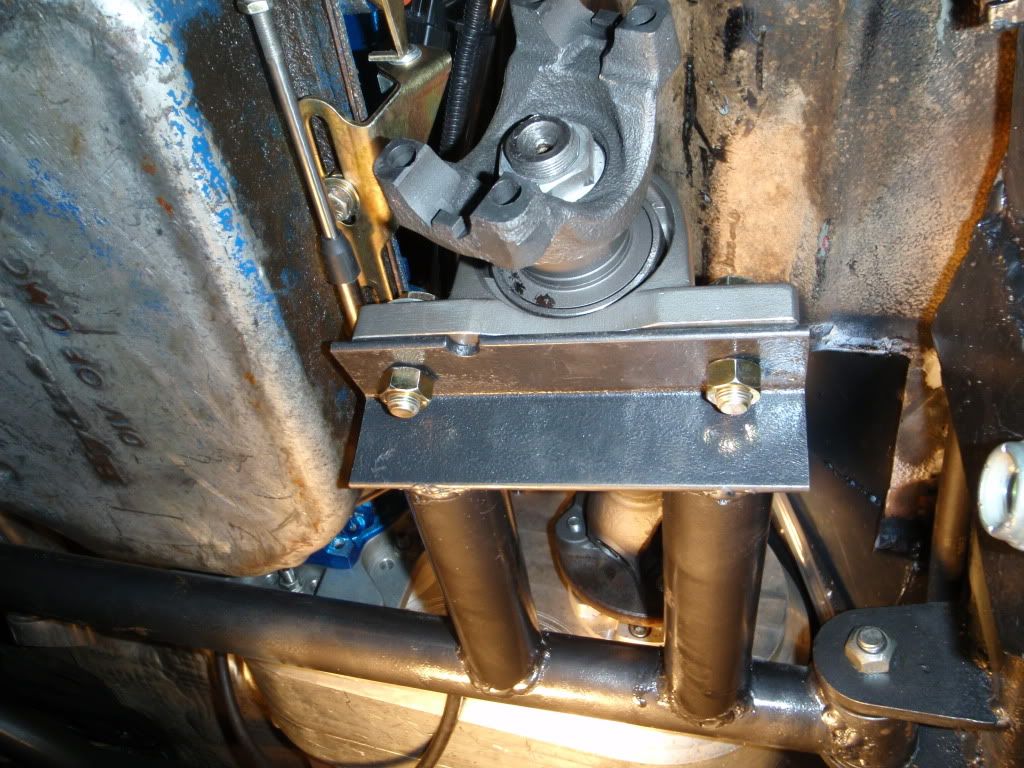
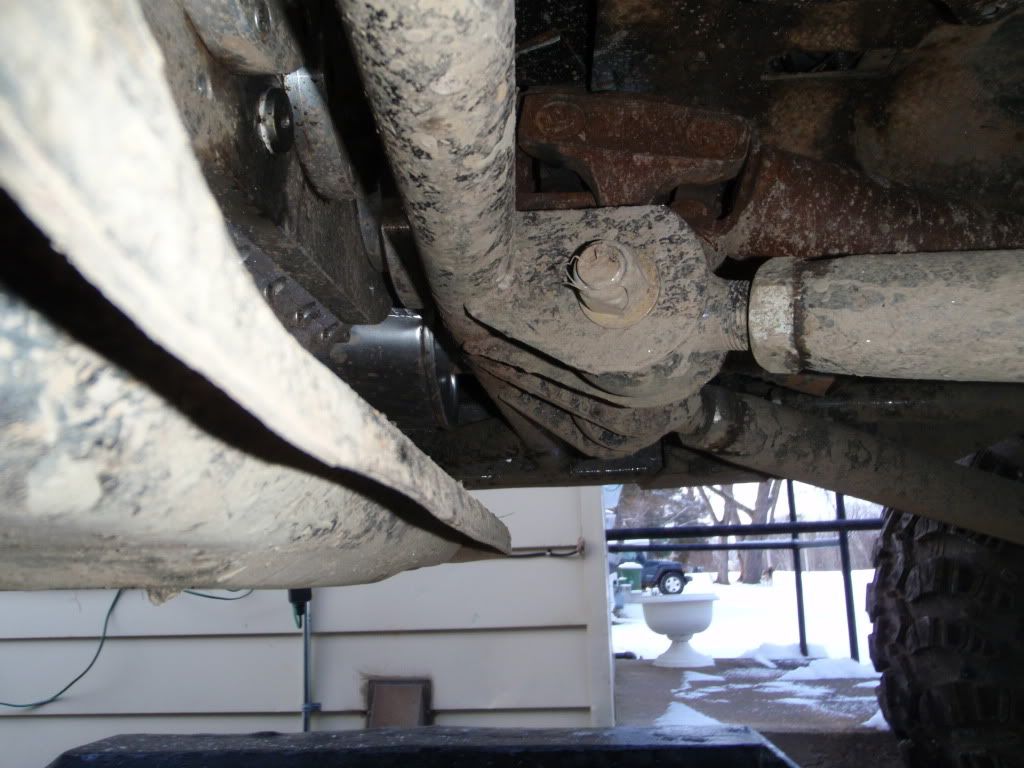
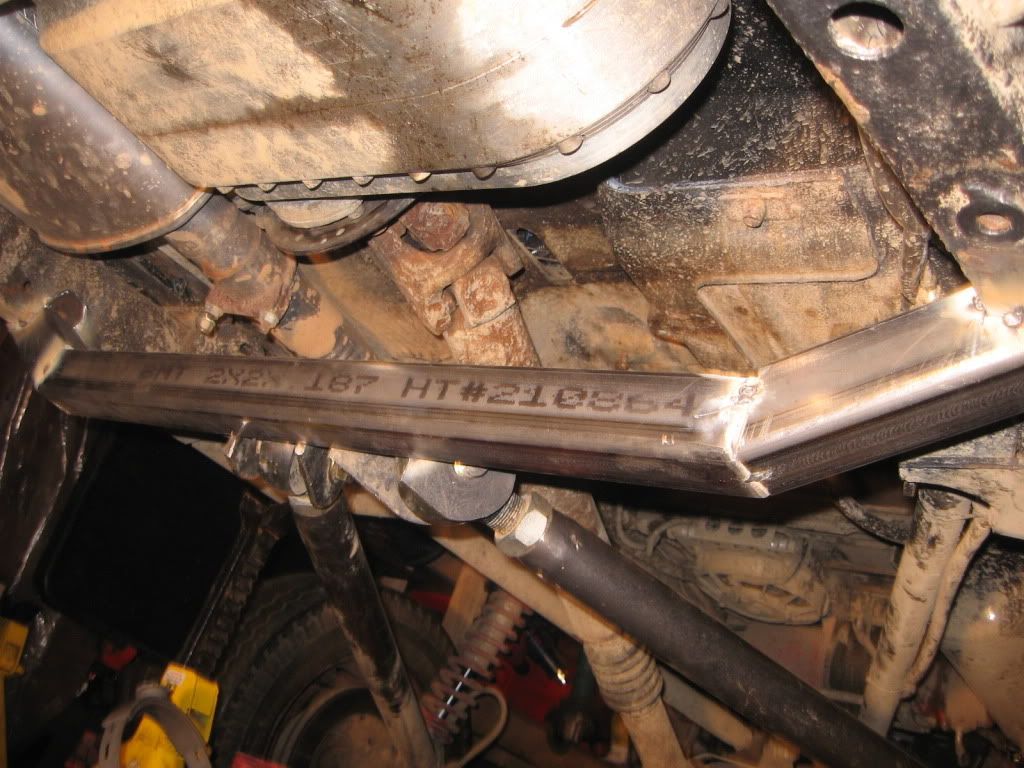
After removing the shifter setup that I had fabbed, I started putting the case end of the shifter assembly in first:

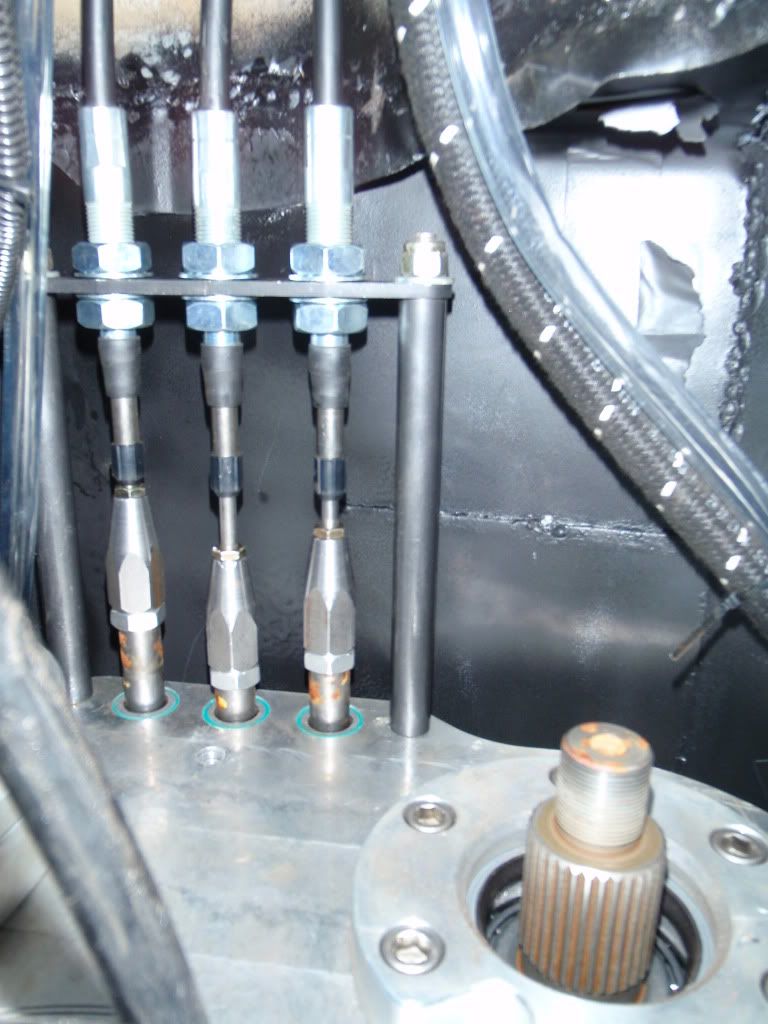
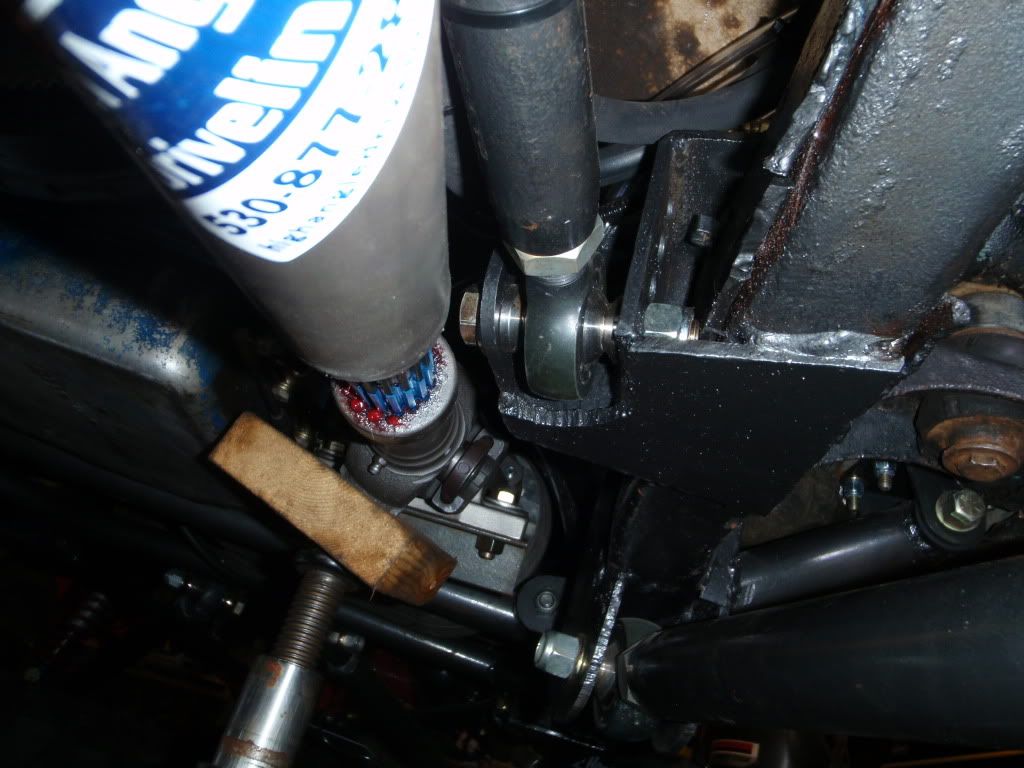
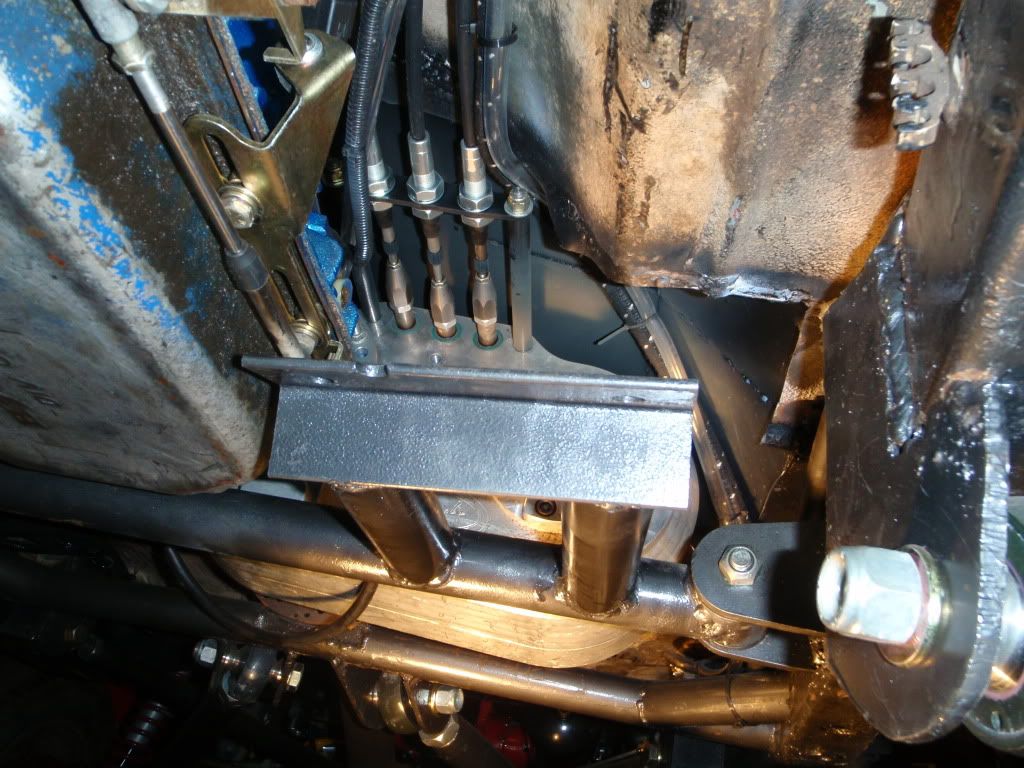
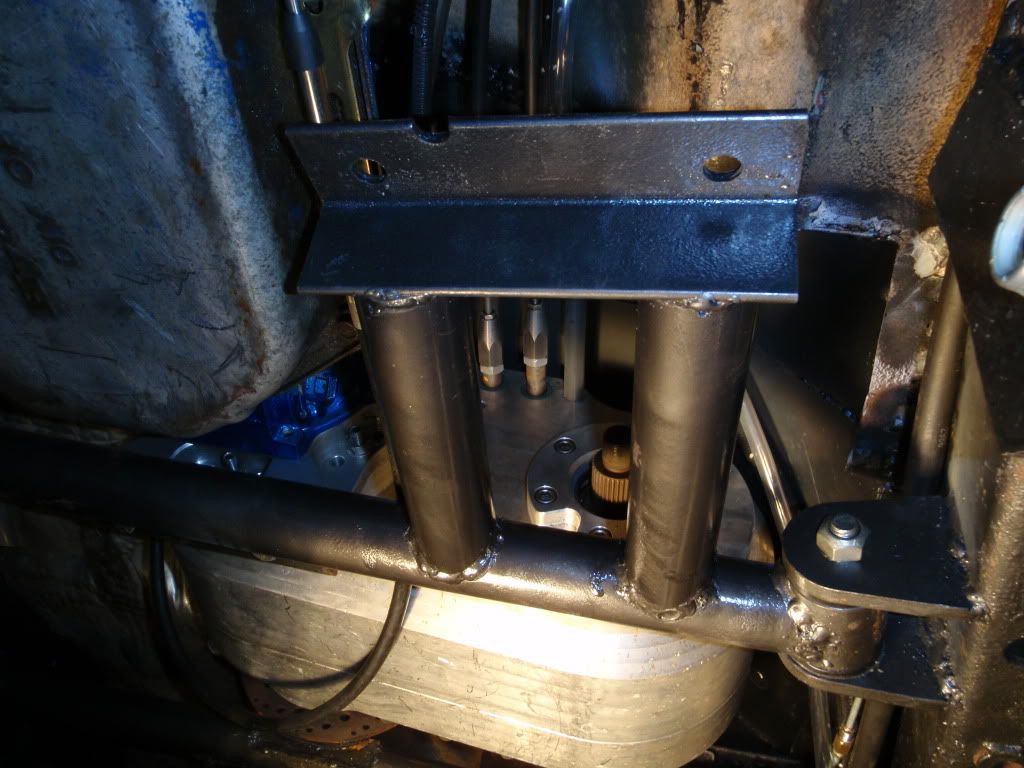
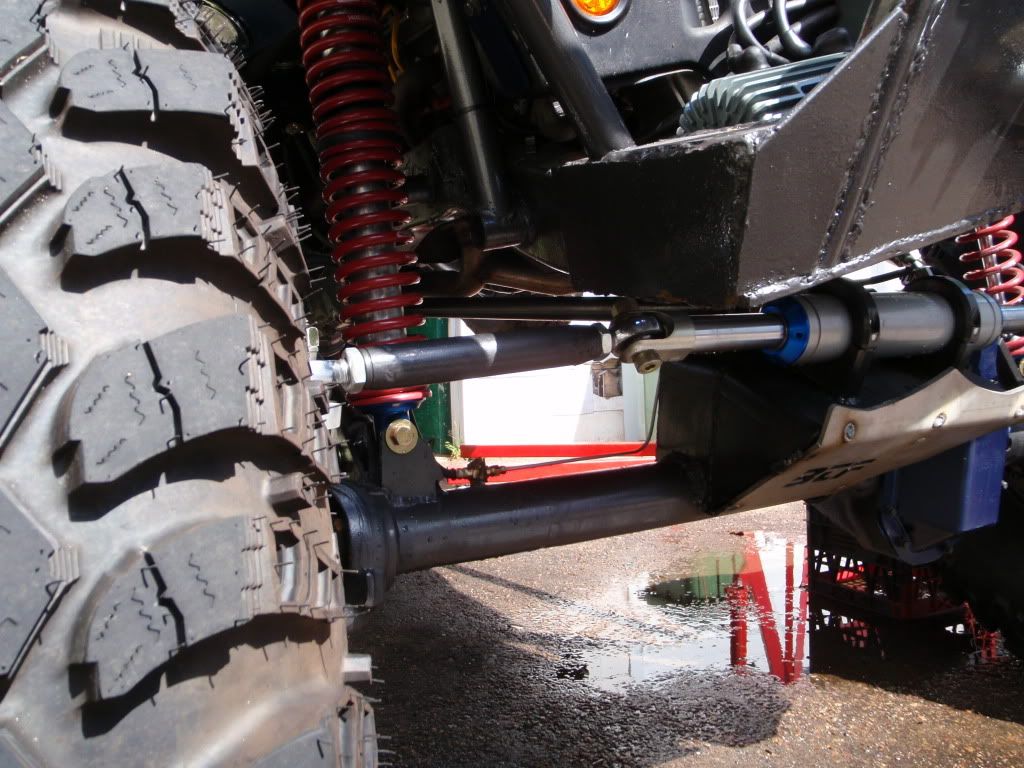
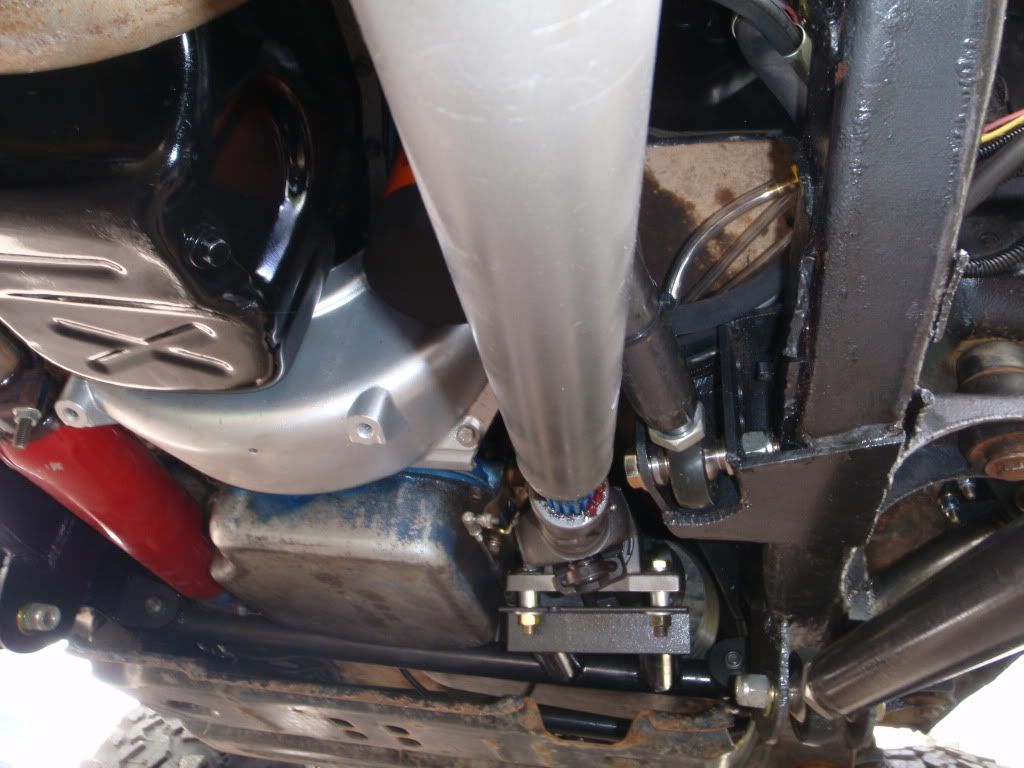
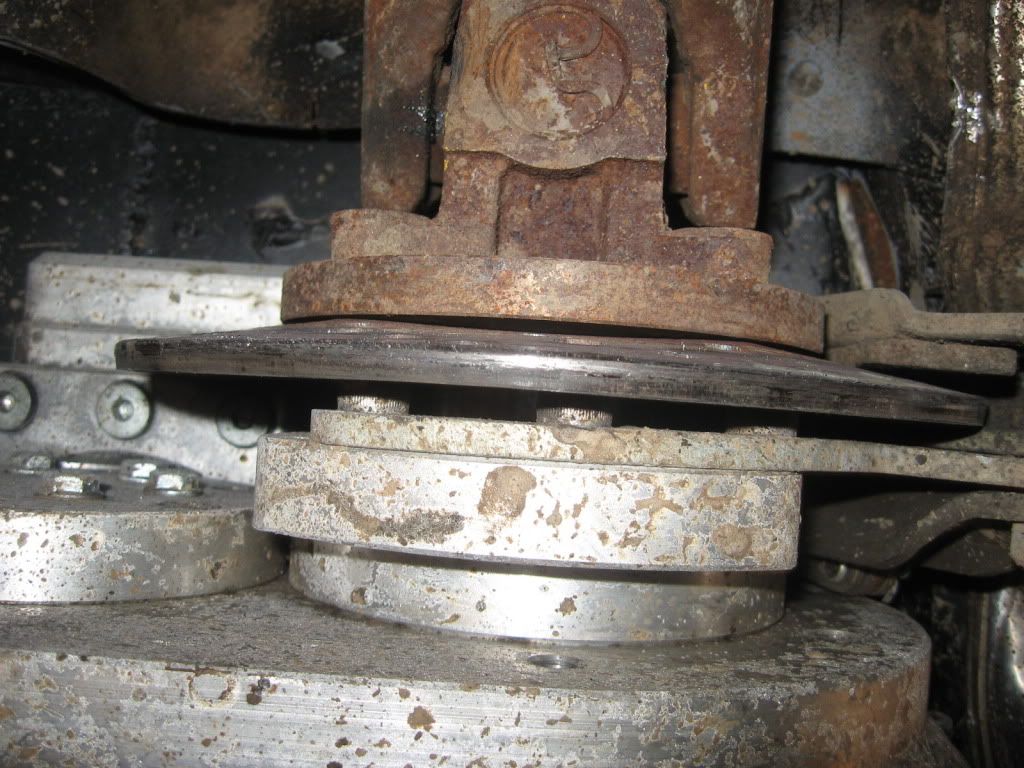
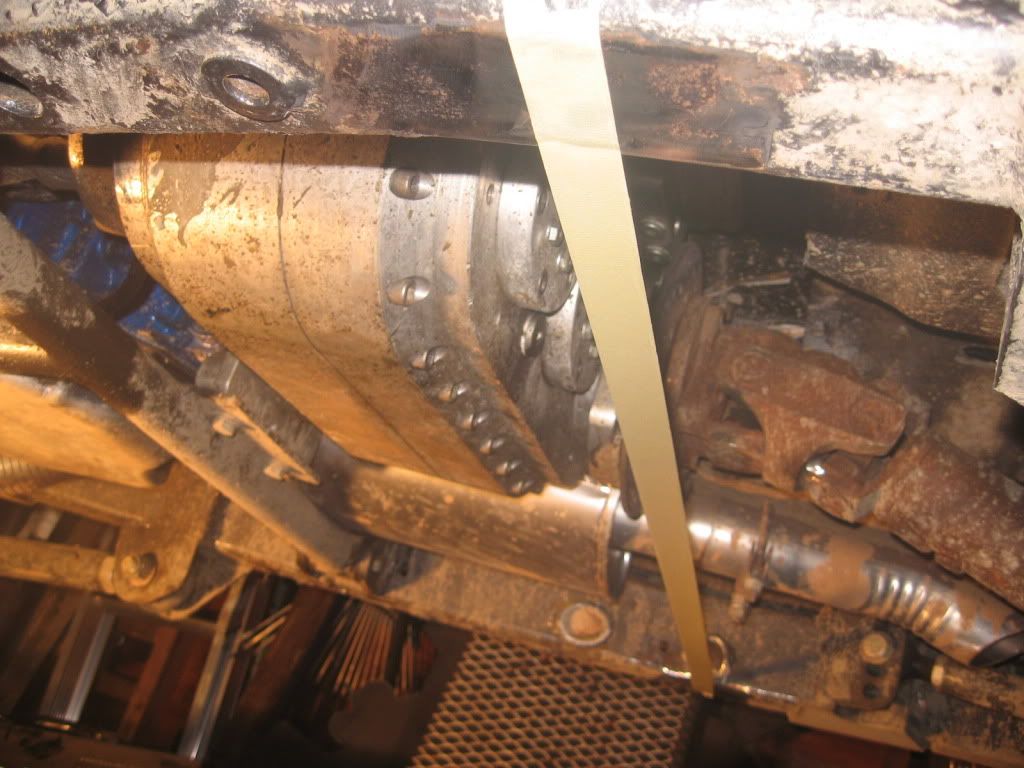
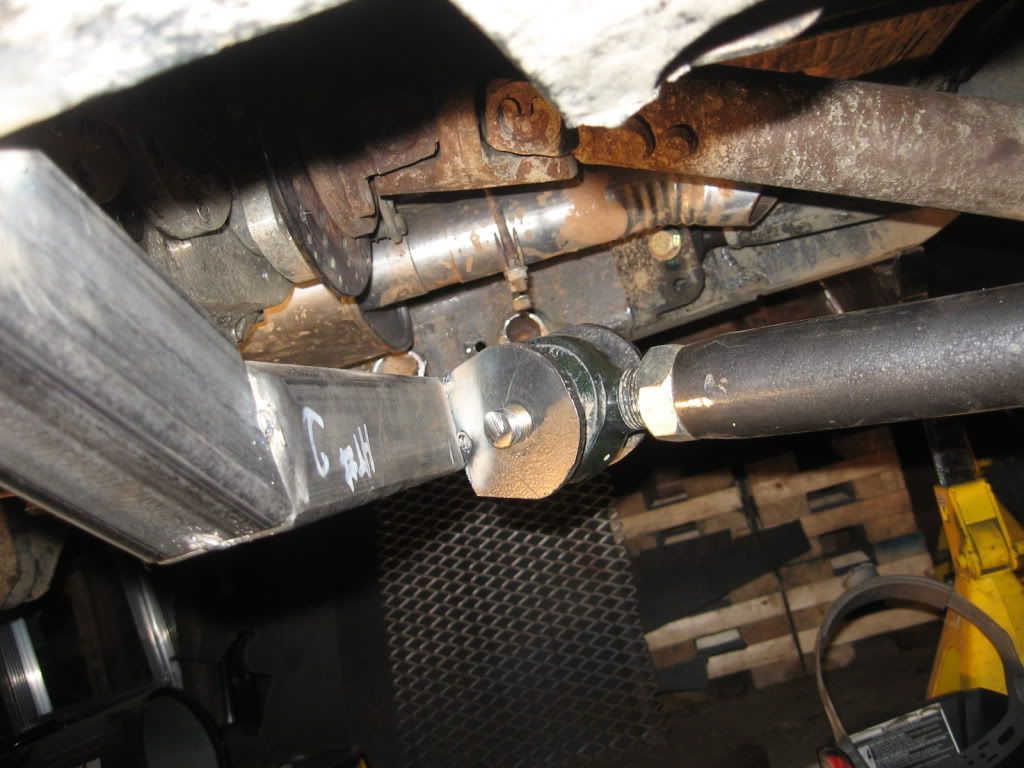
The guys at NWF came up with a pretty simple method of securing the case end of the cables. The cables attach to the shift rods by simple threaded adapters. The bracket consists of 2 lengths of ready rod, 2 pieces of tubing and a small bracket that all bolts to the case:
In all, I think it took about 3 hours to install, and that included disassembly of my fabbed shifters.
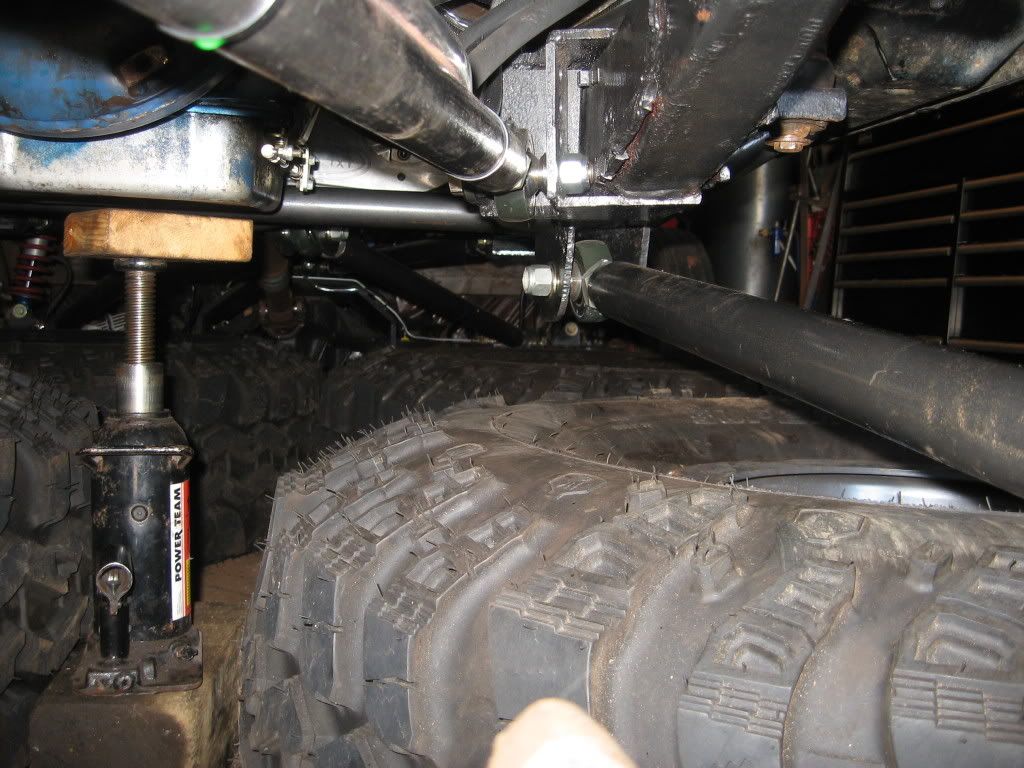
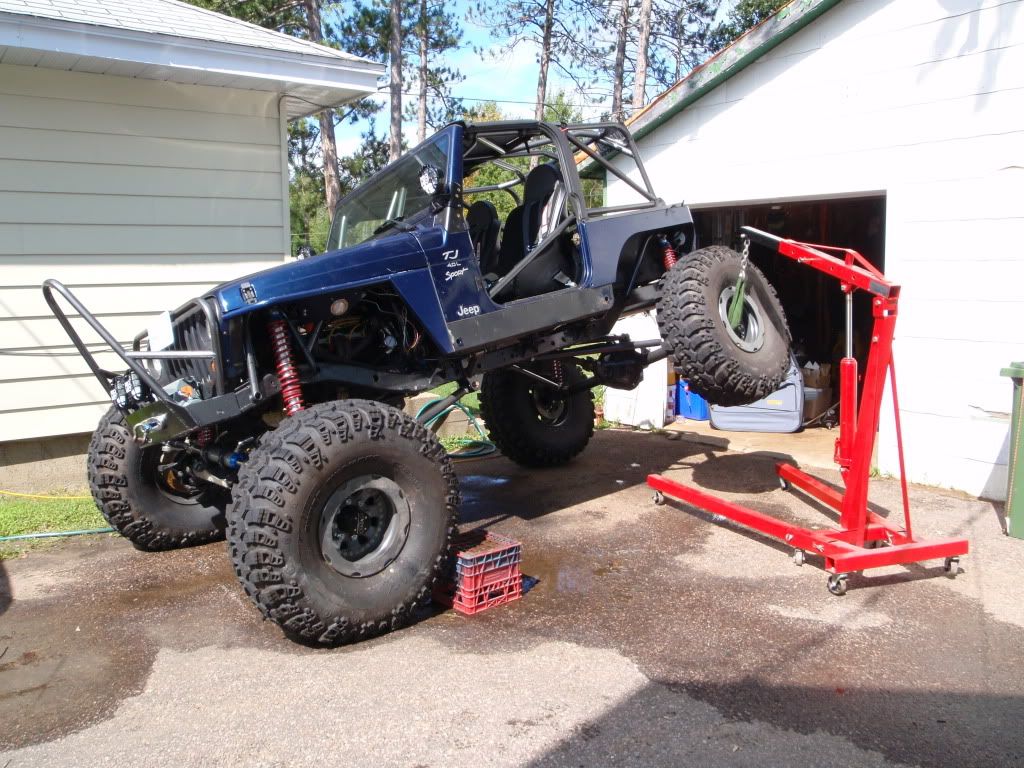
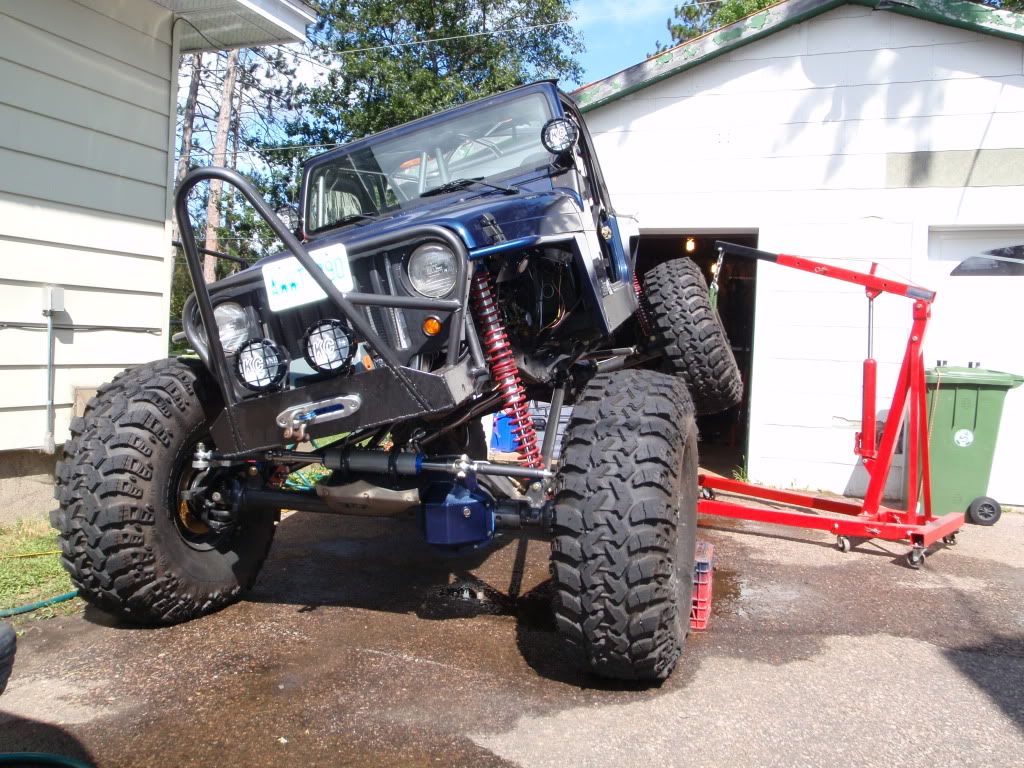
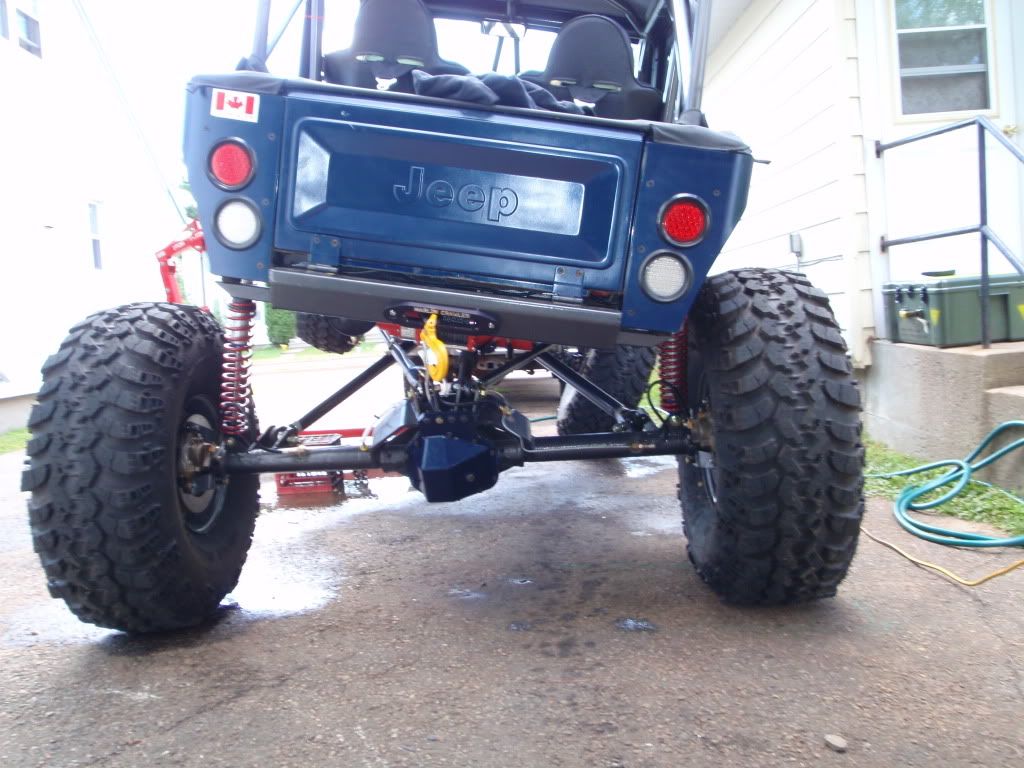
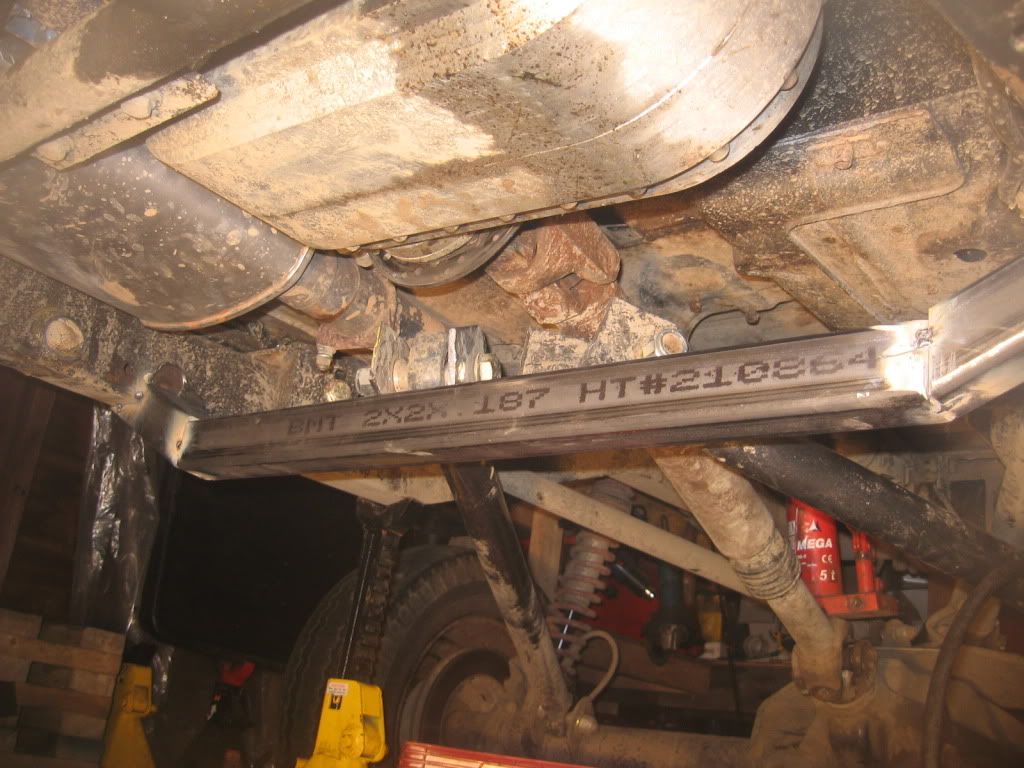
So far, I've shifted the front and rear outputs a few times without the rig moving, and it feels pretty good. Definitely much more robust than what I replaced. Due to my shifter positioning in the centre console, I'll have to set the axles on jackstands so I can put power to the wheels during my final shifter adjustment before I can re-install my seats:

It helped me realize that perhaps a shifter cable with a #10 threaded end was not beefy enough for t-case shifting duty. So I placed a call to NorthWestFab back in March for one of their cable shifter set-ups. The kit NWF manufactures comes with 3' cables, and I needed 5' ones which cost a little extra as well as required a bit more lead time, but were no issue.
I got the kit in May shortly after arriving home. Needless to say that I was pretty impressed with the quality of the kit, as well as the beefiness of the cables
I didn't actually measure the ends before installing them, but it looks like they're in the vicinity of 1/4".
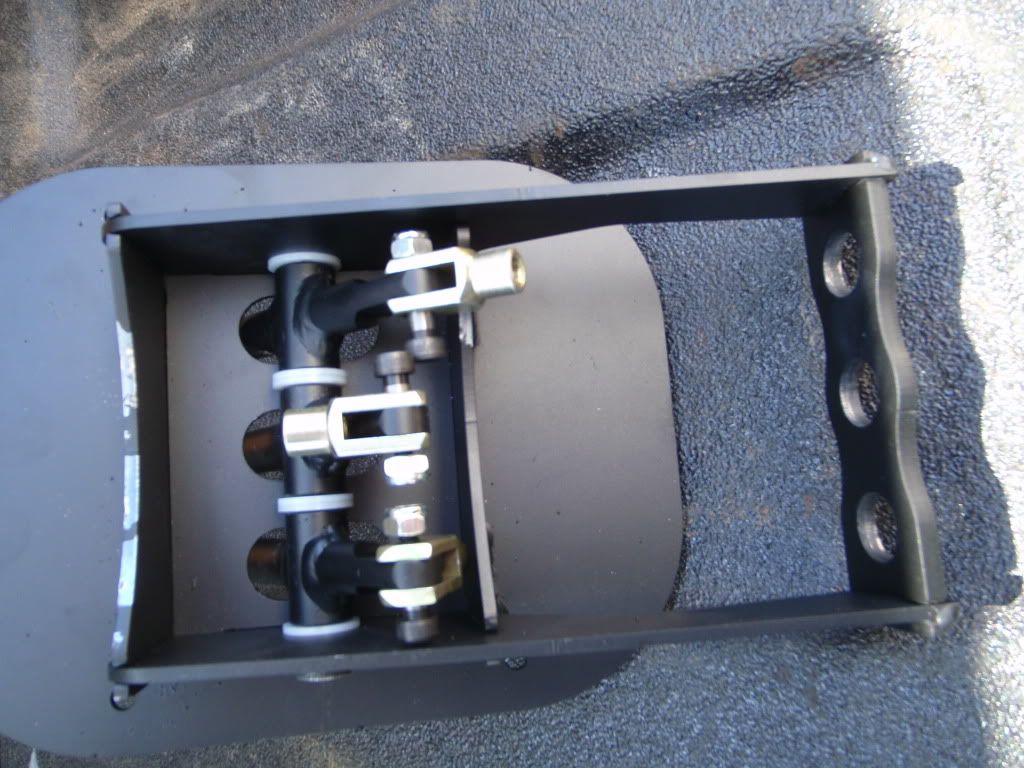
Shifters and base plate assembly:
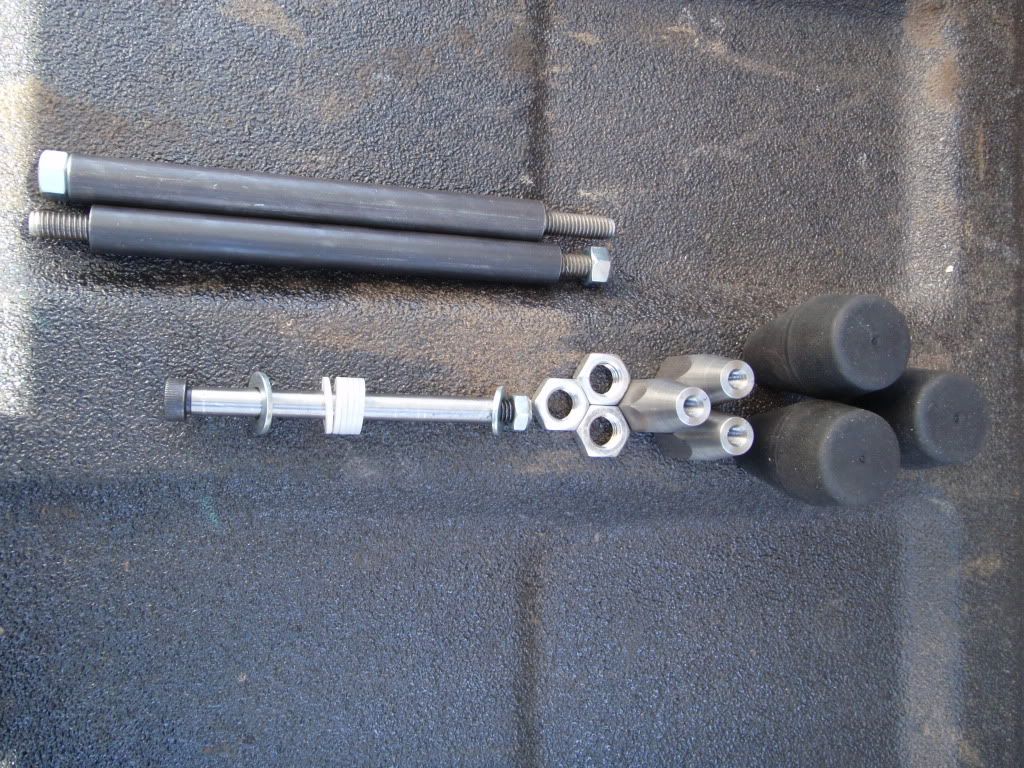
The rest of the hardware the kit comes with:
The bottom of the shifter after putting the shifters together:
After removing the shifter setup that I had fabbed, I started putting the case end of the shifter assembly in first:
The guys at NWF came up with a pretty simple method of securing the case end of the cables. The cables attach to the shift rods by simple threaded adapters. The bracket consists of 2 lengths of ready rod, 2 pieces of tubing and a small bracket that all bolts to the case:
In all, I think it took about 3 hours to install, and that included disassembly of my fabbed shifters.
So far, I've shifted the front and rear outputs a few times without the rig moving, and it feels pretty good. Definitely much more robust than what I replaced. Due to my shifter positioning in the centre console, I'll have to set the axles on jackstands so I can put power to the wheels during my final shifter adjustment before I can re-install my seats:
Last edited: