Sirius Black- Sidekick/IFS project

chunkytrunks

That's MR.EX Pres to you!
Club Member
I'm loving this project Ryan! Awesome job getting camber and caster right on the money especially at droop.
Is there going to be any adjustment for camber, caster and SAI once it's all burned in or is it that bang on you won't need it?
 
R

ROUGHcrawl

Guest
The castor will have 1* adjustment back and 2* forward using spacers. The SAI can be easily changed by replacing the upper ball joint bracket mount which will be bolt in. The SAI is designed around a stock rim back spacing and my current tire size but with one small piece it can easily change in the future. Chamber can change with the upper mount also, but physical threaded adjustment, no, I didn't want to introduce anything like that. Build it as perfect as I can and use matched jigs and see what happens. The saving grace here is the the piece that is the key to my success (upper ball mount) is being machined by the only guy I trust to do it bang on and he will make it perfect.

Just give me some more time and I'll be installing it haha
 
R

ROUGHcrawl

Guest
Update from my machinist, diff carrier may be ready for pick up today! Which is exciting because I'm dying to start the housing.

Not Kick related but I was asked to make a couple adult size cruiser scooters, here is the start of the first one.
 
Last edited:
R

ROUGHcrawl

Guest
No real progress over the weekend on the kick but we did get some air!


I also finished this scooter.


R

ROUGHcrawl

Guest
Thanks junkpile! It is actually pretty fun, the customer was so happy with it he ordered a second one. HAHA
Actual Kick update, my bushings came in yesterday. Hope to get back into the kick pretty heavy this weekend. After the second scooter build.


Another delay is this BIG bumper I was asked to make for a 2001 Ram, this is just the very beginning, lots of plate, tube and welding left.
 
R

ROUGHcrawl

Guest
More progress on the ram bumper I'm building. Plate portion is all tacked up and tube work started.


szabotage

Well-known member
awesome work, ryan! you got me thinking bout building a DD samurai using the toyota IFS off twinkie's old 4runner
 
R

ROUGHcrawl

Guest
DO THAT!!!

I'm really hoping to get back to the kick this week. I have another big scooter to build but I got the bumper outta the way. Didn't get any finished photos, but I got it all welded and installed friday night. To my dismay the truck was a Ram 1500 Sport, not a straight Ram, there is quite the difference in the grill and head light lay out. So the flat top bumper didn't fit perfect and the mounts I made didn't compensate for a bent frame rail due to a tow point being torn out. So unfortunately the bumper had a 1" gap below the head lights and sat 3/8" to the passenger side. Lesson learned don't build bumper without seeing the vehicle first. It looked good though.


We are also putting a roll cage in this endurance car. For a local guy to race.


Tools!!
 
R

ROUGHcrawl

Guest
Finally back to the kick!! Small update but an awesome one. Originally I was building tube arms, mainly because I have a bender and tube. But I wasn't happy with the performance of my jig and the amount of potential misalignment from one side to the other once all the welding was done. Since this is daily driver 1/8" difference between sides wasn't good enough, then I got my hands on a plasma and I came up with a new plan. I would cut everything I needed off of a single set of templates, then once the pieces were cut, they were welded together and match ground to perfection. While still together they received match drilled holes not only for bang on alignment but also the ball joint holes. Once that was done they were bolted up with 1.5" spacers.


Then I welded up the spacer top and bottom.


Then cut 1.5" wide strips of steel. and welded them in.


Upper and lower not complete yet but these are much faster to make and are perfect match.


There is some more work to be done but with out photos its tough to explain fully so I'll be sure to keep the pics etc coming. For now enjoy this pic from a recovery trip we made on Saturday night. Its not a huge rig but it can save 3/8 ton(V8 dakotas) and 1/2 ton trucks with ease.
 
R

ROUGHcrawl

Guest
Another small update! I'm gonna show you how the ball joints will mount to the arms. First I cut one of the plates out around the ball joint, then clamp it in place on the other plate and weld it in.


Then that all gets boxed in with more plate.


At this point my arm is similar to calmini's arm in the way that the ball joint bolts in single sheer and the joint sits above the plate. I don't like that though. So then I cut a piece of 1/4" plate and weld it in above the joint. 2 weld passes where I have room.


Now my joints are in double sheer and supported for load both ways.


Then I decided to add some panache.


Not done yet but these arms are awesome. Once the arms are done and on the jig I'll be building my diff housing.
 
R

ROUGHcrawl

Guest
Got one set of arms all boxed in and welded up.


Ball joint mount on the upper arm, same as lowers without the double sheer plate.


The set


Lower is mounted, I'm going to add some gussets to make this even tougher.


One wing mounted.


Passenger side arms almost done now too. In no time at all I should have all 4 mounted to the new cradle and I'll get to the diff.
MORE TO COME
 
R

ROUGHcrawl

Guest
Haha those wont see any use for a while but they will work out awesome!!
 
R

ROUGHcrawl

Guest
Well I have been crazy busy with my real job and small cash jobs so I've had no time for the IFS.
I have been true to my word though and been on a couple runs and gotten out of the shop as much as I can. On my first run at the gorge a few weeks ago I hit a rock pretty hard with a cross member at the back of the A-arms. The factory member is very weak and folded over. It cause extra stress to the diff mount and shorten the distance between arms causing some toe out. I crossed my fingers and hoped it would hold up til I got my IFS all done. On my second trip to the gorge, I was too hard on it, the diff mount let go. We ratchet strapped it all together and ran 2/3 of the day in 2wd. HAHA
.

The damage


My crushed member compared to a normal one.


So I added a band around the pinion like I've seen others do and here it goes.


Then I made a new cross member out of 3"x2" 3/16" wall rectangular tube. Notched it for clearance and boxed it back in. I pried the arms back to there original location, pounded in the member and welded it. Its much beefier and offers 1/2" more clearance underneath.
 
R

ROUGHcrawl

Guest
I have 2 spots in mind haha but a plan has been put in motion.
 
R

ROUGHcrawl

Guest
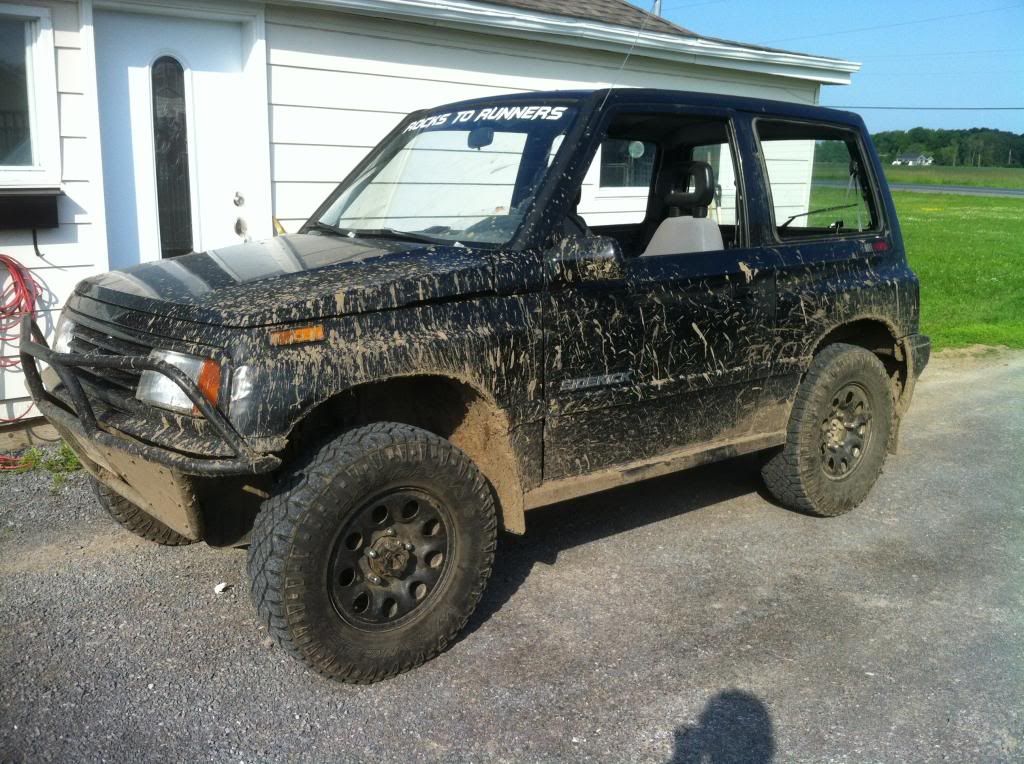
Well to prepare for the Lavant run I decided to make some Delrin coil spacers and do a cheater lift. In the front I did a 2" and strut mount flip to compensate for the lift at no expense other then 6 3/8" bolts and nuts. The rear only got a 1" spacer, and no change to the shocks. The Delrin I used was free, so this lift cost maybe $6.00. The higher front leveled it out nicely and I finally don't slide forward in my seat as I drive to work. Here's a post lavant shot.


Sunday I had nothing to fix so I did some welding on the ifs. Then I decided to throw my Grant street rod wheel in the kick, got it a few years back for shits and I got tired of it hanging on the wall. I also threw in an open cone filter hoping to help maintain power when hot.

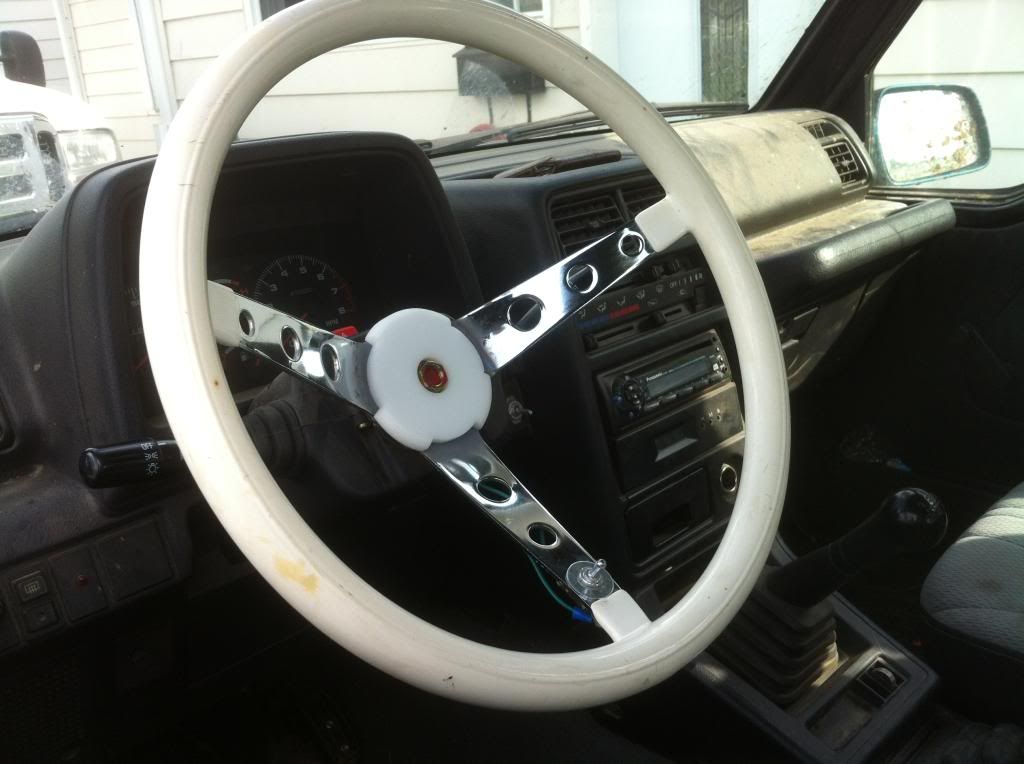
No pics of the intake though.
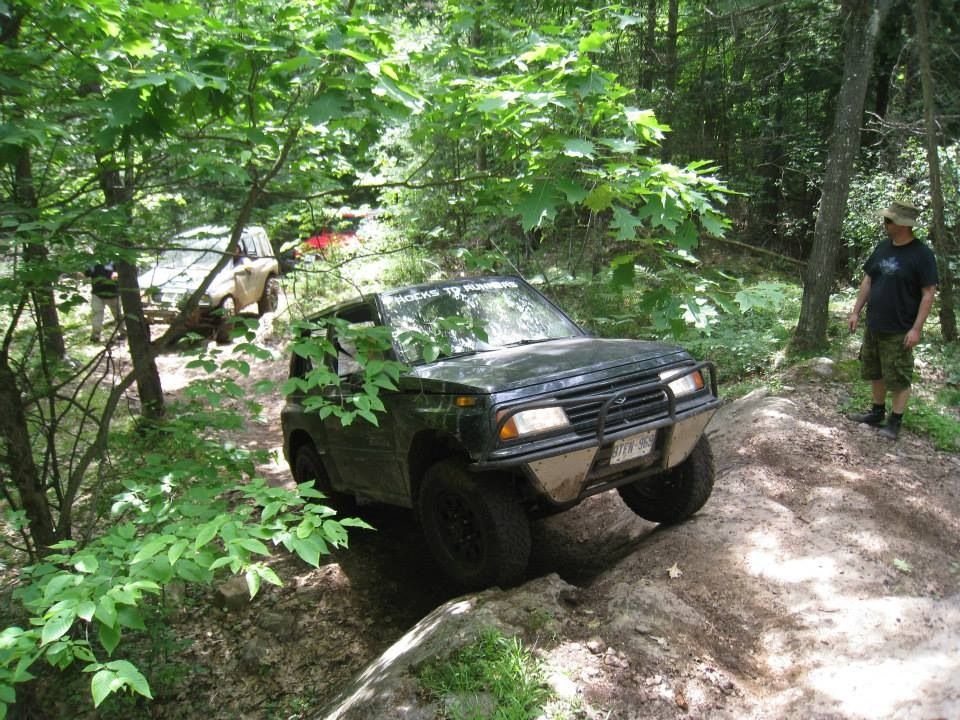
On the shelf, as Chris called it,we had a good time. To spite Chris's amazing spotting the left line wasn't working for the kick, and I wasn't really feeling it, so we backed up and hit the middle. It worked.
 
Last edited:
Top