Sirius Black- Sidekick/IFS project

R

ROUGHcrawl

Guest
Well its been one heck of a summer. As some of you know I got married!!! Now a wedding might not get in the way of projects for some, but for me, it's more fab work added to my pile of fab work. We needed an arch to be married under in front of so we made one. Yes the roses are made of steel.


My gorgeous bride and I


With a wedding also comes a honeymoon. But we have two big puppies, malamutes actually, and we couldn't leave or force them to travel. So our honeymoon was spent camping. We camped for 10 days and it was wonderful. But to get all of our gear and dogs to the campsite, I needed a trailer. So a friend found me this.


I did a hub swap and reduced the frame to this.


Later it got a deck and sides, here it is at the camp site.


With a trailer to tow I needed a hitch, and my stock rear bumper sucked too. So we made something for that, using scrap steel we already had. I found some rot in the rear cab corners also so it got cut out and patched up.


The final touch to the honeymoon shuttle was matching Aluminum panels. I used 1/16" aluminum sheet and replaced all the cardboard panels in the kick. The panel on my door got my initials, and Kaylana's door got her new initials.


Lighting is bad in this pic.


The rest


Now that you're caught up on the summer's delays we can get back to the business of a long travel IFS.
 
Last edited:
R

ROUGHcrawl

Guest
^
^
^
Get caught up! Oh look turbines!


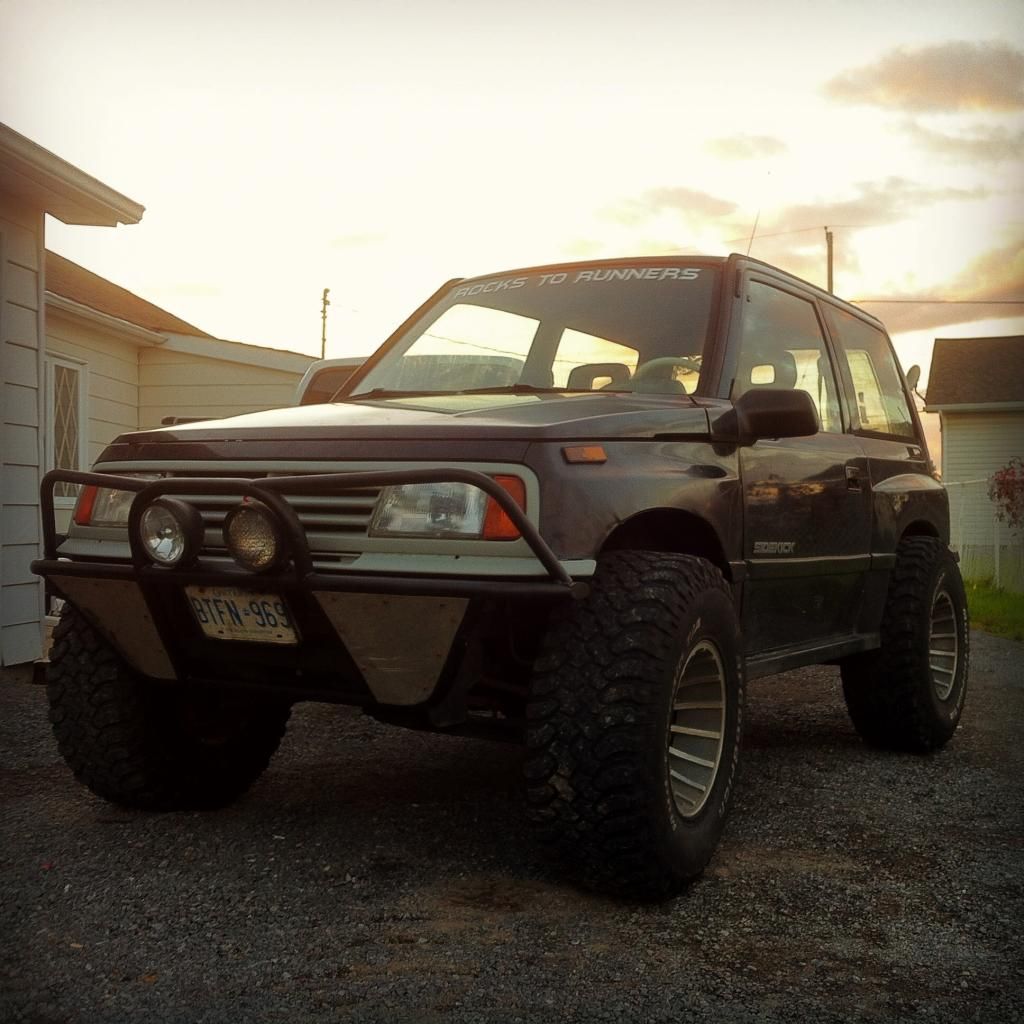
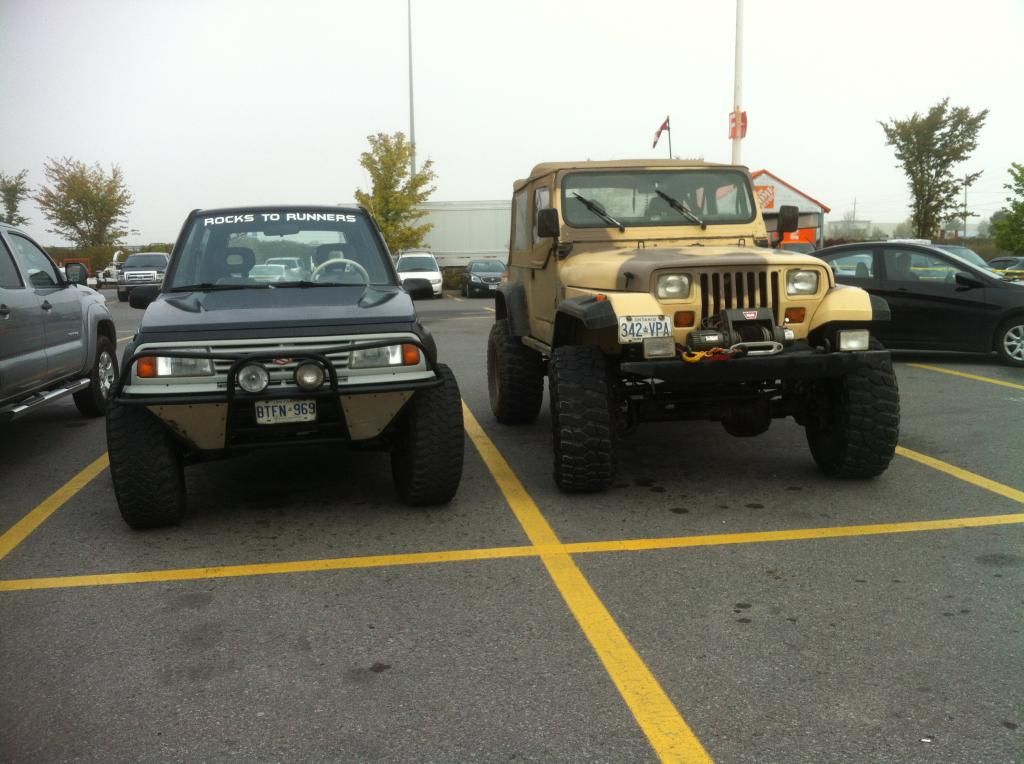
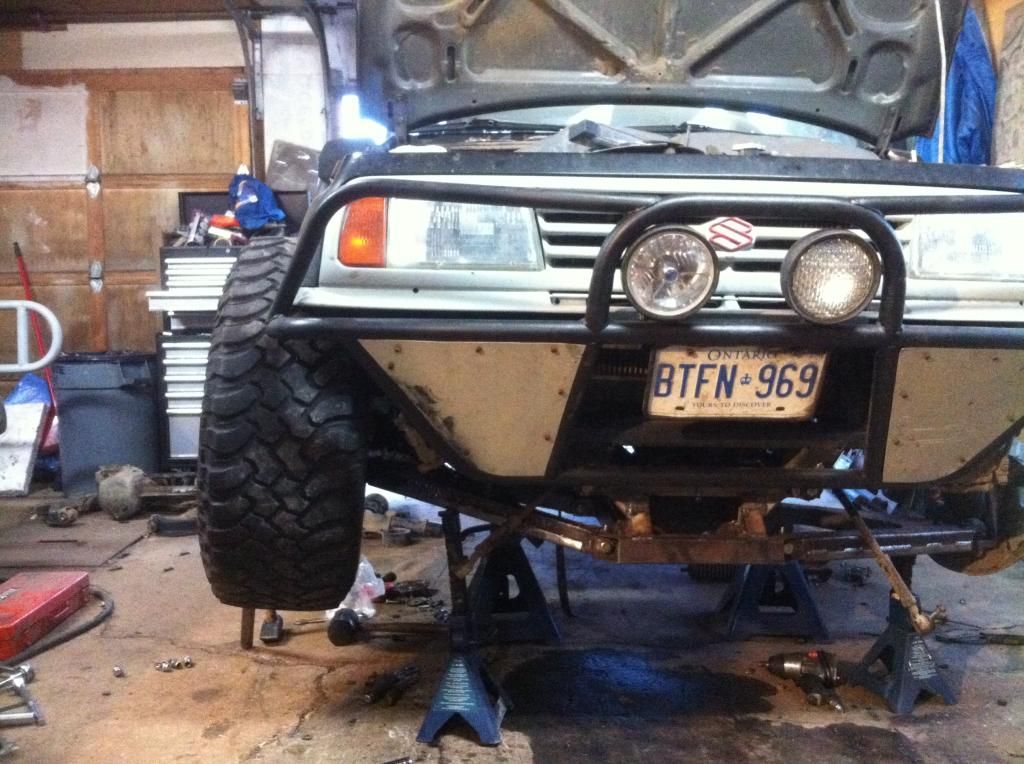
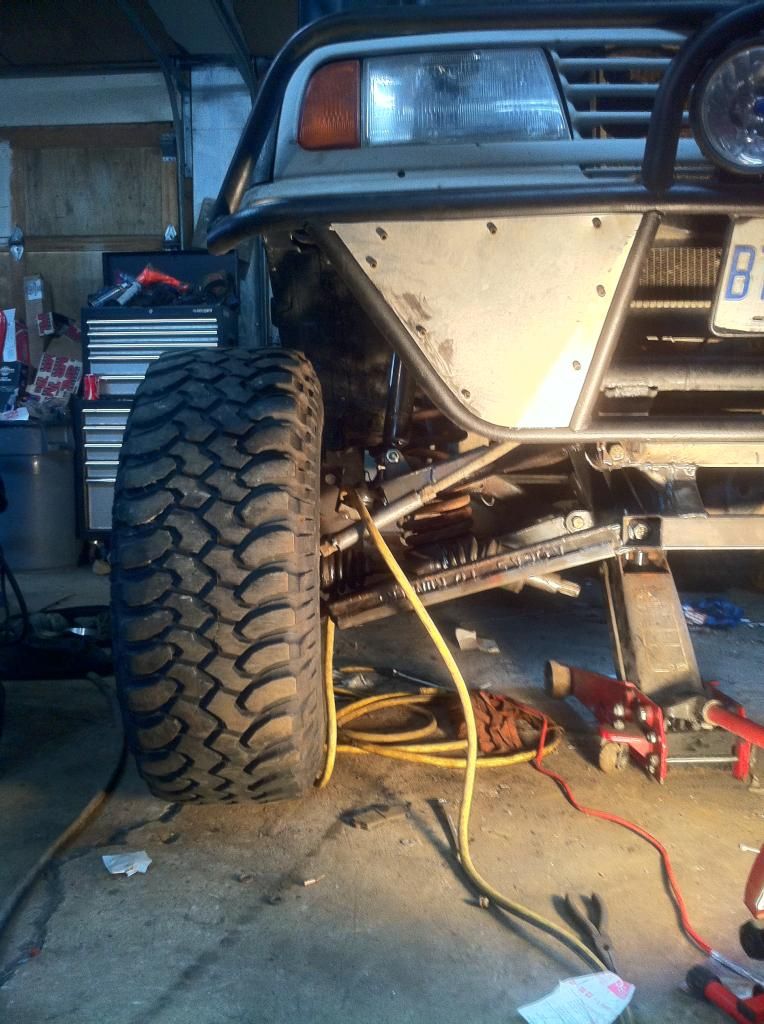
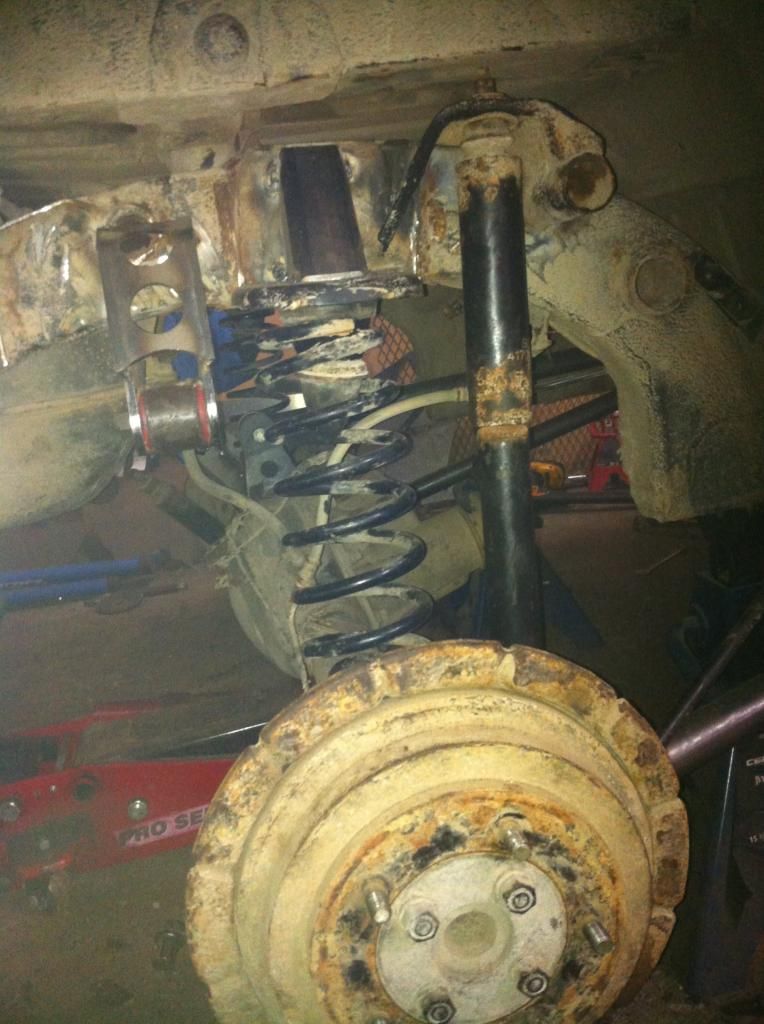
I've always loved turbines! These are 10.5" wide rims with 4" back spacing, with nearly dead 33x12.5's. 2" inch coil spacer lift and 1" rear (both in prior to installation), absolutely no body lift, some trimming required, and BAM! Compared to Richard's Jeep. Positvie chamber isn't as bad as this photo looks, but it is bad.


Feeling like this rig might get a flair of RAT, maybe.


I went for a run with Garth and Garret not too long ago and this happened. Luckily Garret had spares lol.


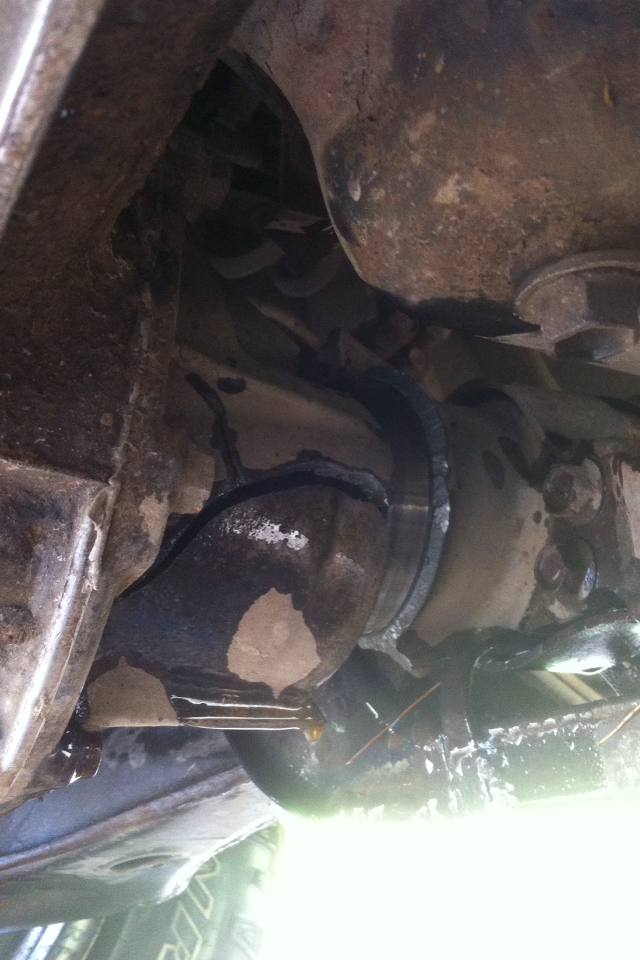
So you add up the damage and positive chamber that looks cartoony and I had my motivation. The spare kick came into the shop. It's eventually getting a SAS and painted purple for the wife, so it made a great build jig.


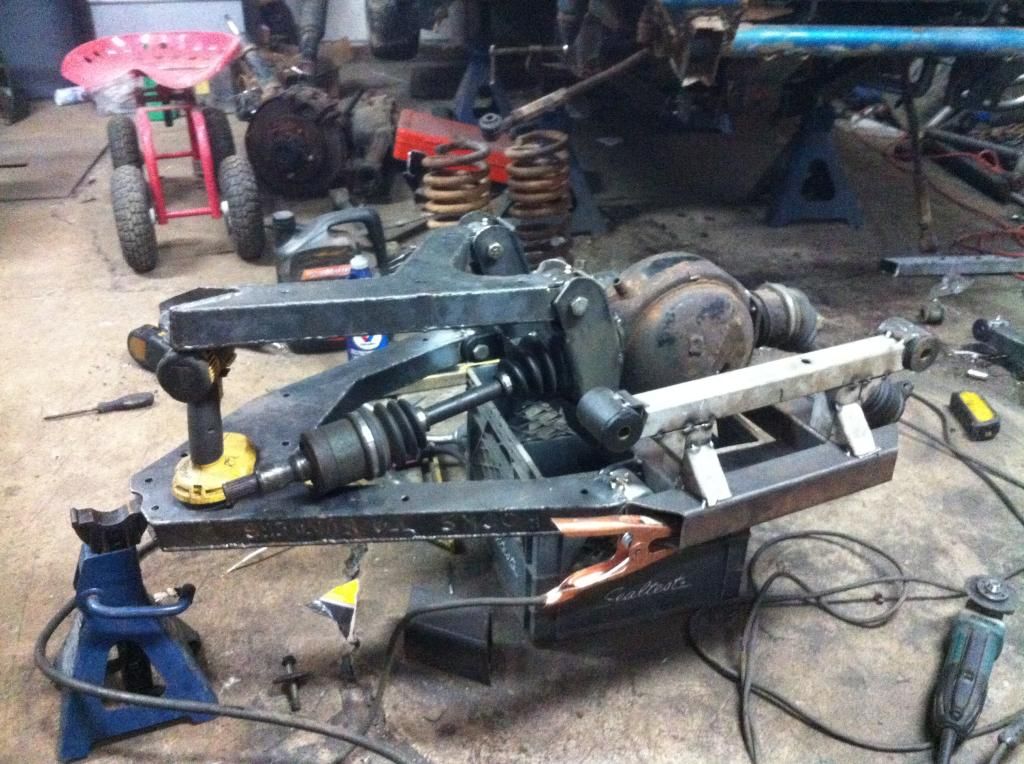
Did some fitting and mock up. I know there is a lot of extra room above the diff but that's a consideration for the future.


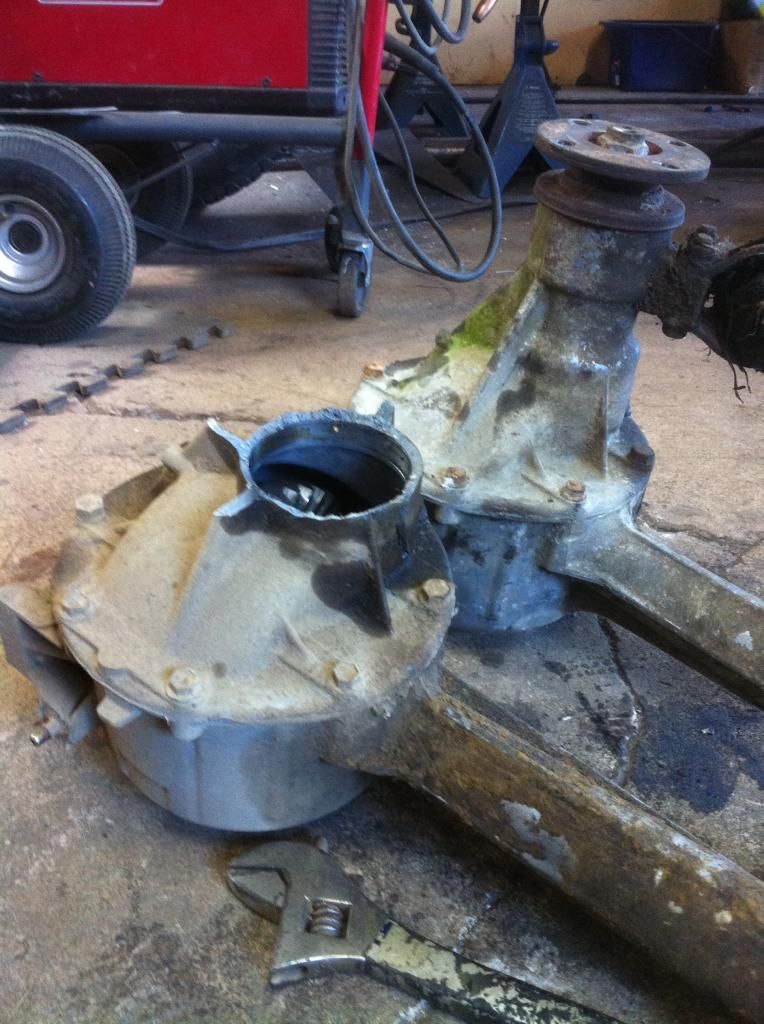
I don't really have any step by step pics of the centered diff, but if there is anybody that wants to know I'll gladly explain and post up more pics of it as it sits now. But the most important note, its all factory parts cut and fitted and welded.

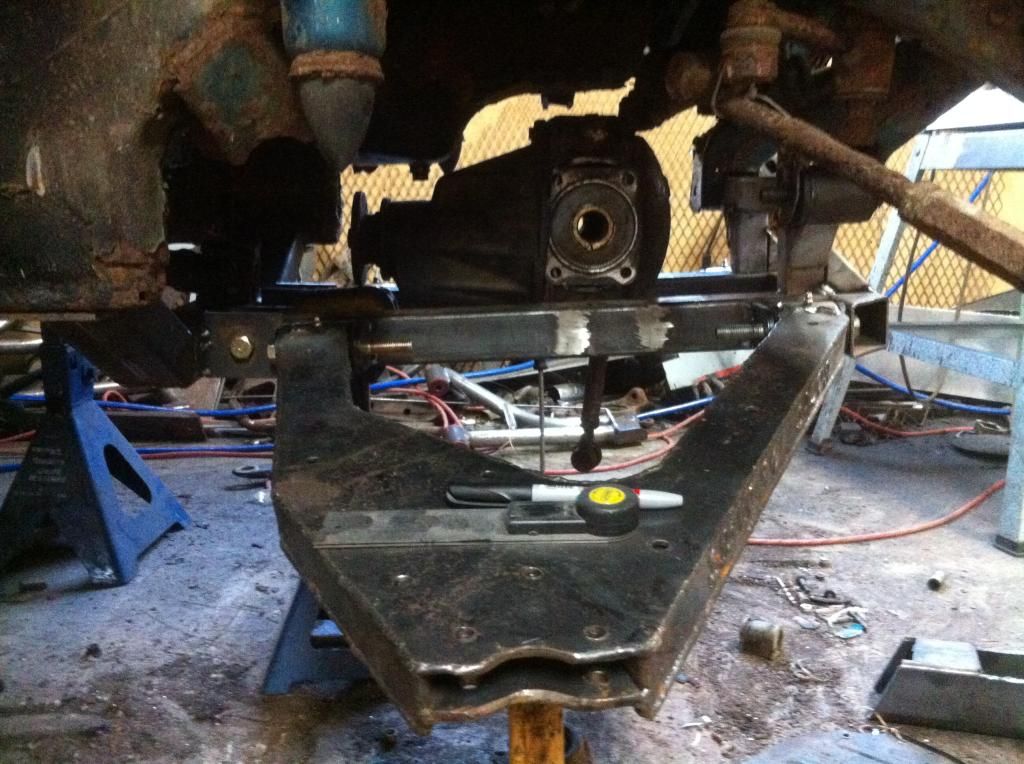
Then I started on figuring out the upper arm placement with the diff in place. Nailing the geometry is my main focus.


Then a test fit.


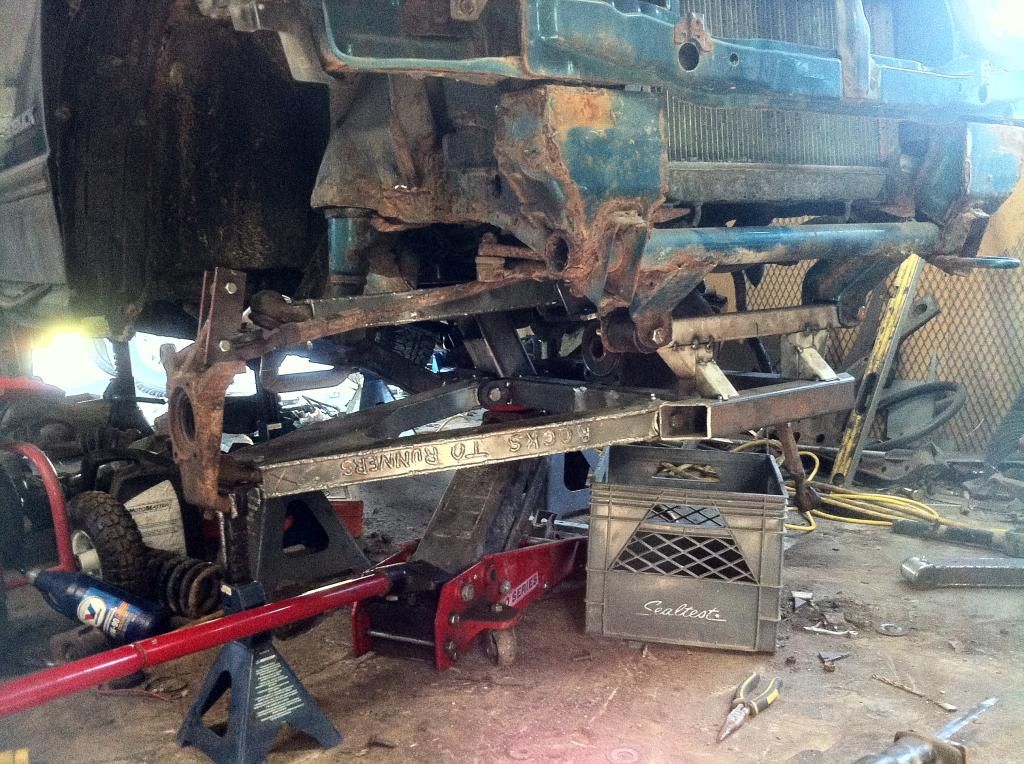
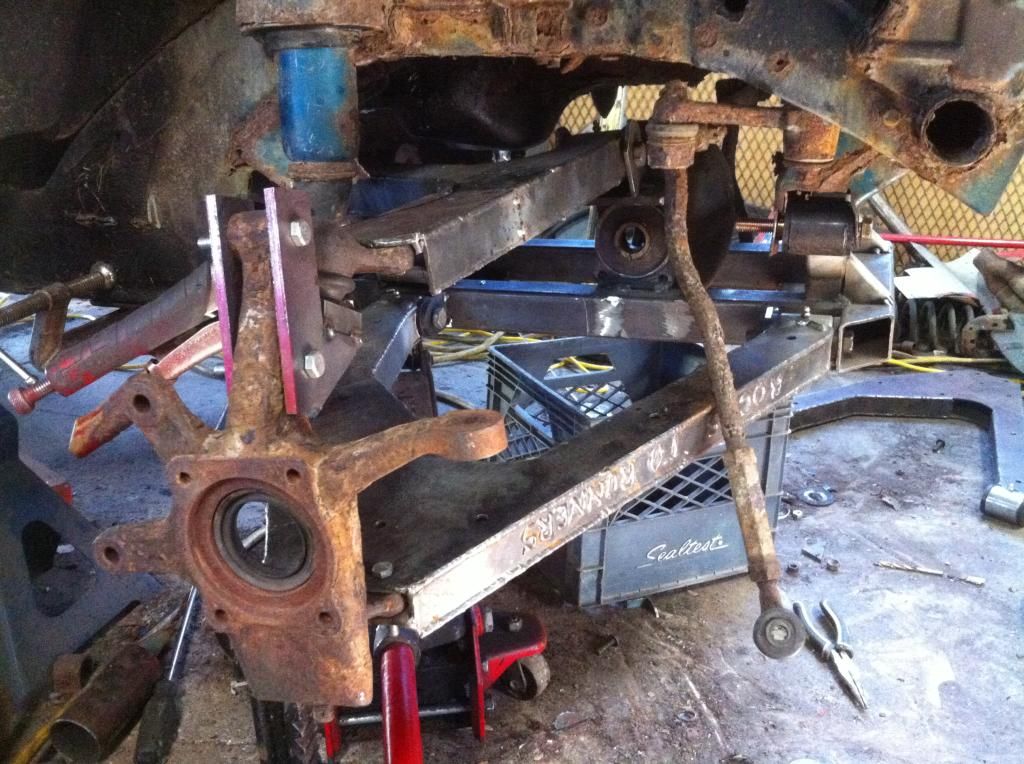
It all looked great and fit nicely, so on to the next step, WELDING!!! We worked long days just getting system finished but it was worth it. The install of this is simple. The first step is to cut out the factory crossmember at the rear of the A-arms, then remove the arms totally by unbolting the front. You need that front set of mounts for install. Once you pull all the factory front diff junk out, and prep the frame, it's time to install. The cradle and new crossmember get lifted into place with a jack, to roughly align the whole system the cradle mounts in the existing front A-arm mounts. Once jacked up so the crossmember is tight to the frame, clamp the crossmember in place. Now to install your A-arms, and knuckles. Then MEASURE EVERYTHING AND EVERYWHERE you can to make sure it's sitting where it should be. The bushings that hold the front of the cradle are slightly undersized to allow fine tuning (shims are added after). Once centered and aligned, weld in the new crossmember. The crossmember is permanent but the cradle and complete system can be unbolted and removed as one unit. Okay some pics now.
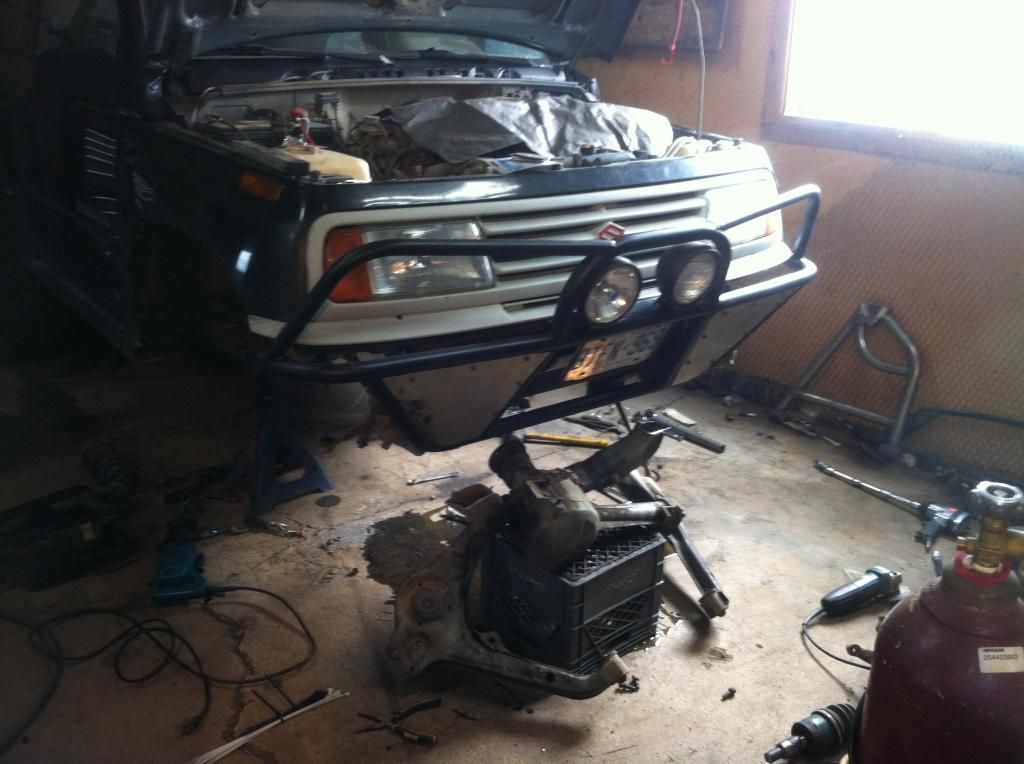
The day it began.


Gutted


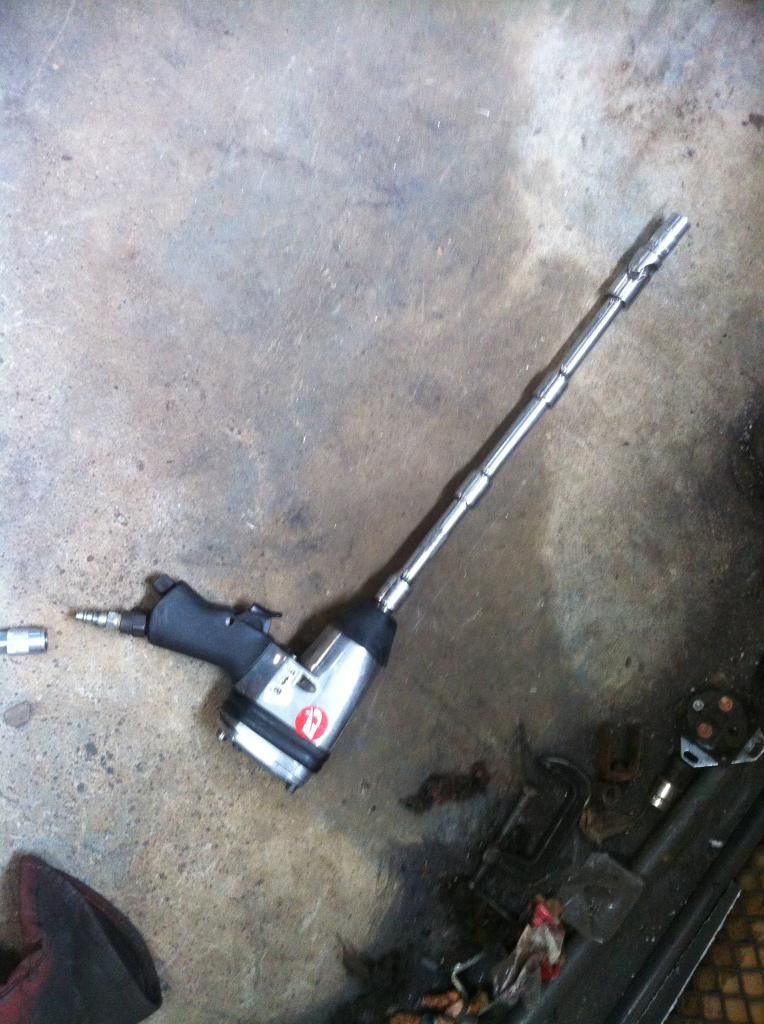
My special tool for diff mounts


I didn't document the whole install because I still have to pull it all back out, paint, weld check, lube, etc etc etc. But BOOM in!


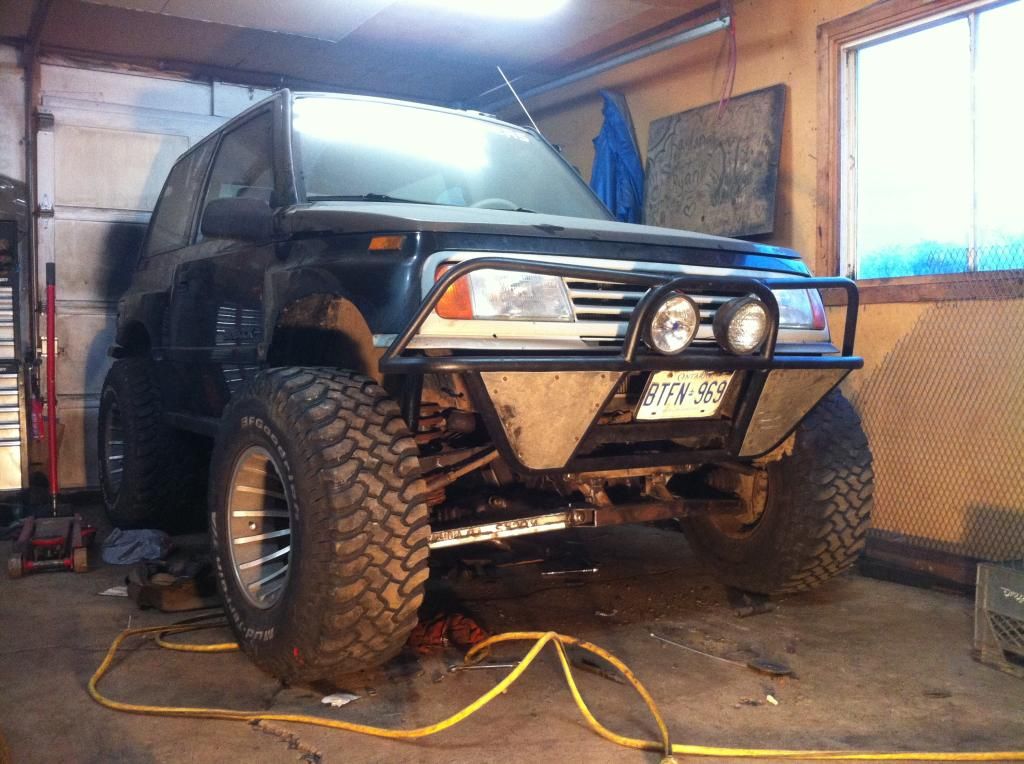
I'll give more specs of the parts I used i.e. springs and shocks with the re-install post. But first a full bump to full droop comparison.


Measures out to 12" of travel. 7" up and 5" down from ride height. The wheel base got a 2" stretch forward also. Still need to finish the steering system, tube fenders and paint. It's nearly done.

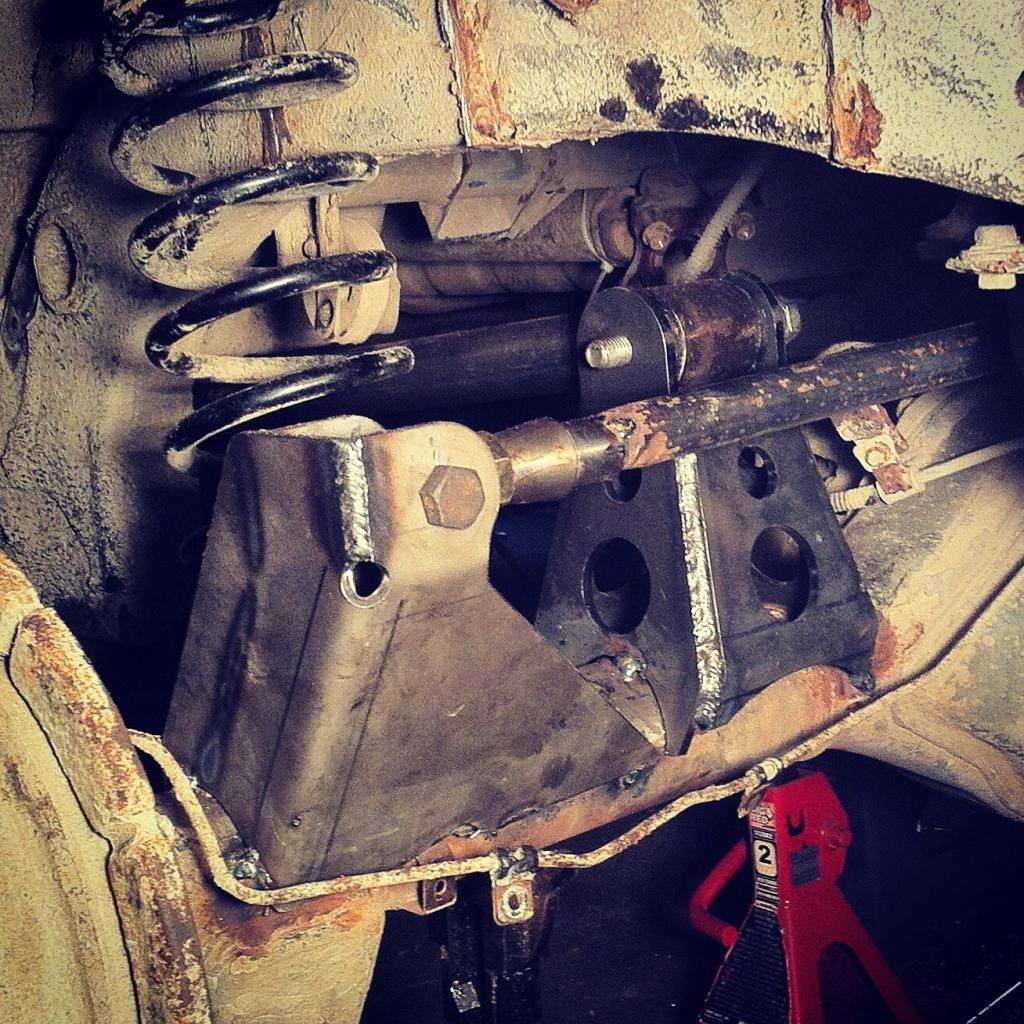
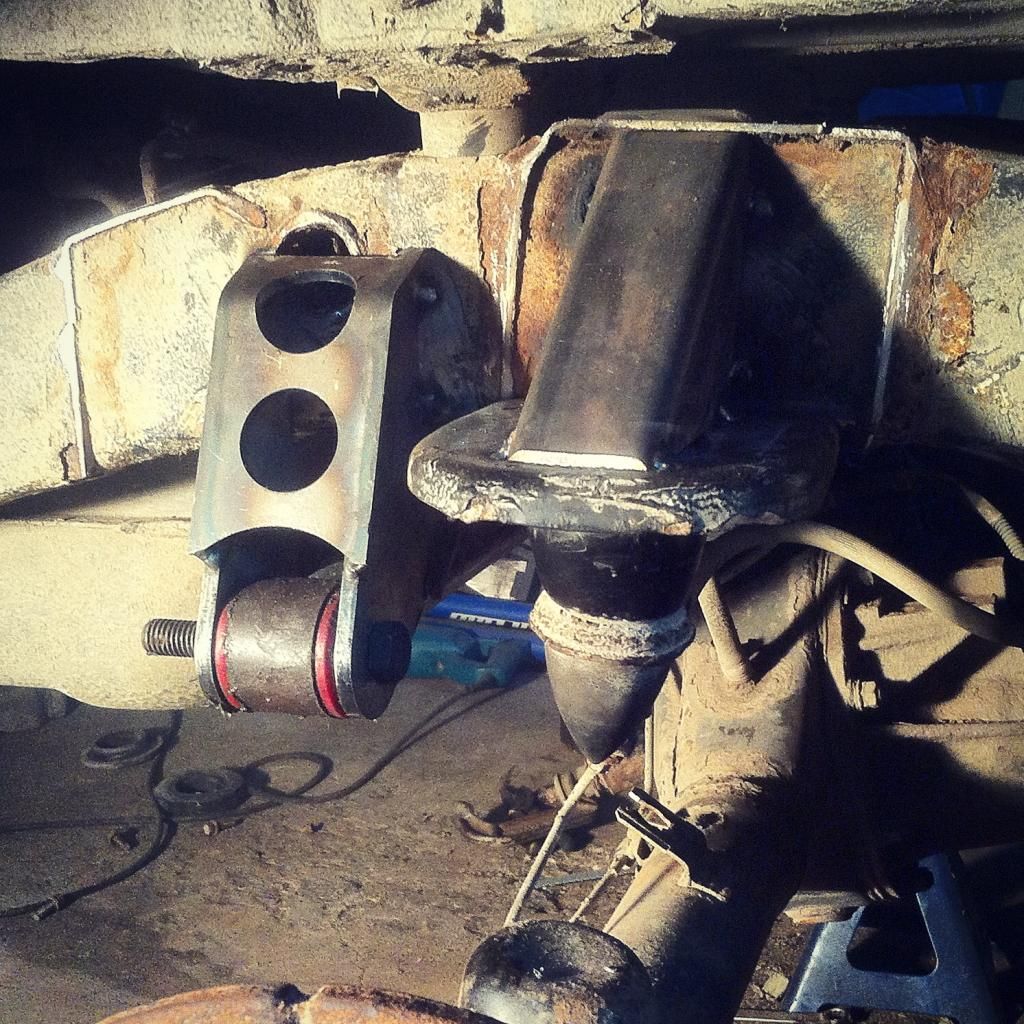
There was a bunch of lift added to the front with this install so I changed the rear too. The rear got treated to a 3-link/panhard setup, using stock springs and shocks just relocated to give it lift. The trailing arms went from 18" to 36" in length, relocates the pivot to the end of a factory crossmember and nearly matches the drive shaft length. The upper control arm which had a pivot length of 10" and an off center ball joint on top of the axle was replaced with a 30" top link to promote traction and nearly eliminate axle wrap. My panhard is nearly 41" long and almost perfectly horizontal at ride height. All link measurements are bolt center to bolt center.

I used TMR universal link mounts and brackets, as well as recycling stock stuff and finally using the Artec mounts I bought from Chris. I don't have many photos of this yet because we just finished it, but I have a few from the mock up stage. I'll add more later. The wheelbase got another 1.5" rearward stretch.


At ride height, the rear has 5.5" of gap between tire and fender and the front has 7" It looks great. 18" of clearance under the frame and 21" under the rockers. I'll add way more pics and details as I finish it up.

One last little thing. I had to make a header/manifold for clearance past my upper A-arm. It's made using mainly scrap steel and I have dubbed it the "manly-fold" because it's sort of a header. Sounds like you imagine it would, but it only needs to last til spring.


More to come
 

Richard

Commoner
Club Member
WOW, excellent workmanship on everything!

Congratulations on the nuptials, and I hope you have a good vacuum for the malamute fur in the spring ;)
 
R

ROUGHcrawl

Guest
Thanks guys, just a tiny tease of what I'll be doing all winter to go in, in the spring.


Calm down! That's not my engine, though I wish it was, but I'll be rebuilding and turboing a 22r. Some interesting specs for my engine build but that'll come after the IFS is done.
 
R

ROUGHcrawl

Guest
Well I got it together and driving in 2WD this weekend. Must say I'm happy over all, with a few tweaks to do. I need to do just a little alignment work, get a diff in the front, make my cv's and tube fenders. My steering system works great but has it's compromises, NO BUMPSTEER. At 100km/h it's smooth and, it has no noticeable brake dive, and at 35km/h it eats curbs. Seriously just butter over even taller curbs haha. So anyways I have some pics.

We rolled it out


Then we painted it all


As you can see to use all the up travel I have to take the front edge of the fender off.

Okay so now for the steering. I decided to make a custom idler arm, that would relocate the steering linkage down and forward. I did this to keep all the linkage straight and at the right height to work with out bump steer. It works because the steering box feeds my new idler on the passenger side which powers factory linkage that runs from my idler to the factory idler which I relocated to the drivers side. With everything so well lined up its works amazing, truly surprising. I'll throw a pic of the arm in here now and get into the good and bad after.


So the good, pinky finger steering with 33's, less load on the box, zero return input from the ground, and everything works in straight lines. The bad, some loss of steering angle, zero input from the ground, and it makes it tough for other to drive it. I can safely take the upper part of the arm down by an inch and not totally ruin the linkage angles, so I may do that. But for now I'll leave it see how it goes, with all the extra wheel travel maybe a steering limit wont be a bad thing for the CV life. My biggest concern is lack of recovery steering angle for drifting... So really its not a huge deal hahahaha.
 
R

ROUGHcrawl

Guest
So I've done my regular commute for the last 2 days with the kick and overall I must say I'm pretty happy with it. I've already changed the idler to make it shorter and it handles great. After driving it a few days there are things I wanna change and things I need to fix as well as work I need to finish. First off I need new tires, I bought a set of 5 turbine rims with 33x12.5 MTs for cheap, the MTs were worn funny from a bad alignment on the previous owners truck. They are also older and starting to crack. They are louder now that the suspension is so crisp and I fear they'll come appart as I rip the back roads to work, and they'll suck in the snow. Secondly, I have a small exhaust leak under load and it drives me crazy. Third, with the crisp suspension in the rear I can really feel a bad u-joint so I'll swap both of those out. Those are the immediate things. In the spring with the engine swap, I'm hoping to set up the exhaust in a way that it's nearly silent, sleeper/ not ricer sounding. I'd also like to swap out my gas tank for a plastic fuel cell, I could smell fuel ever so slightly when I was working on the rear suspension. Minor things really considering the changes I've made. As for stuff remaining to to be completed, 4x4 (I need a sami rear diff preferably 5:13), tube fenders, general gusseting and tiding things up.

I did start my tube fenders though, still need to trim the fenders, brace to the unibody and sheet them.


Bought a sweet tap and die set for $39, was $139. Figure it'll come in handy this winter with the engine rebuild and turbo etc. Even has some fuel and brake line taps and dies
 

2Greys

Insert title here
Club Member
Have the same set and I think I got it for the same price when I did. It was a steal
 
R

ROUGHcrawl

Guest
Anybody have tire recommendations? Since this is my DD I was thinking BFG all terrains. But open to suggestions
 
R

ROUGHcrawl

Guest
Thats my concern, Ive heard the km2s are great in snow but terrible on ice. The all terrains in 12.5 come snow peak rated.
 

2Greys

Insert title here
Club Member
The ATs are better than the KM2s but still not as good as proper winter tires. On ice pretty much all tires suck (some less than others though) My first set of Mud tires (Hercules) had the snow peak symbol and I never would have used them in winter, they were barely siped and hard as hell. The ideal is get a good pair of summers and a good pair of winters. It ends up balancing out cost wise as you cut down the wear on each set. Granted that is a lot of coin up front. I was lucky in that I bought a set of winters and ran the Hercules for 2 ( or was it 3?) years before I got my KM2s.
Some thing to think about.
 
Top