

|

|

|
You are using an out of date browser. It may not display this or other websites correctly.
You should upgrade or use an alternative browser.
You should upgrade or use an alternative browser.
Build Project Avalanche
- Thread starter bradleyfitz
- Start date

Sorry to hijack, but when are you going to Raush Creek again?
RC will be in later October, around Halloween. Winsor will know the exact date.
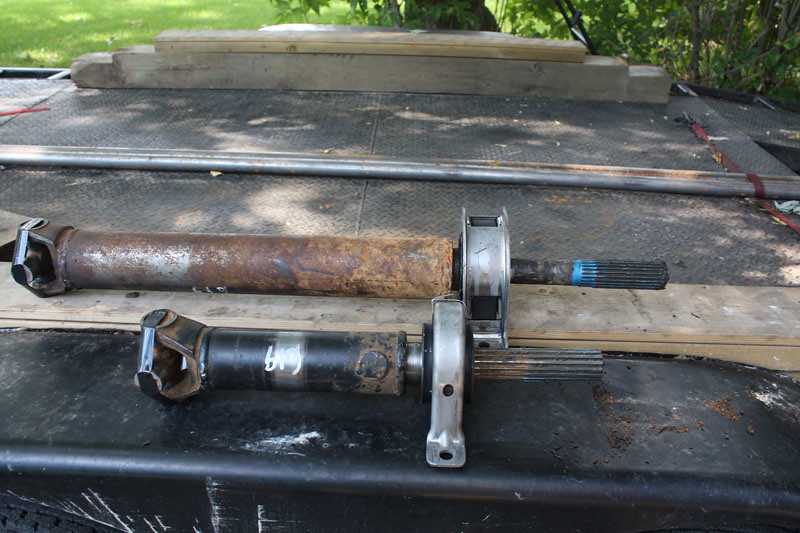
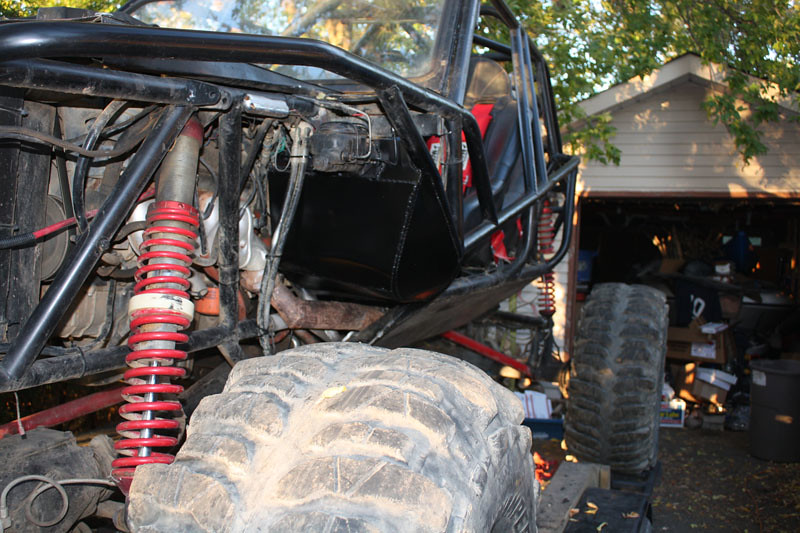
I pulled the front and rear drive shafts this morning and dropped them off at Malmberg so they could install new hanger bearings. I told them I needed them back by tomorrow morning and they called me an hour after I dropped 'em off to tell me they were done, which was cool.
The old front ... it had so much play.

New front and rear hanger bearings:

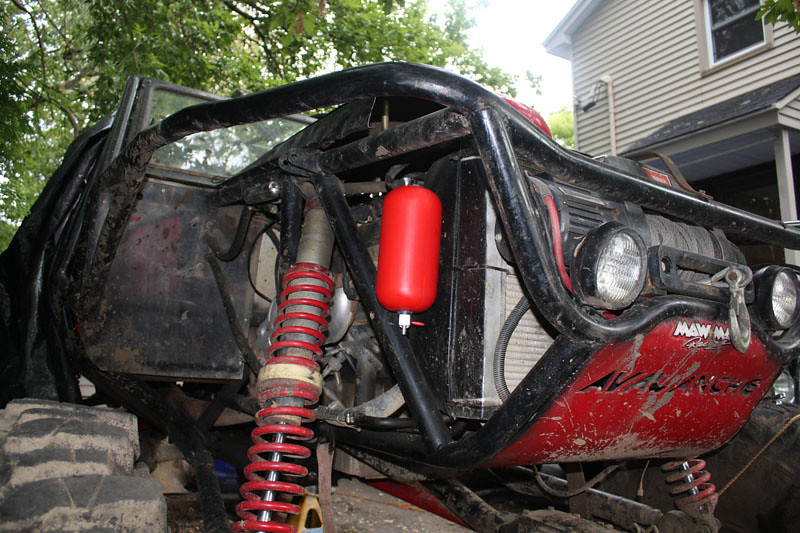
Rad overflow installed as well. It feeds into the top and there is a shutoff at the bottom to drain it. I've heard some people run the overflow line to the bottom and then run a hose from the top for the vent, that way it's a recirculating overflow. I might try that out later.
The old front ... it had so much play.
New front and rear hanger bearings:
Rad overflow installed as well. It feeds into the top and there is a shutoff at the bottom to drain it. I've heard some people run the overflow line to the bottom and then run a hose from the top for the vent, that way it's a recirculating overflow. I might try that out later.
Awsome Brad! Looking really good. Have fun at Big dogs!
S
Scotty
Guest
Looks Great!
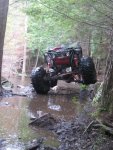
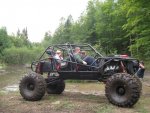
Well, I got 1.5 days of wheeling in at Big Dogs. At the rate I'm going (1 day RC, 1.5 days Big Dogs), I should get a full two days of wheeling in RC this fall ")
Notable's are:
I lost my fire extinguisher on a hill climb. New mounts are on order so that doesn't happen again.
I bent the rear drag link. It's hitting a bracket on the center chunk, but isn't too bad.
I took out an outer axle bearing, thankfully while on the access road doing 5 miles an hour, 300 meters from camp.
Uggghhh.....that's just ugly.
Uggghhh.....that's just ugly.
Yea the bearing doesn't look very pretty either. LOL Just kidding!
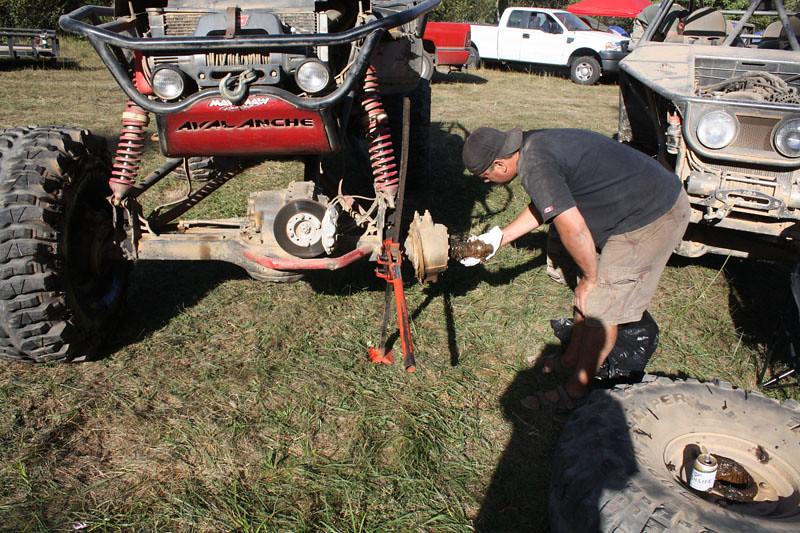
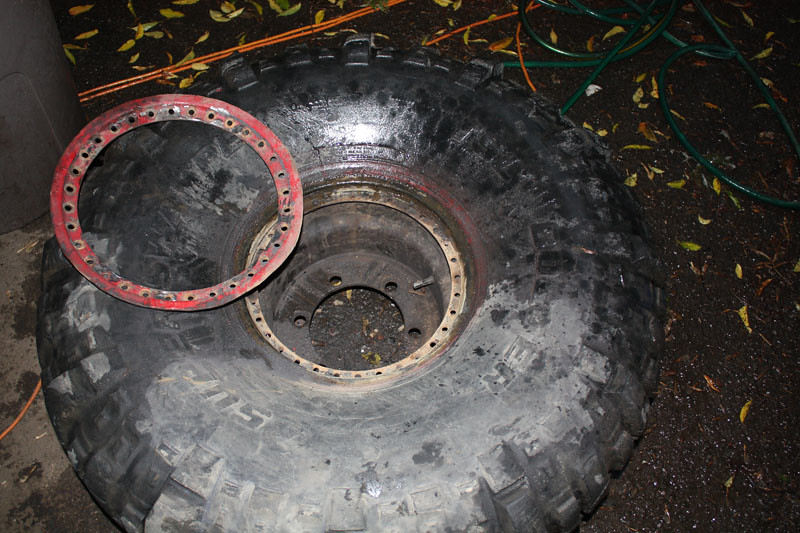
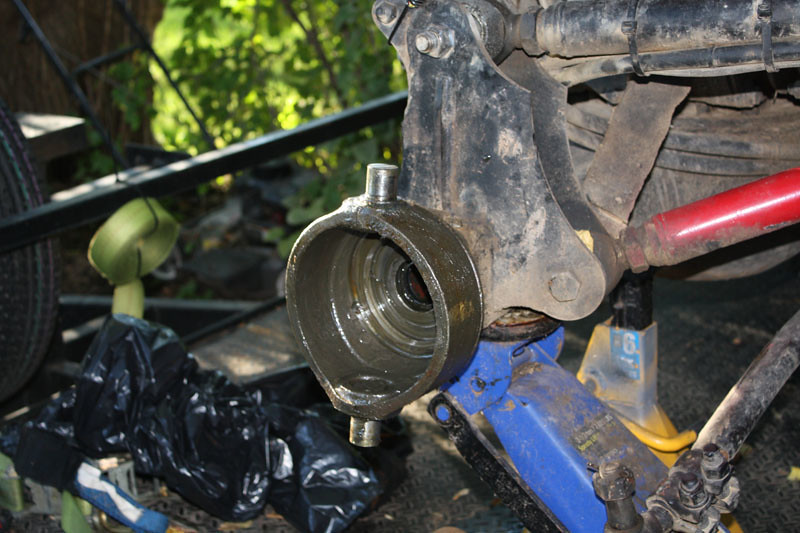
I started breaking down the front axle this week. Starting with the beadlock for the front driver side. It leaks pretty badly.
The nuts used are these round knurled thingy's. Suffice to say when they spin freely, you can't get a vicegrip on them ('cause they are round) and I had to grind 14 of the bolts off. PIA. Yeah, that outer ring has seen some action! Bead on the tire looks good.
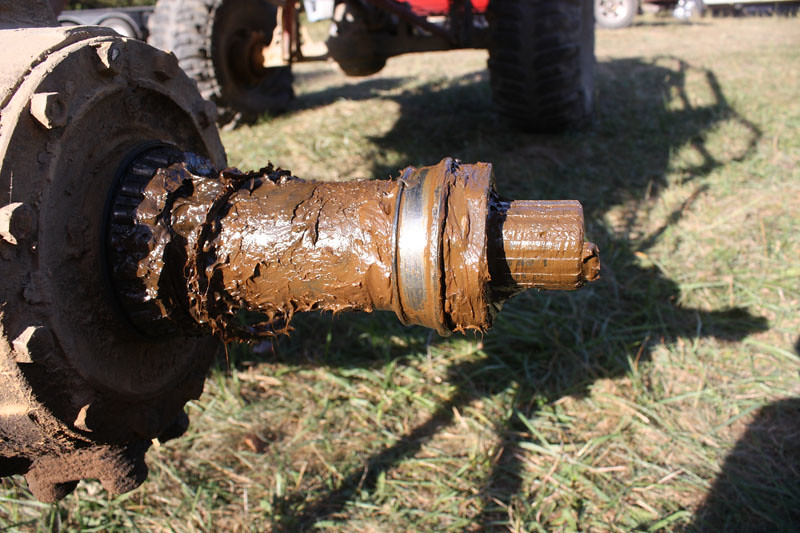
I've got the driver's side front completely broken down. The only challenging part was figuring out how to get the knuckle off. After about five minutes I discovered the groove on the top of the knuckle so that it can slide over the top pin. Everything looks pretty good, other than dirty grease, a little bit of mud in the knuckle, and the occasional stone or ten.

Rockwell axles can come with one of three different types of axle shafts: Bendix, repezza, and u-joint.
I was happy to discover I have the u-joint. Splines are good, give or take a ding.

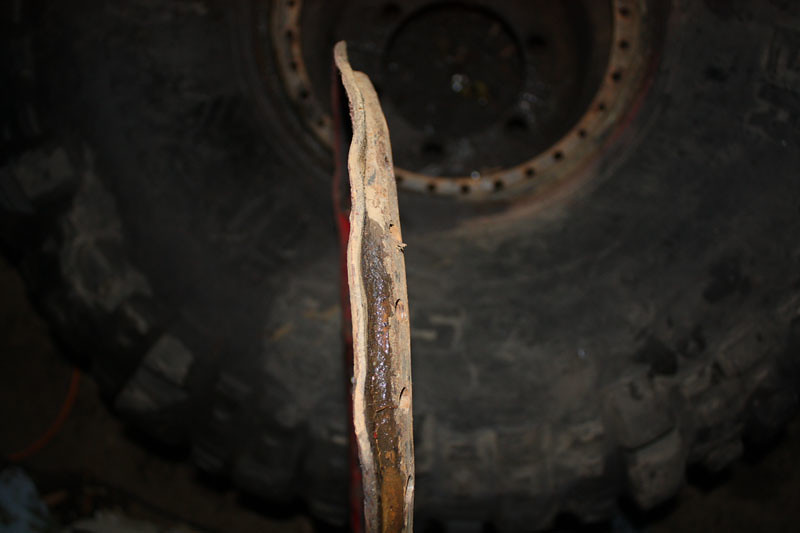
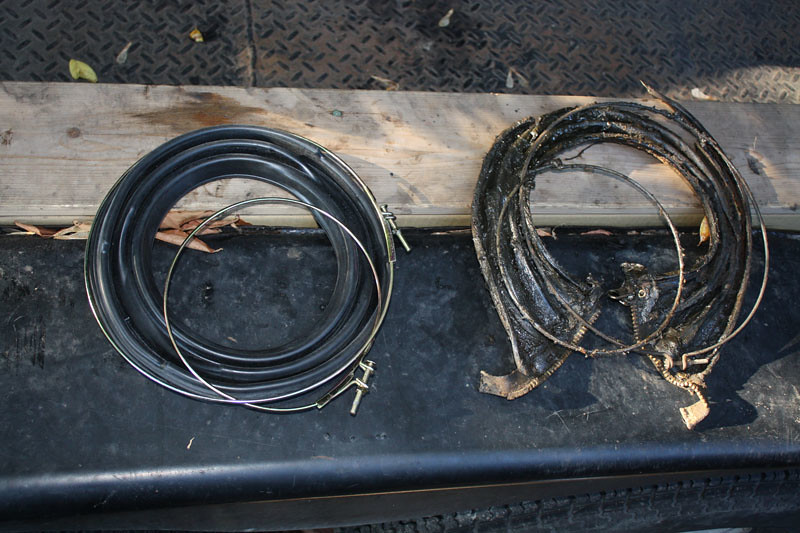
New one piece boot next to the ripped two piece zipper boot. No wonder there are stones in the knuckle These boots are about the only thing I can afford from Ouverson, lol.
Boot guards from Great Lakes Offroad. These sit on the bottom of the knuckle, protecting the neoprene boot from rocks / sticks. Nice design, with an added plate on the bottom to protect the bolt heads from getting damaged. I thought this was a nice design feature, but now that I have the knuckle off, not one of those four bolts on the bottom were damaged, so I'm no longer sure it's really a valid 'concern'. The grease fitting protection is a bonus too I guess.


I picked up new inner and outer wheel bearings locally. They crossed Timken 3994 (inner) and Timken 392 (outer) to SKF BR3994 / BR392. Tomorrow I will hopefully have it all back together with the new bearings, boots, and boot guards installed.
The nuts used are these round knurled thingy's. Suffice to say when they spin freely, you can't get a vicegrip on them ('cause they are round) and I had to grind 14 of the bolts off. PIA. Yeah, that outer ring has seen some action! Bead on the tire looks good.
I've got the driver's side front completely broken down. The only challenging part was figuring out how to get the knuckle off. After about five minutes I discovered the groove on the top of the knuckle so that it can slide over the top pin. Everything looks pretty good, other than dirty grease, a little bit of mud in the knuckle, and the occasional stone or ten.
Rockwell axles can come with one of three different types of axle shafts: Bendix, repezza, and u-joint.
I was happy to discover I have the u-joint. Splines are good, give or take a ding.
New one piece boot next to the ripped two piece zipper boot. No wonder there are stones in the knuckle
These boots are about the only thing I can afford from Ouverson, lol.
Boot guards from Great Lakes Offroad. These sit on the bottom of the knuckle, protecting the neoprene boot from rocks / sticks. Nice design, with an added plate on the bottom to protect the bolt heads from getting damaged. I thought this was a nice design feature, but now that I have the knuckle off, not one of those four bolts on the bottom were damaged, so I'm no longer sure it's really a valid 'concern'. The grease fitting protection is a bonus too I guess.
I picked up new inner and outer wheel bearings locally. They crossed Timken 3994 (inner) and Timken 392 (outer) to SKF BR3994 / BR392. Tomorrow I will hopefully have it all back together with the new bearings, boots, and boot guards installed.
Last edited:
I gave Mike one of my rims and had him match and make a new outer beadlock ring for me. Turned out perfect ... it's nice to have a beadlock that doesn't leak anymore!!


I broke down the other side of the front rockwell and installed the new boot, bearings, and boot guard. I thought I would be faster this time, but it still took me 4.5 hours. While the axle shaft was out, I was peering into the axle tube and found this rolling around:
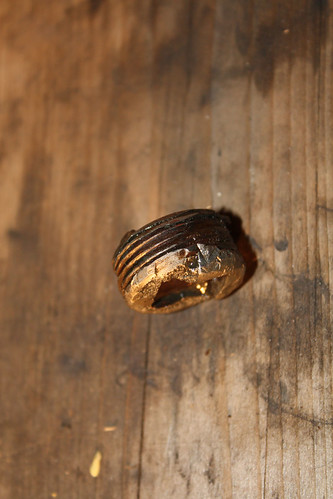
I have no idea how it would have got there, it's not even the correct plug for the diff
I also drained the diff fluid. I knew it was going to be bad, but it was ugh, baaaaad. 5 fresh quarts of gear oil installed.
I drained and flushed all the brake fluid as well. The rear was horrible, the front not too bad. Hopefully I will get some more braking power out of it.
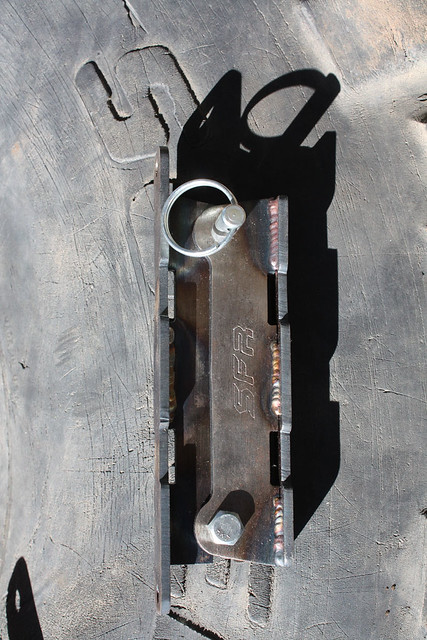
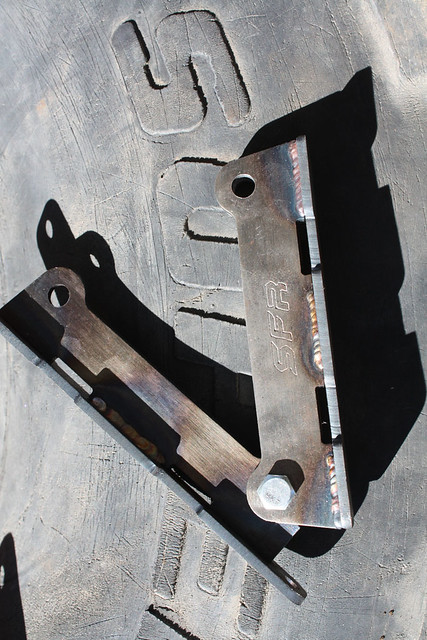
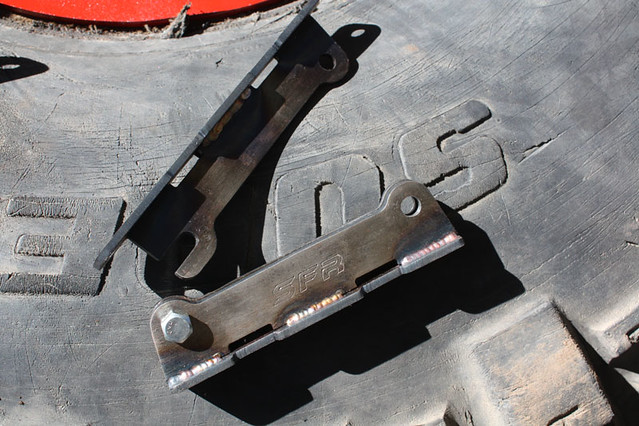
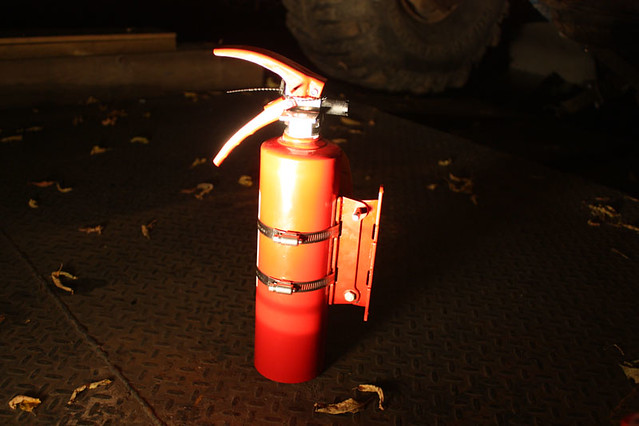
On a hill climb in Virginia last month I lost my fire extinguisher. The fx mount was just the standard mount that comes with 'em for vehicles. So I bought two new 2.5 lb extinguishers and these fx mounts from Stinky Fab. Nice design.
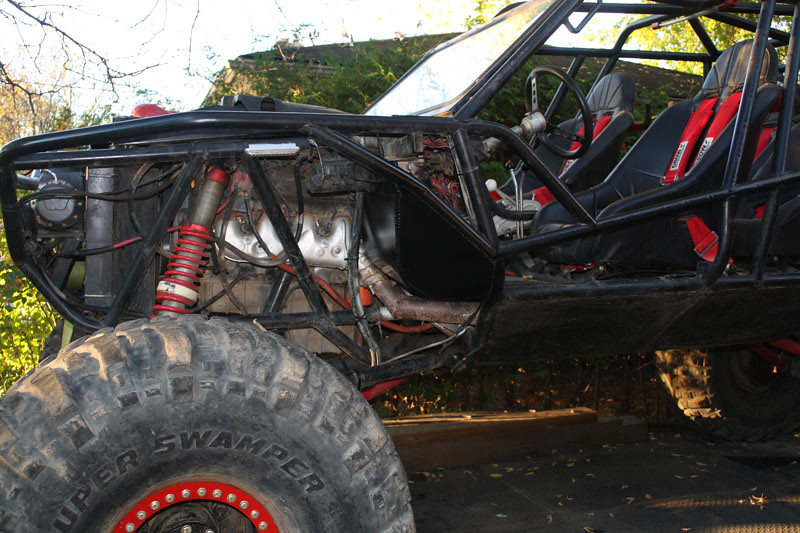
Lastly, I left the buggy with Adrian for a few days and he welded up a driver side foot well to replace the crappy / broken plexi one that was there. It turned out nice, and I think when it gets repeated on the passenger side, the passenger is going to love the extra room.
I have no idea how it would have got there, it's not even the correct plug for the diff
I also drained the diff fluid. I knew it was going to be bad, but it was ugh, baaaaad. 5 fresh quarts of gear oil installed.
I drained and flushed all the brake fluid as well. The rear was horrible, the front not too bad. Hopefully I will get some more braking power out of it.
On a hill climb in Virginia last month I lost my fire extinguisher. The fx mount was just the standard mount that comes with 'em for vehicles. So I bought two new 2.5 lb extinguishers and these fx mounts from Stinky Fab. Nice design.
Lastly, I left the buggy with Adrian for a few days and he welded up a driver side foot well to replace the crappy / broken plexi one that was there. It turned out nice, and I think when it gets repeated on the passenger side, the passenger is going to love the extra room.
Nice fx mounts I might look at getting one of those and nice footwell, no more mud in the face hopefully? Well except for the stuff coming over the sides :lmao:
dj
dj
Very nice looking mount but how do you get extinguisher off the mount quickly? from what I see either you have to unscrew the clamps or unbolt the two parts.
Curious
The pics I showed are in order.
Pull pin, open bracket, pull fire extinguisher up. The bolt is just a pivot point for the notch on the part of the mount that is attached to the fire extinguisher. With these mounts you can either bolt it onto something or use hose clamps to attach it to a roll bar.
Passenger footwell:

Sweet!